Decided I’m rather going into firearms accessories, with 3D printing enabling me to do that.
1 Like
I finally got around to drawing a little cleaning station. Like, get home from range, cbf going to one shelf to get something, then a draw, then whatever collecting various bits for a quick maintenance clean before putting it away…
I present to you my CleaningStation3000. With all common, minimal bits required to do a “quick clean and put it away”. Only took me 6 months to get around to it, but I got there in the end.
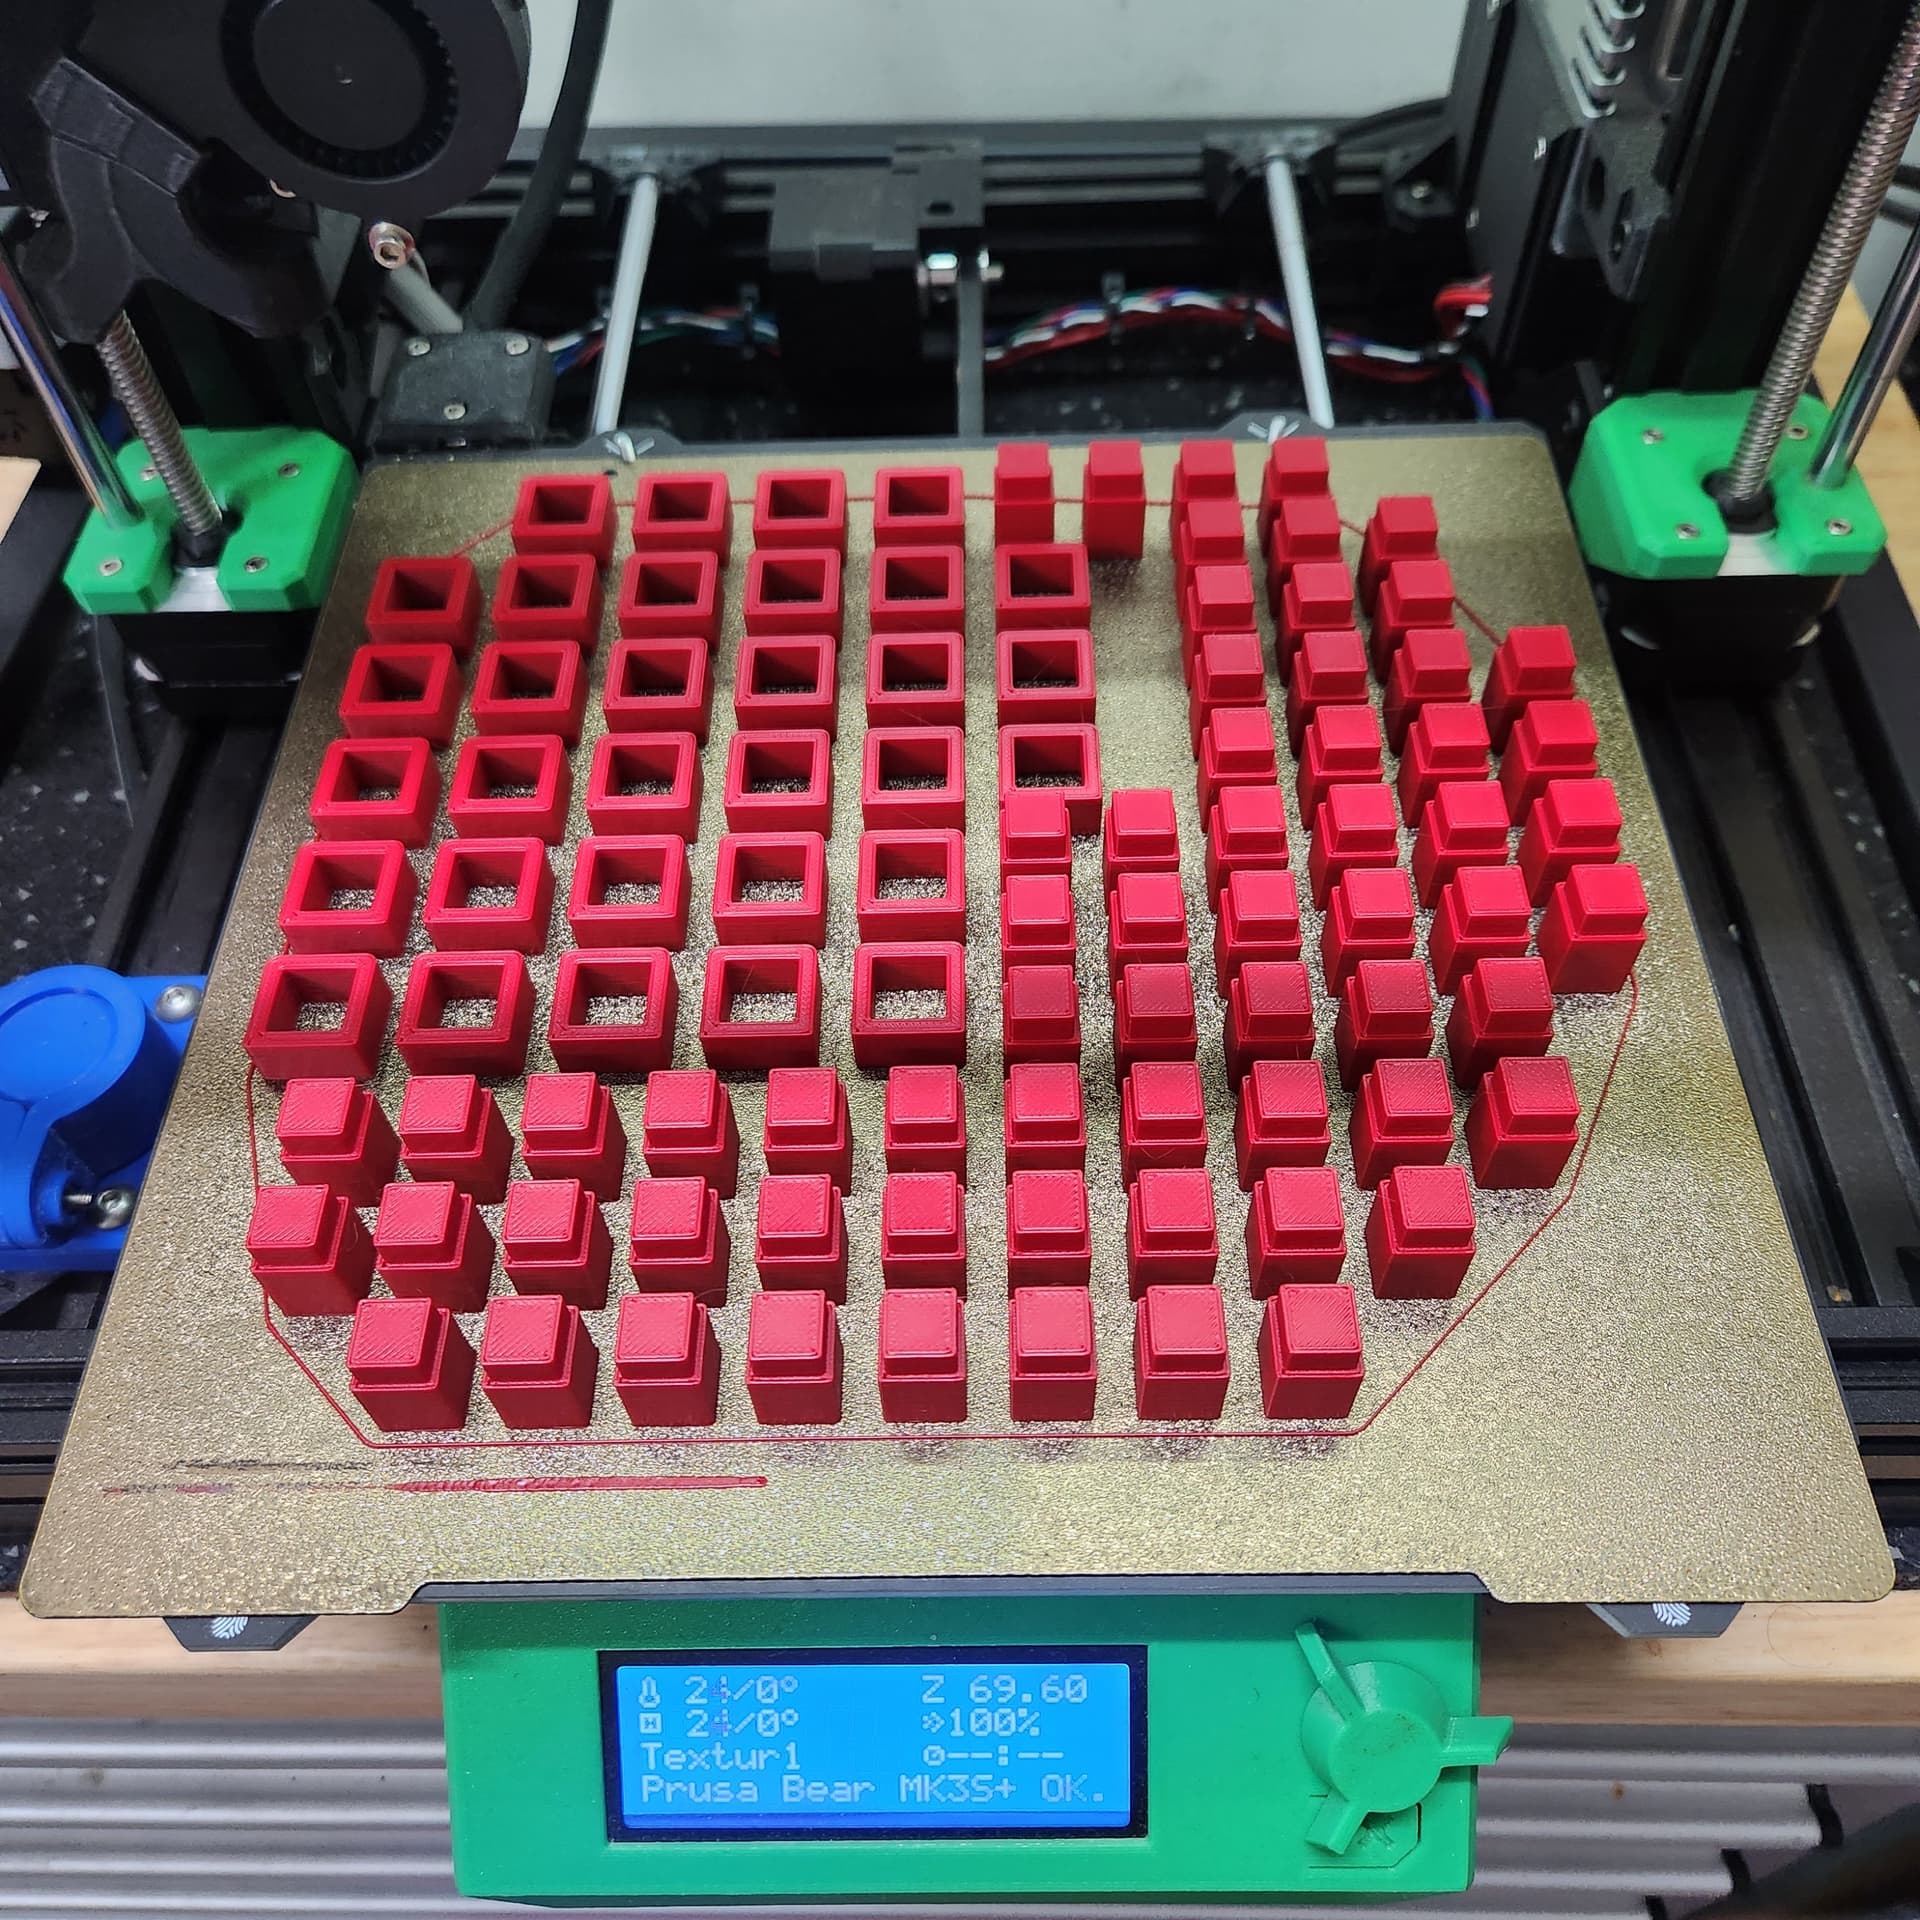
Prints are usually a lot cleaner, some surface artefacts on this one, due to a new filament without temperature adjustment (my prints are usually a lot nicer), but for a utilitarian tool, I think it’ll do.
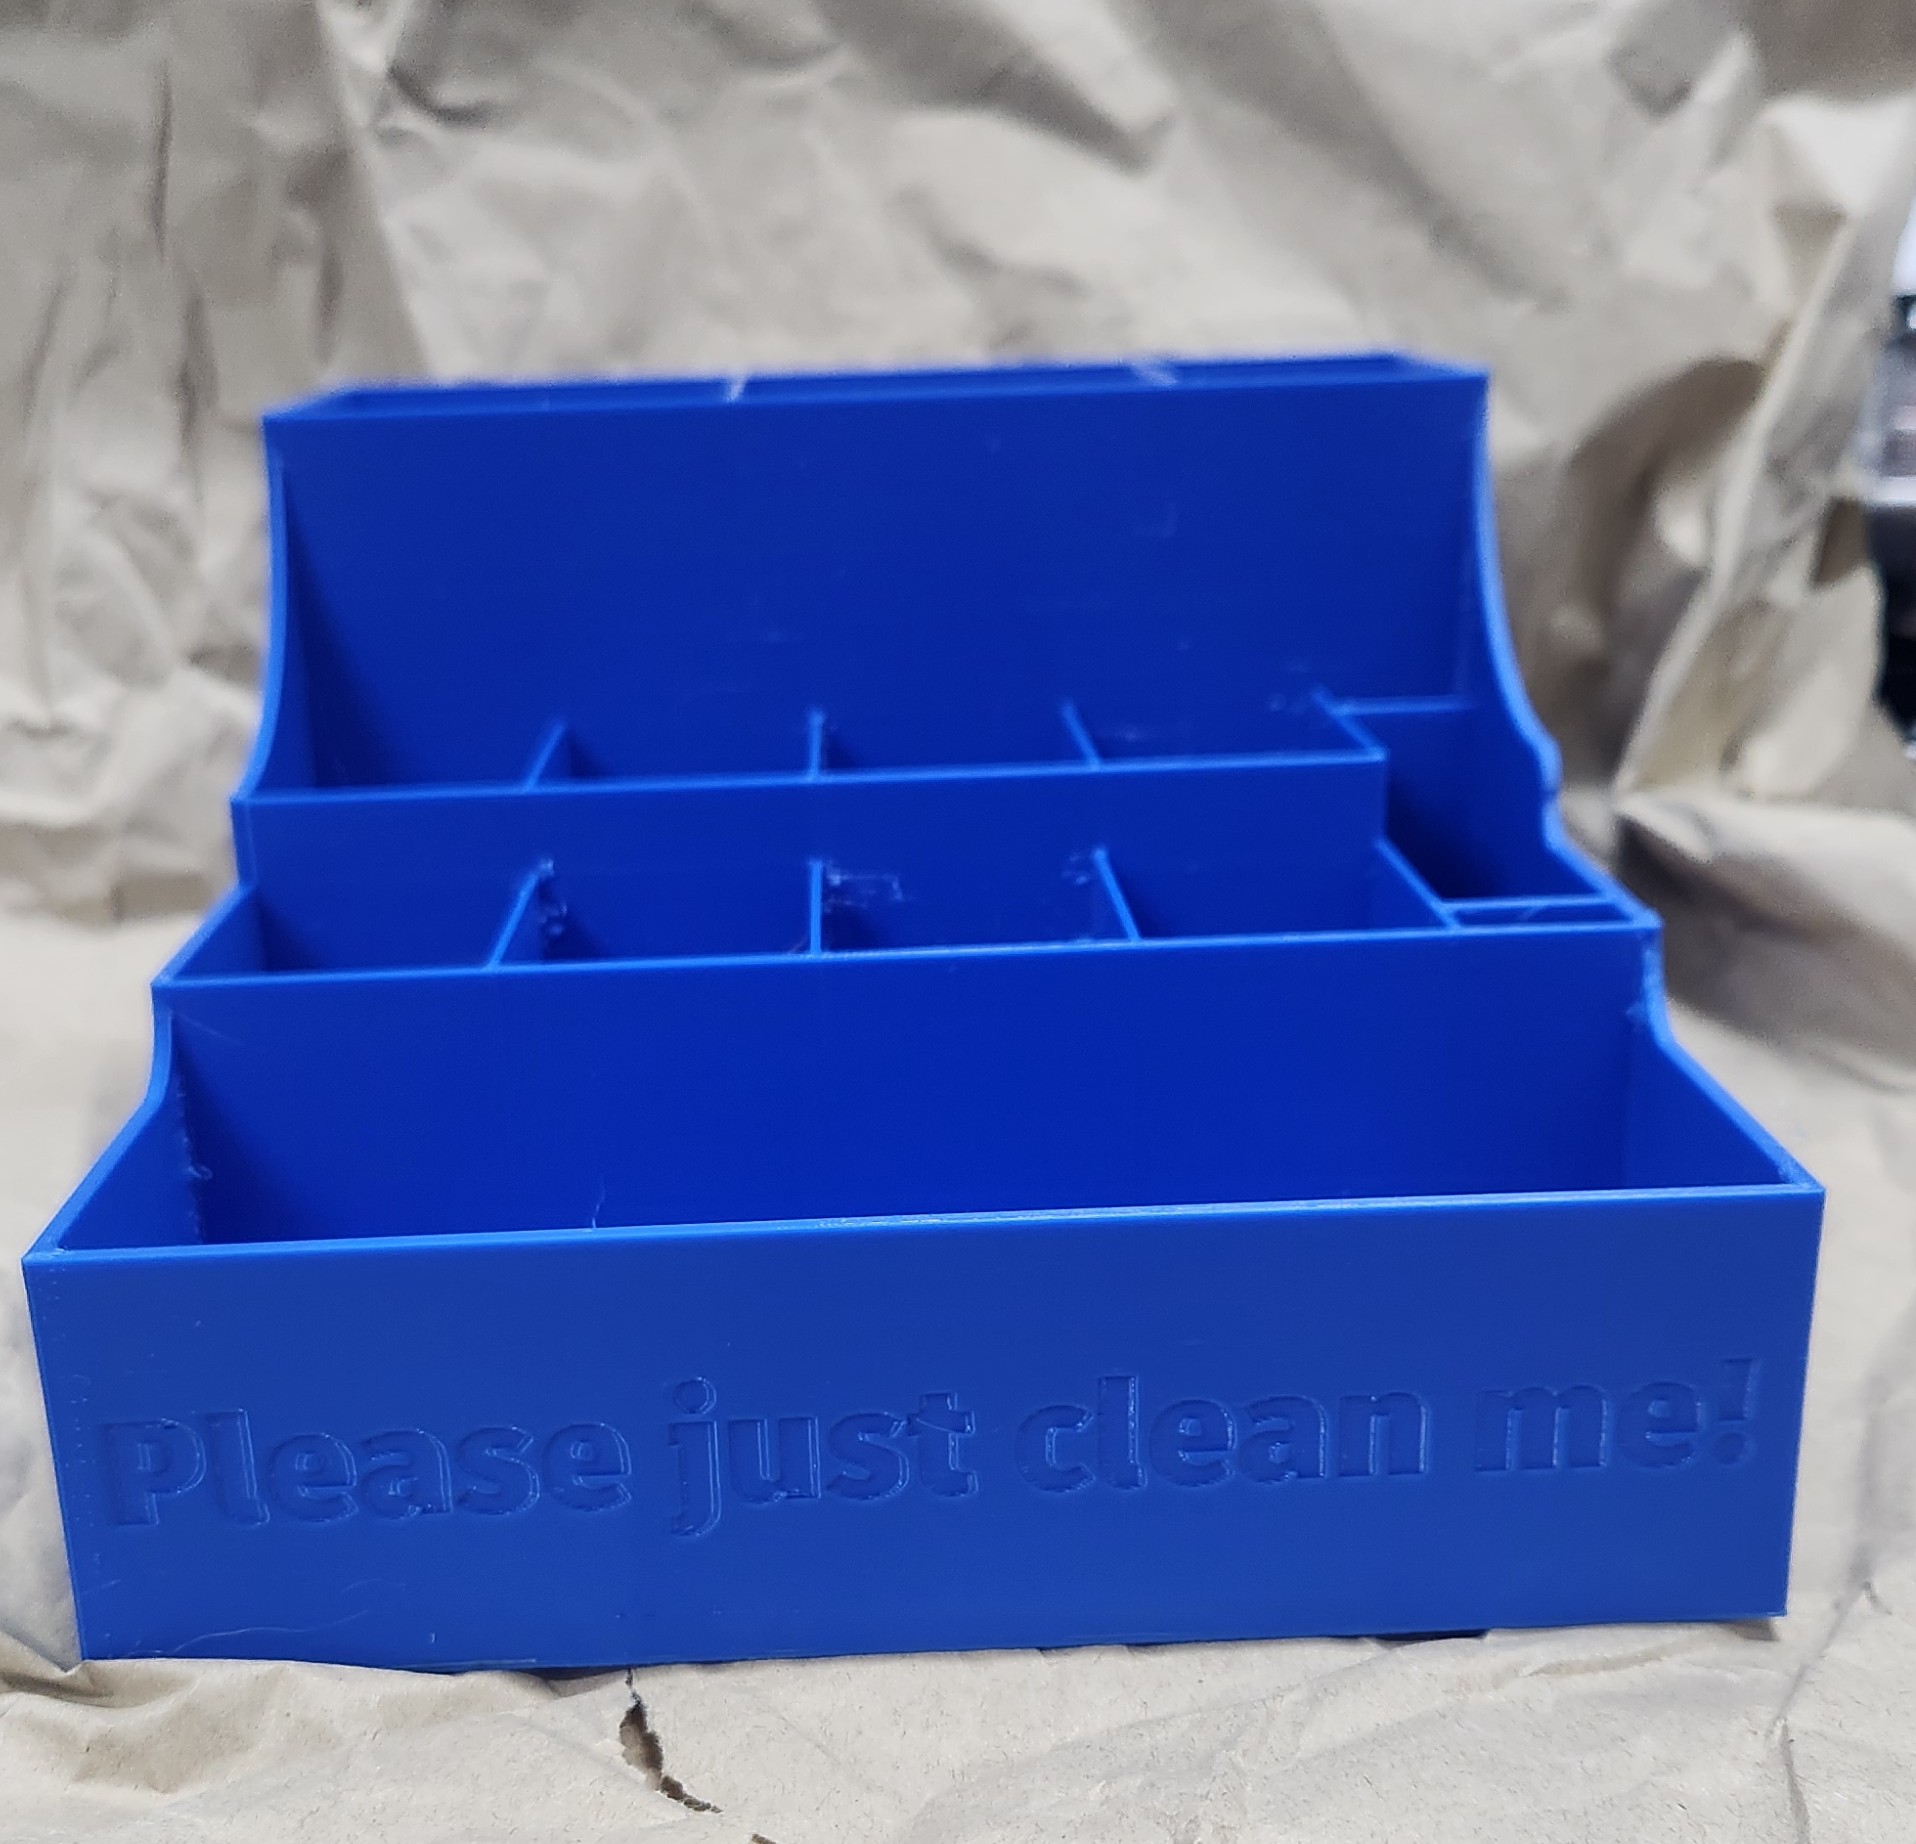
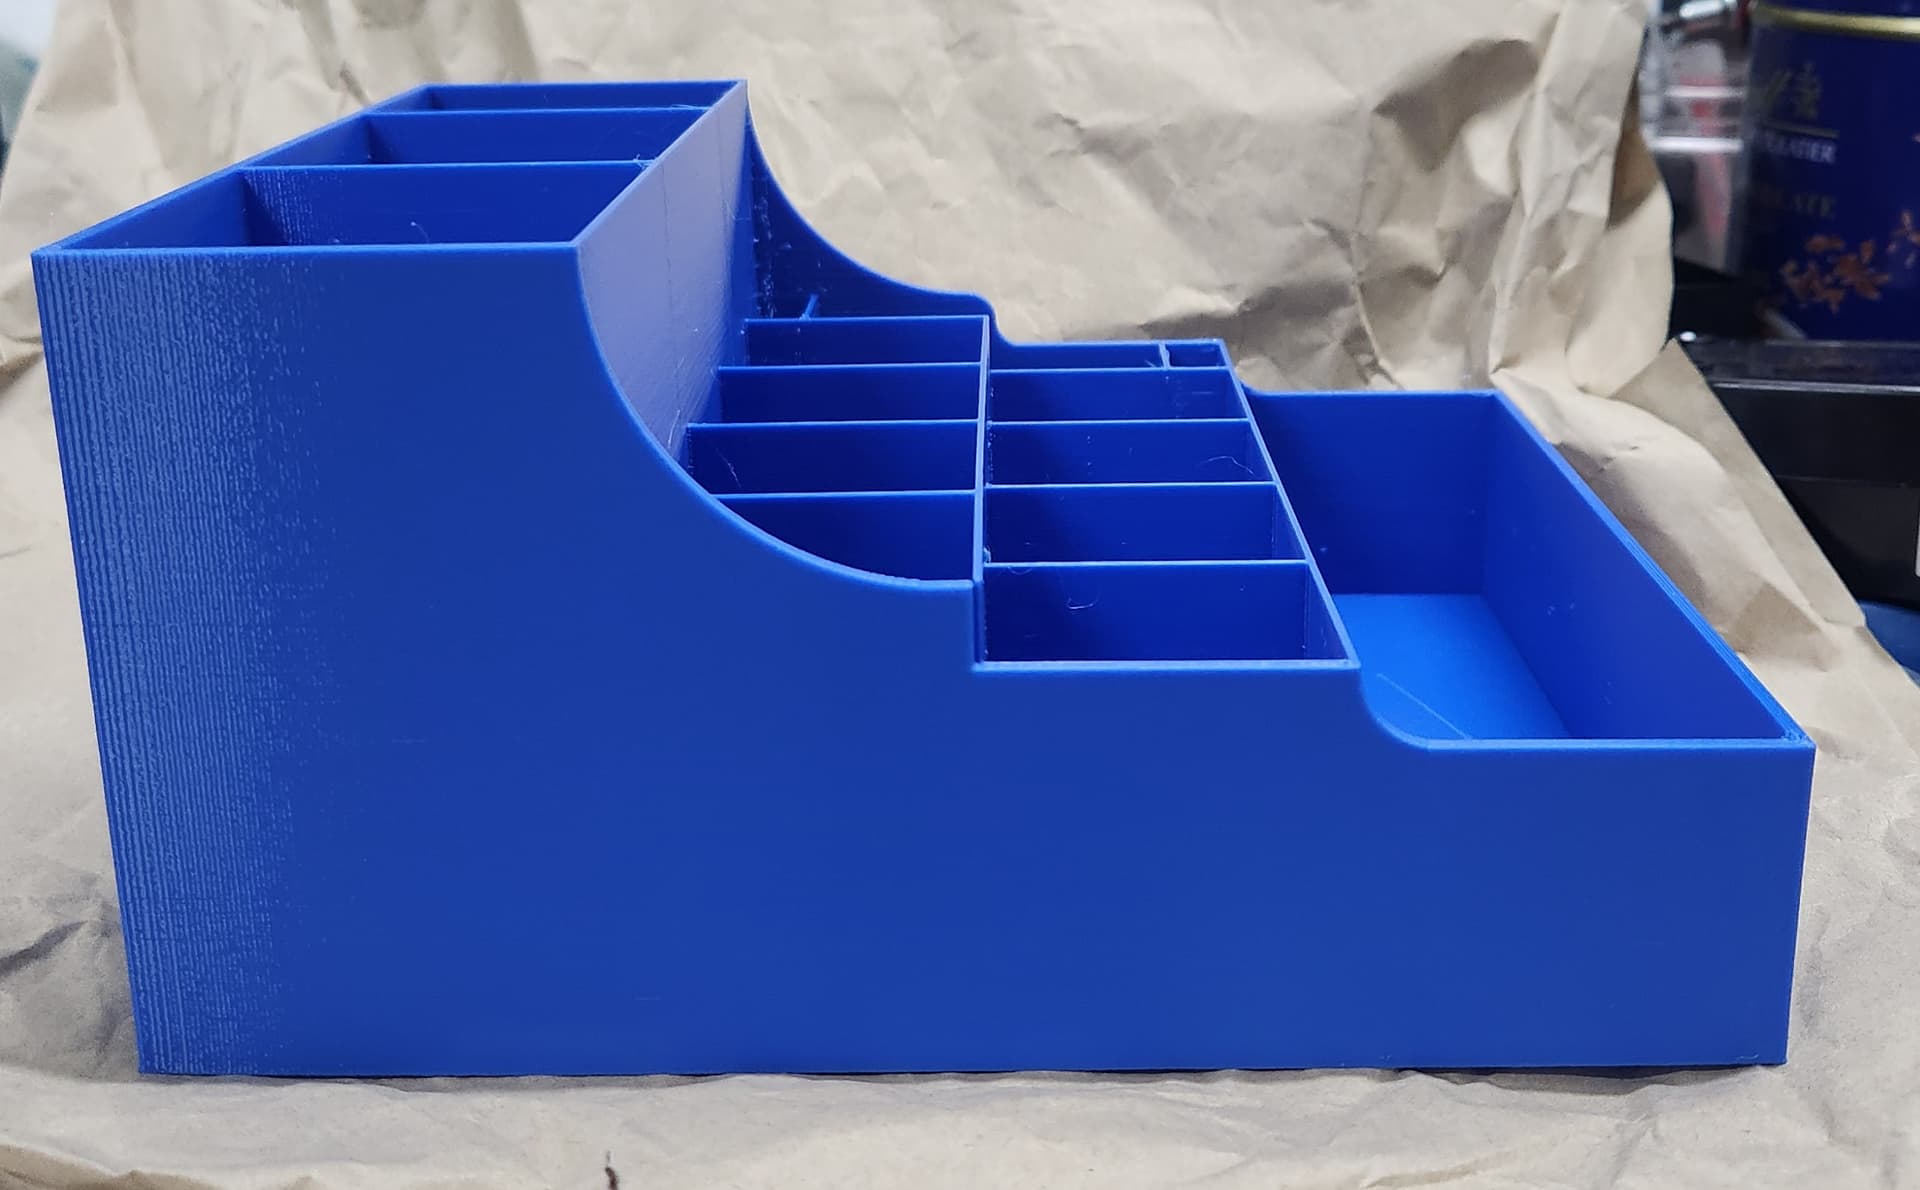
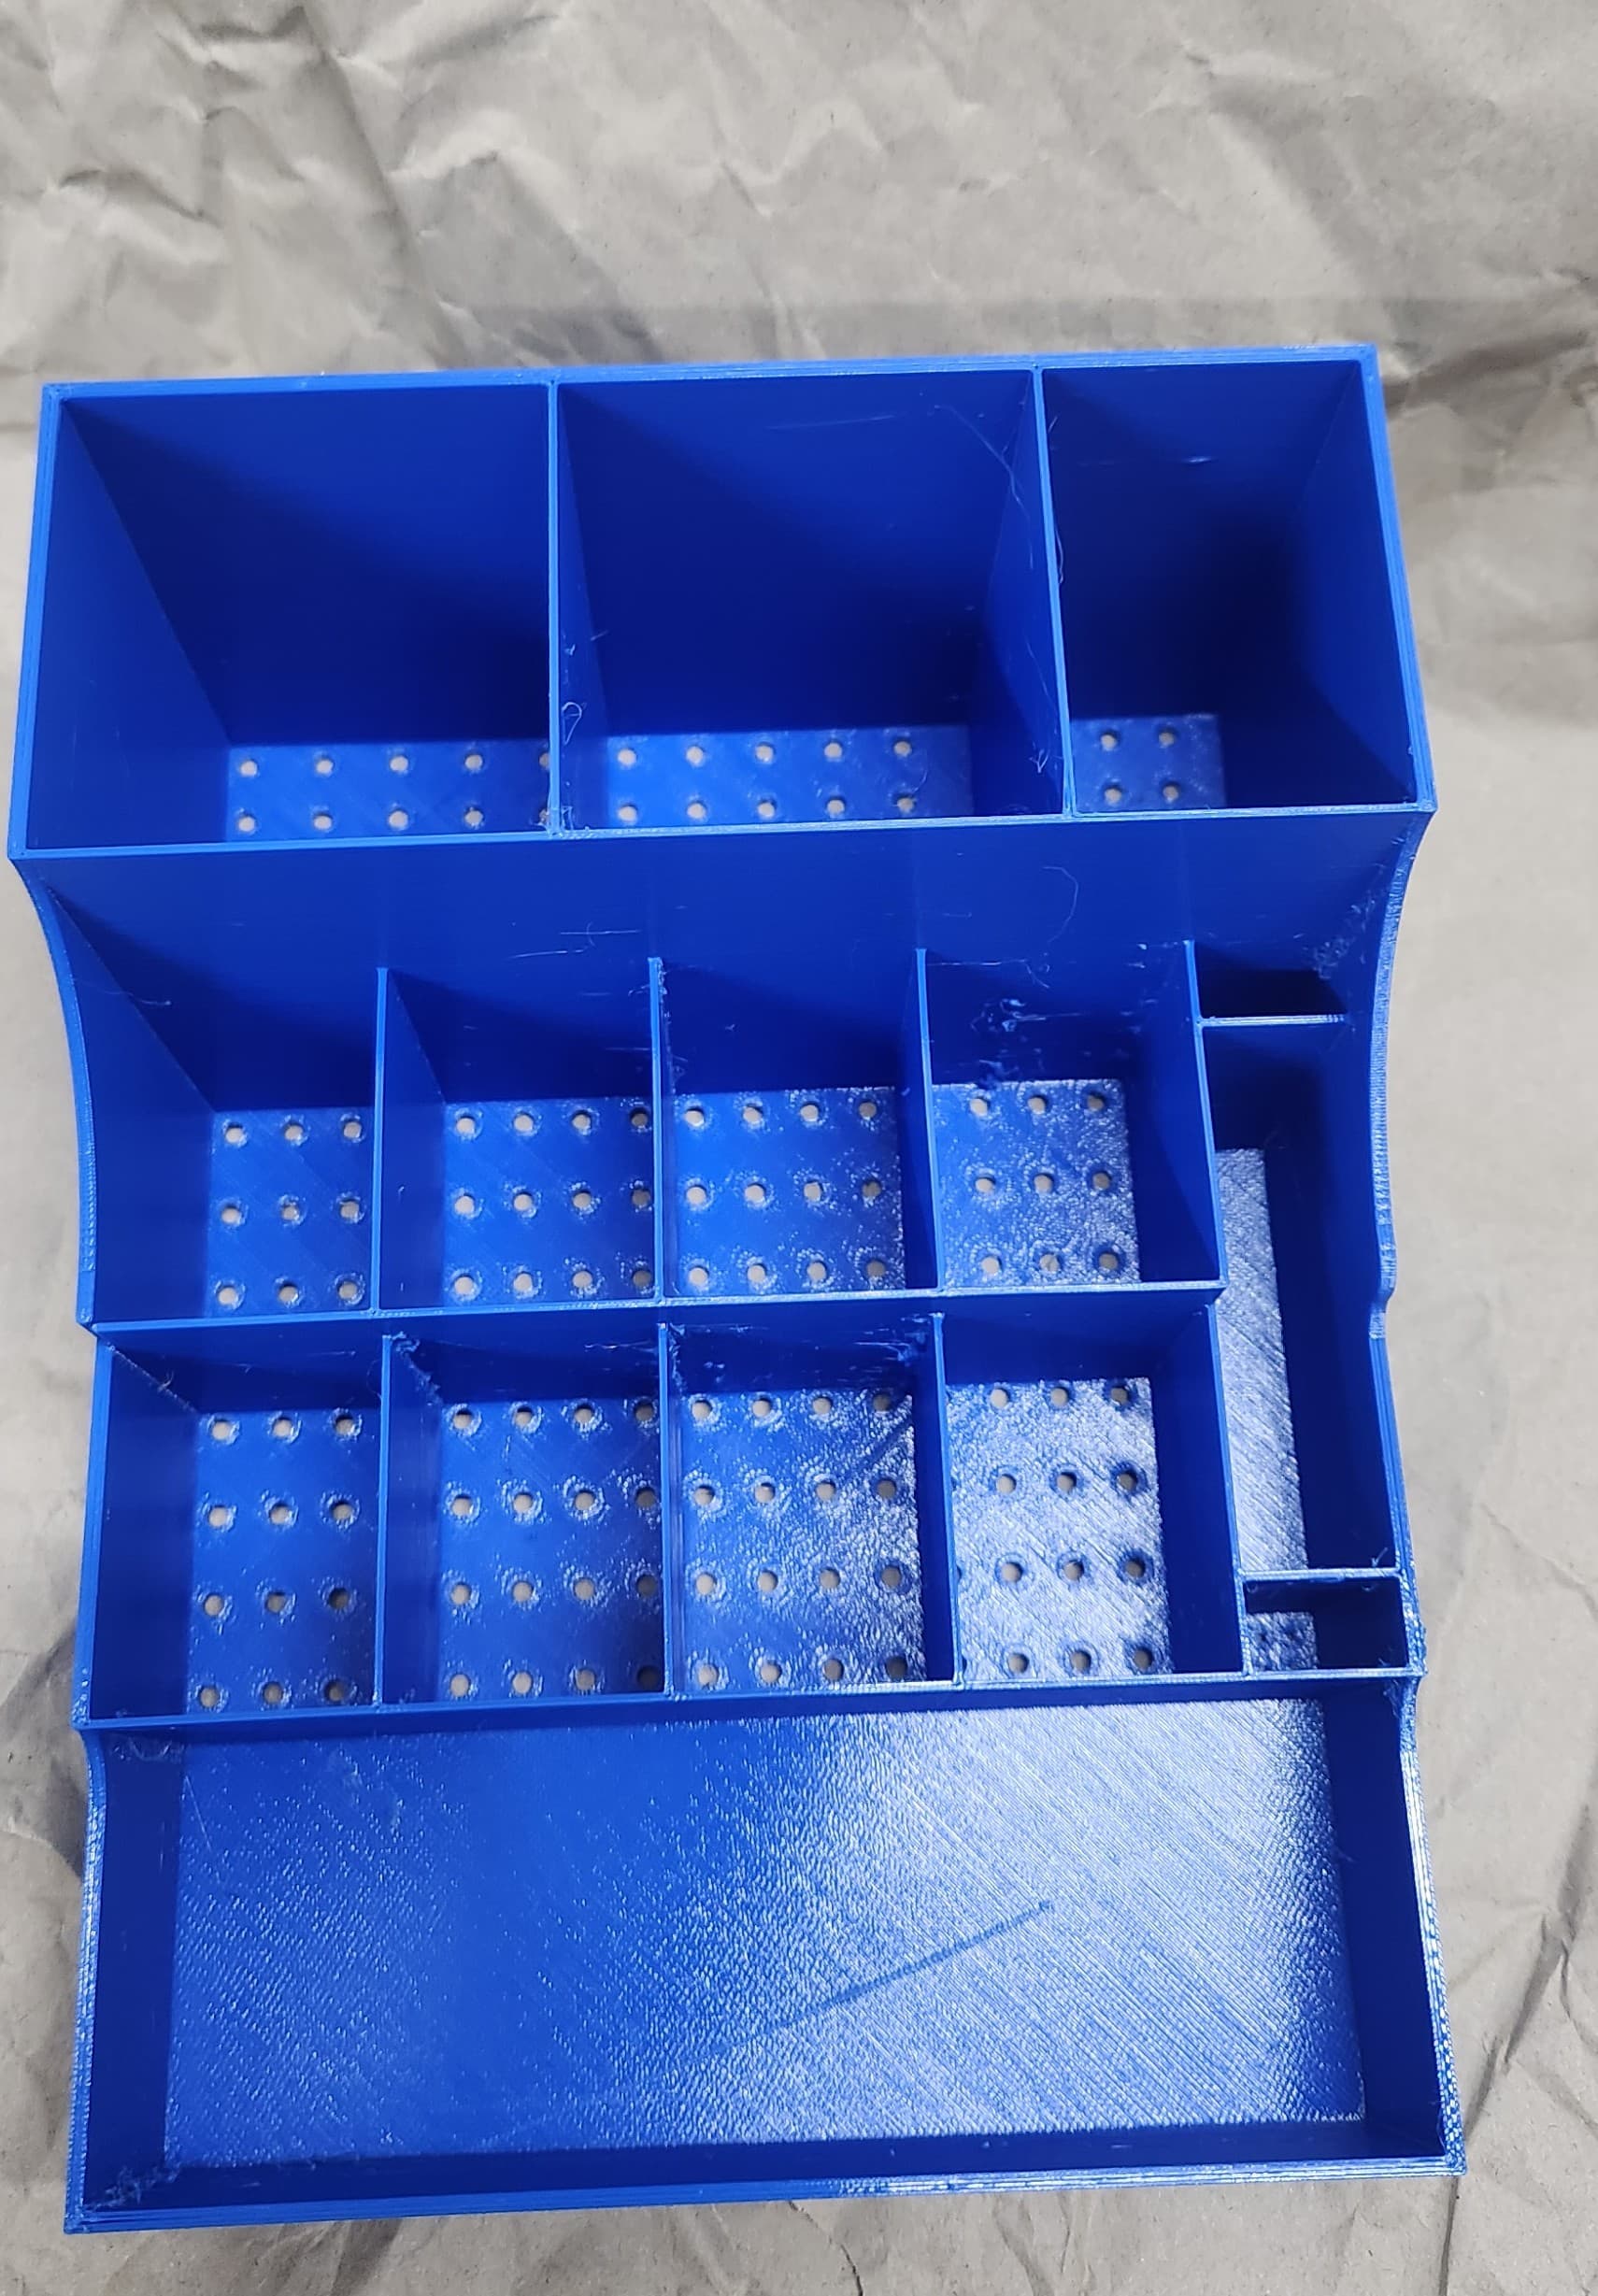
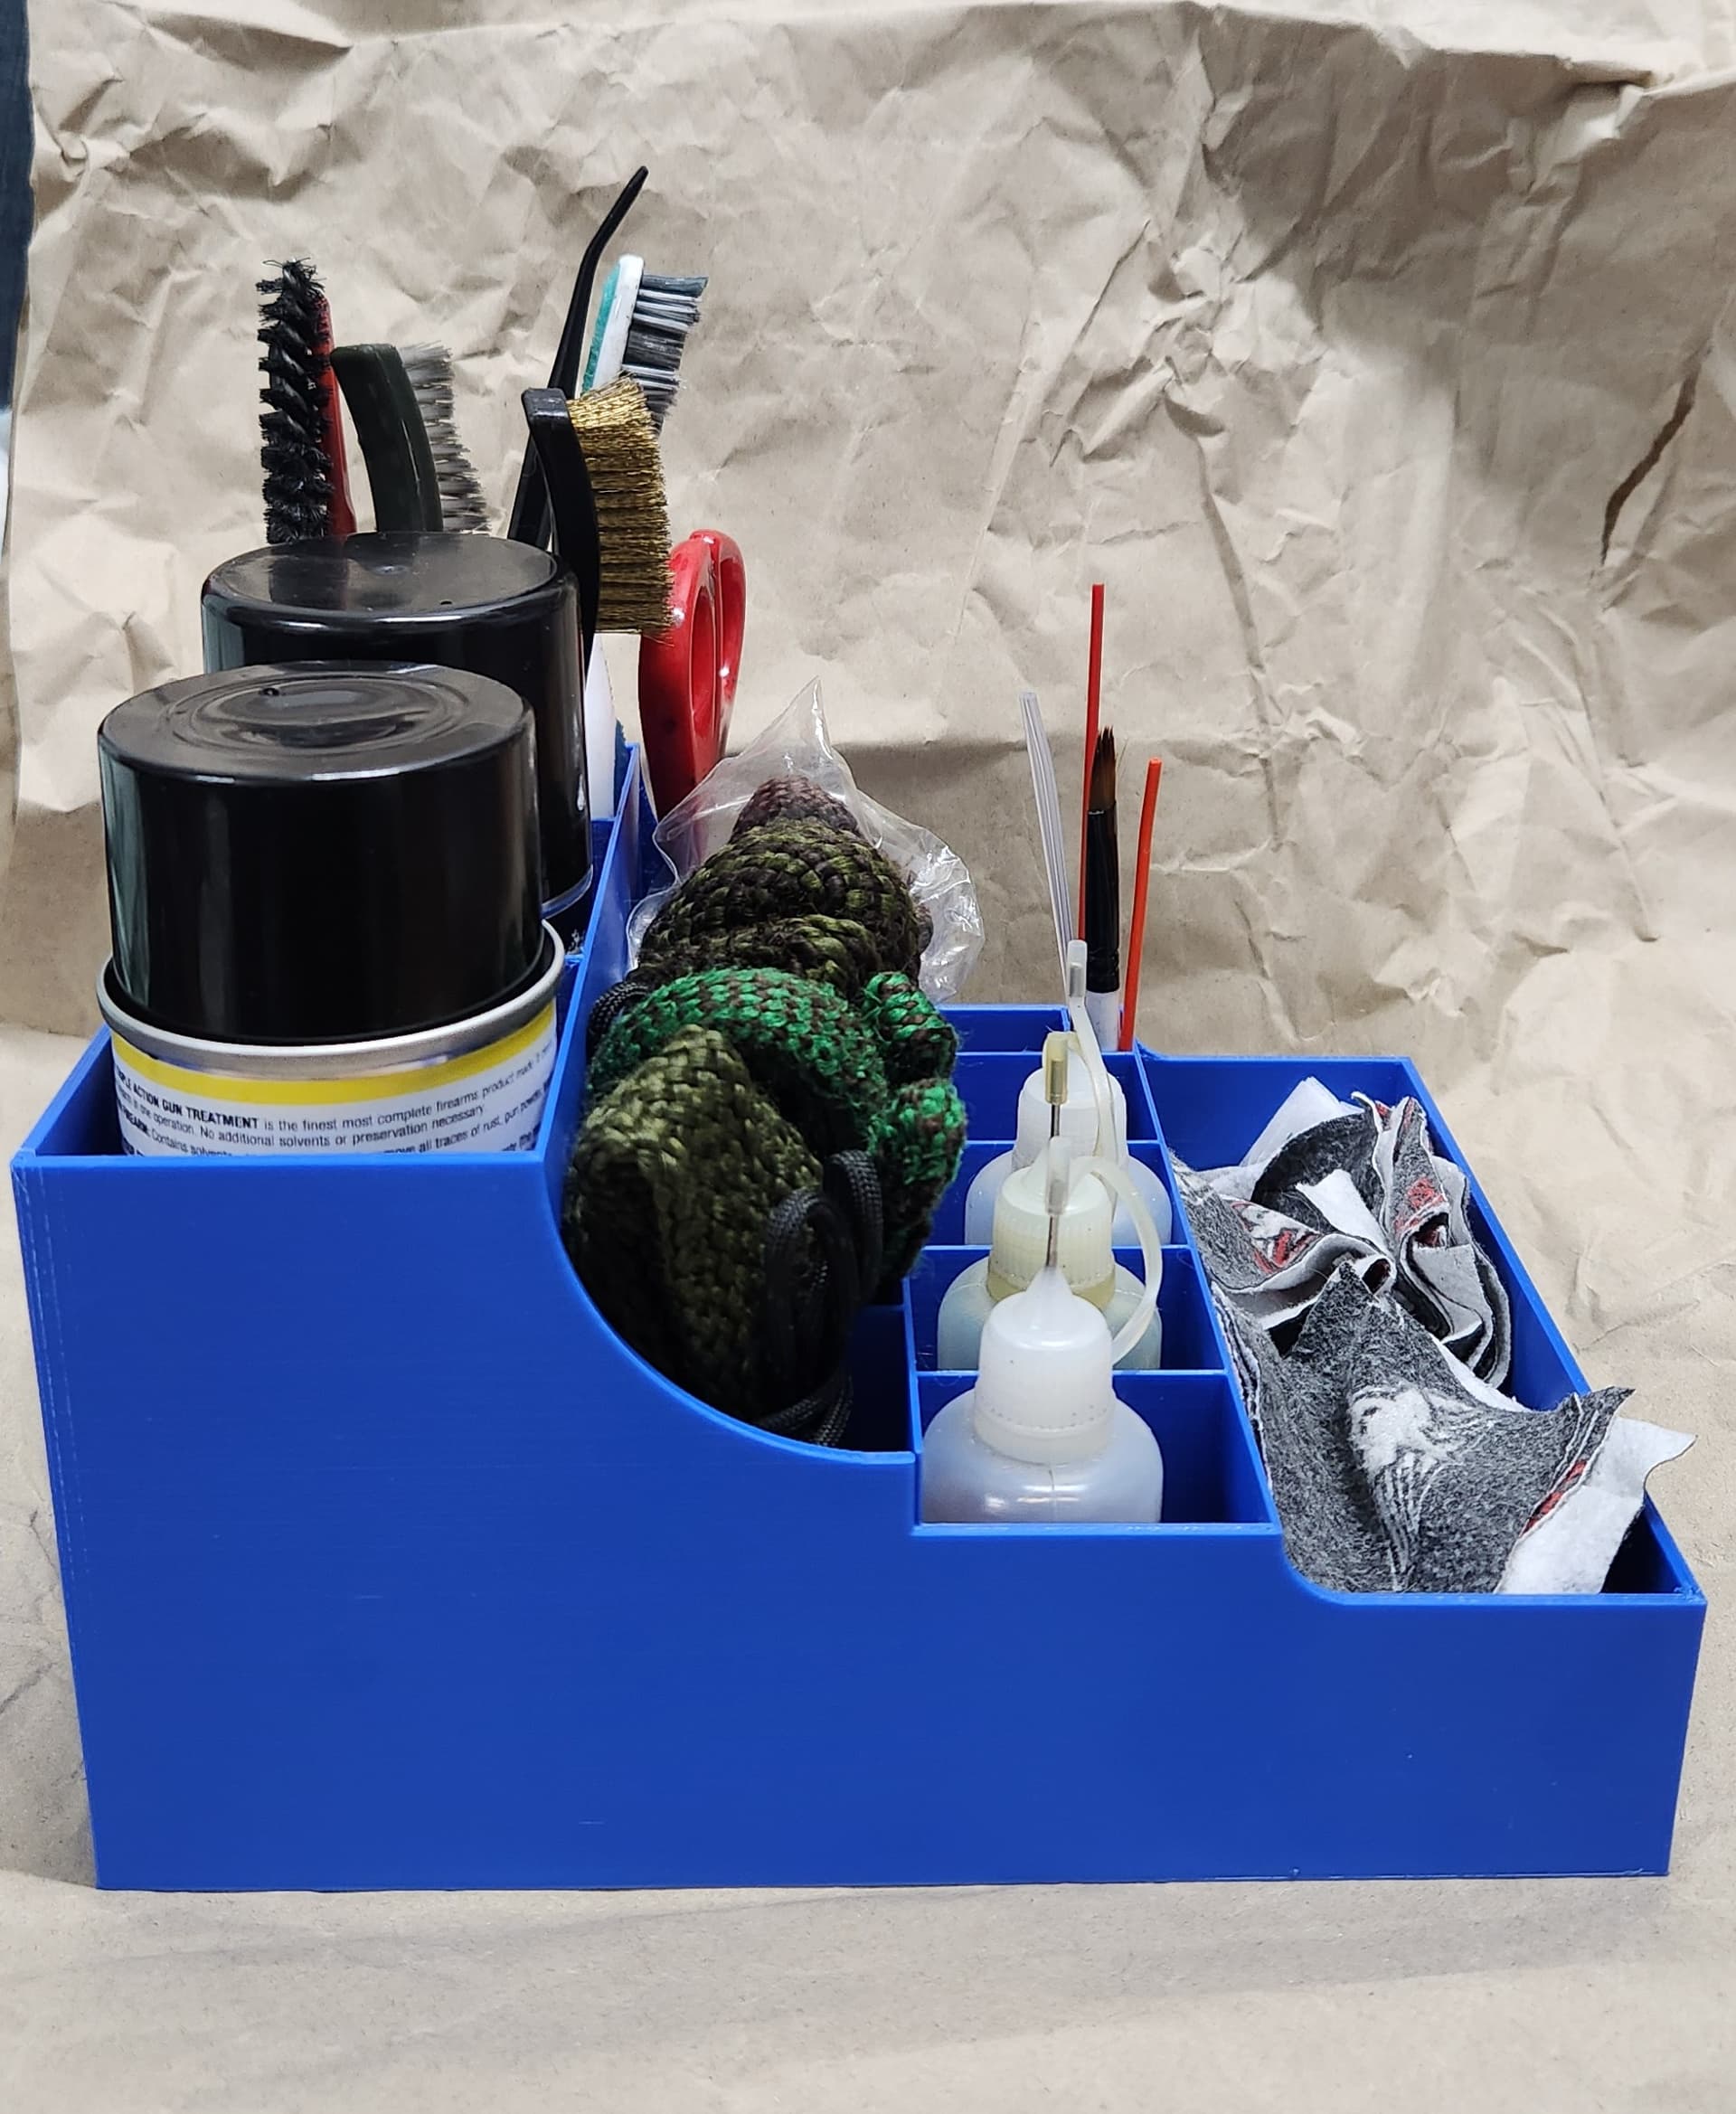
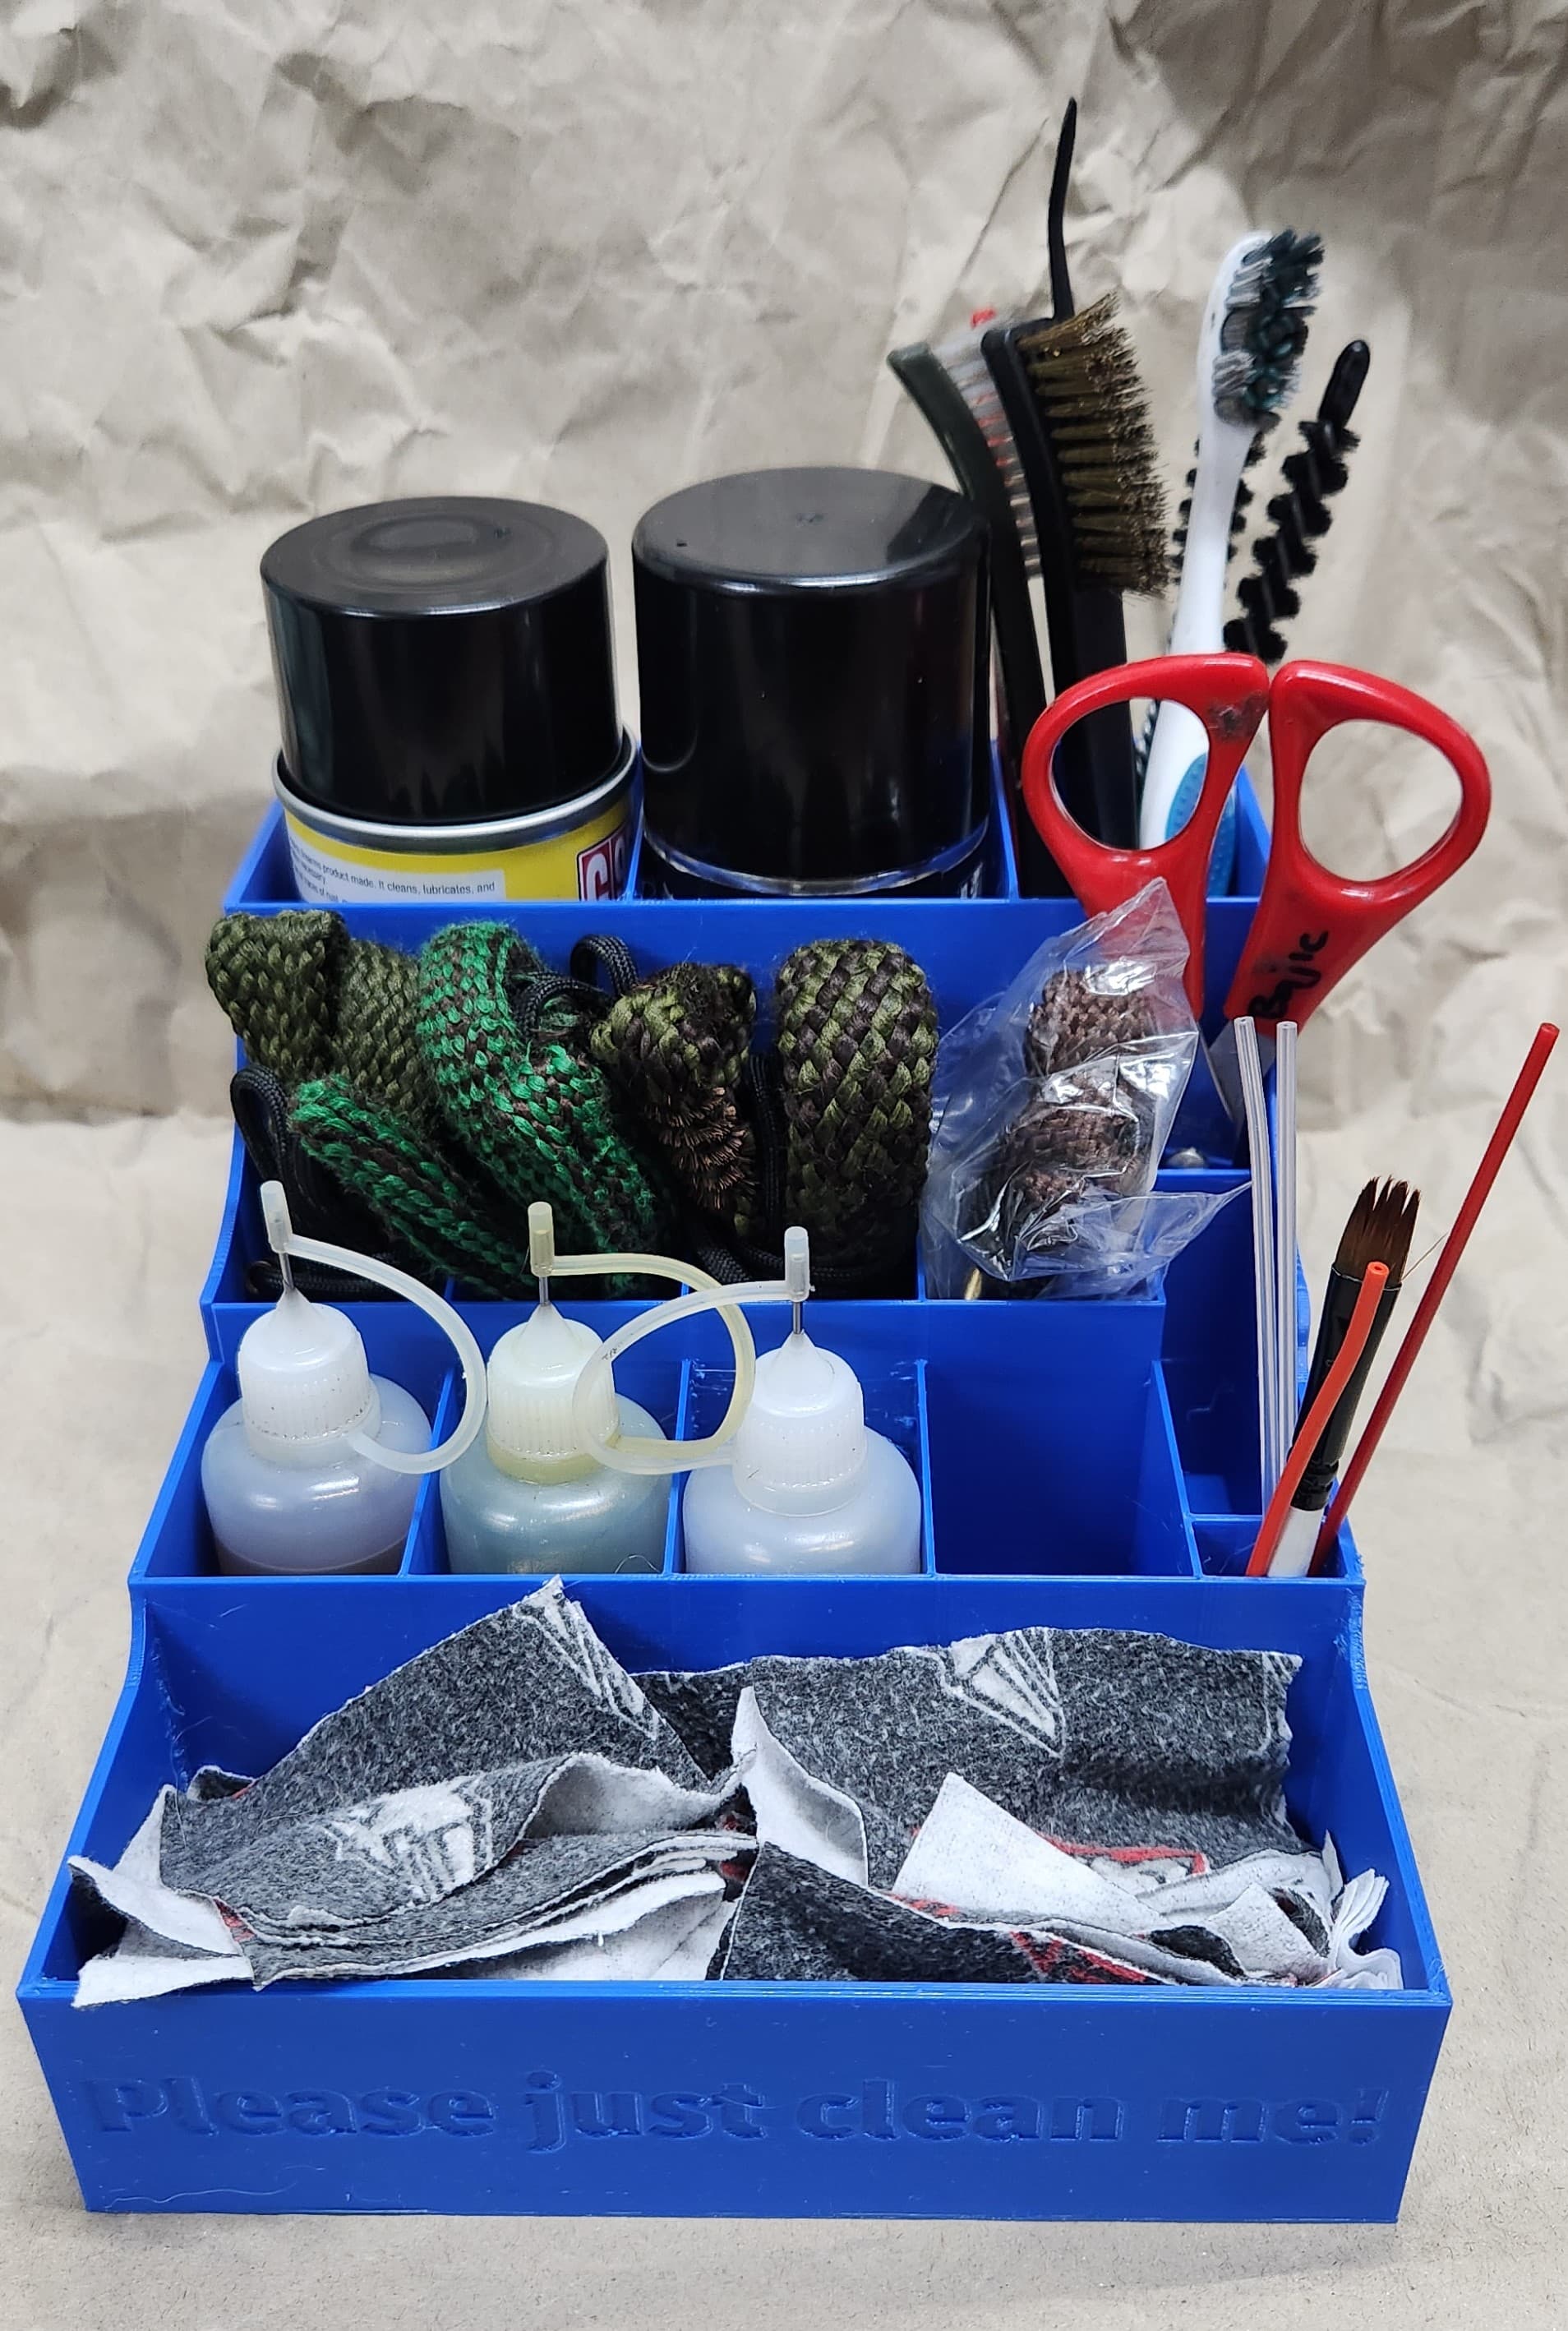
Pretty happy with it.
5 Likes
Nice! Did you make me one for Xmas?? ![]()
Yes. It’s in the mail, but with peak holiday parcels it will probably get lost. It’s the thought that counts, right?
1 Like
It is indeed. Bloody Aus Post, they always stuff things up…
I wonder…
If I push one of the sides out, maybe +50mm I will get space for full size pistol cleaning rods.
Then I can push it up and have a slide out draw for jags and attachments.
All very doable.
…buuuut! Then I would need space for couple of jars with pre-soaked patches.
Unless I can fit the jars in the sliding draw at the bottom. Let’s say I need another 80mm, which brings us to circa 182mm. Getting a little big for a utilitarian tool I think.
I think you should go all out and do a full benchtop cleaning station complete with spots for everything, a couple of drawers, and some doohickies & thingamabobs. Oh and definitely a built in drink holder.
Ha-ha. Actually something I do notice a lot, people posting photos of their reloading area and make sure to capture a tinny in the shot. Like its somehow cool… Reality of an average Australian shooter’s overall intellectual capacity. Look, I’m 16, drinking is cool. Especially when trying to pay attention to detail. Like a bogan stamp tattooed across ones forehead.
1 Like
Closely followed by overgrown toenails in used guns advertisements. How hard is it to position a square over an object.

1 Like
Didn’t you know you’ve gotta knock back a sixer of VB stubbies before playing with tiny springs the size of bees dicks that are just waiting to shoot across the room and into another dimension.
Come to think of it, you should include a mini fridge as well as a drinks holder.
2 Likes
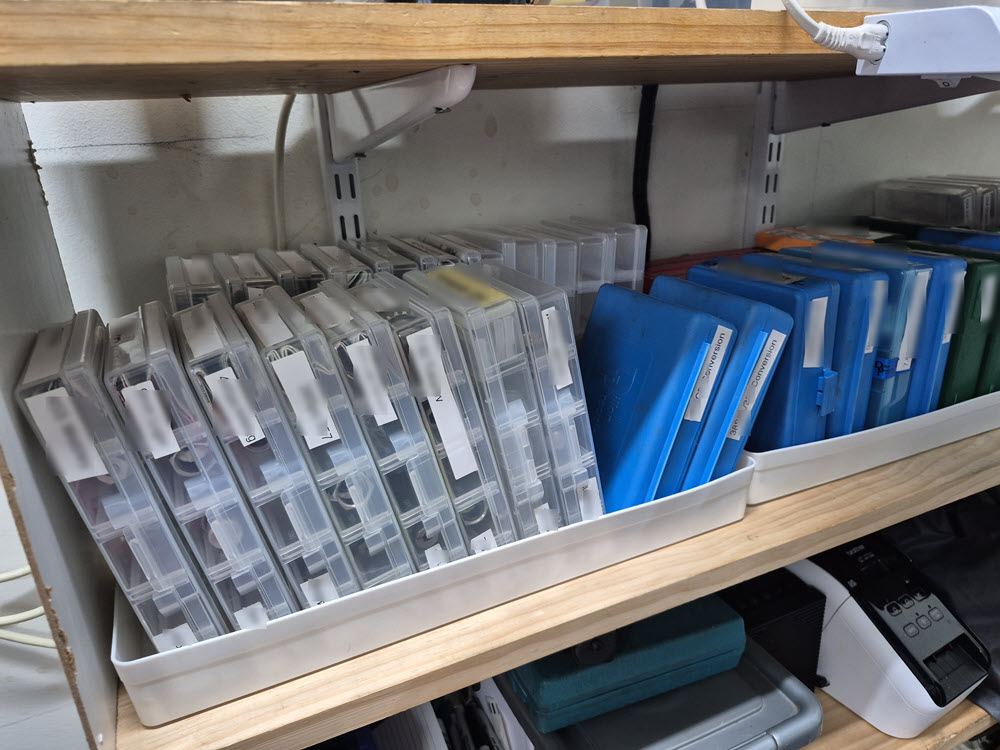
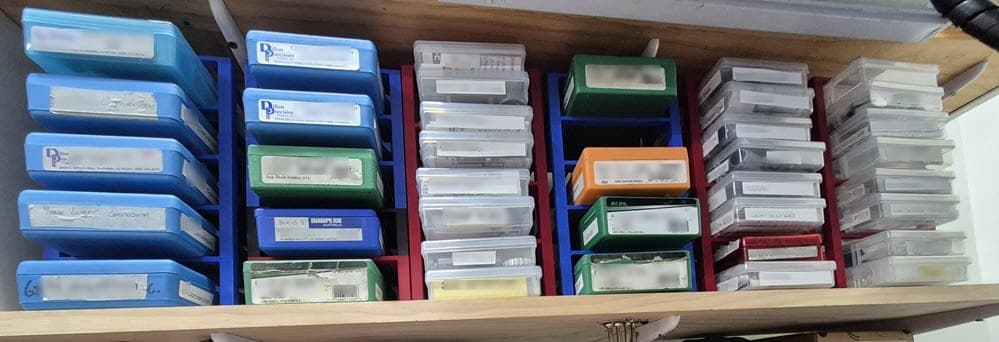
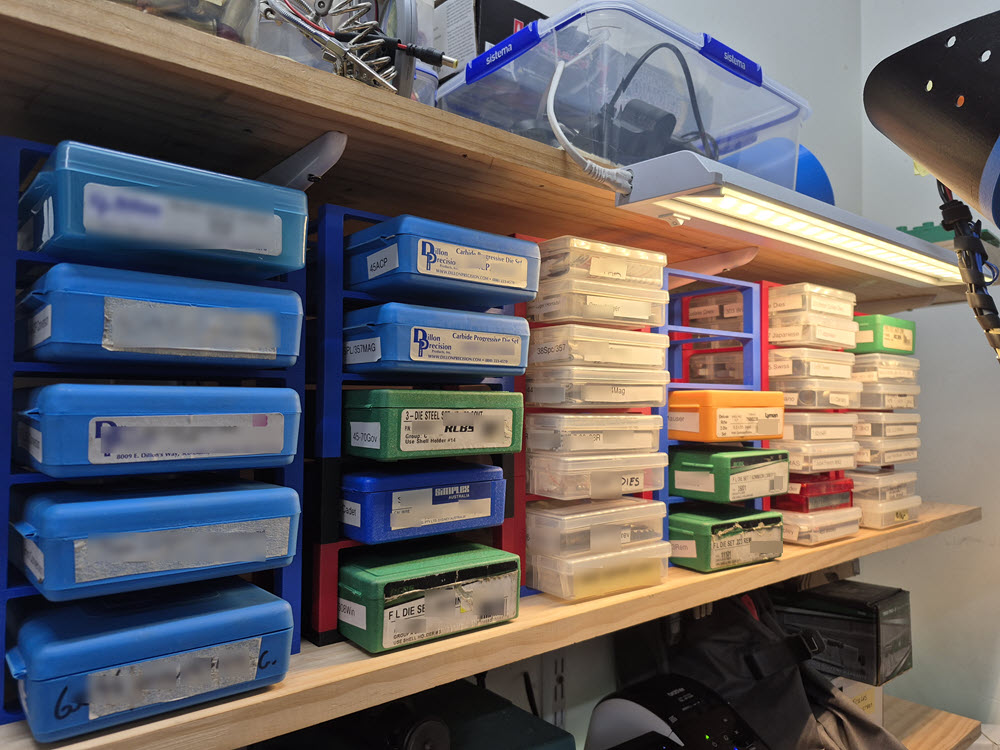
New reloading die storage
So, I have this shelf with a bunch of dies and various (die) tools I accumulated. I am not super happy with it. Two long rows, things fall over, storage trays are very wonky, etc. I can’t see what’s where and what I have and have to move things around to get to them. Not to mention I am one of those people who needs to have things on hand or I get demotivated.
Time for a re-do.
Sooooooooooooo… It was time.
First a few quick sketches and tests, what works the best.

(various design iterations)
I played around with shapes and lightning cuts, various joints and didn’t quite like most of it, one became a stationary box, but not what I was after.
I wanted something modular, that can accommodate various size boxes.
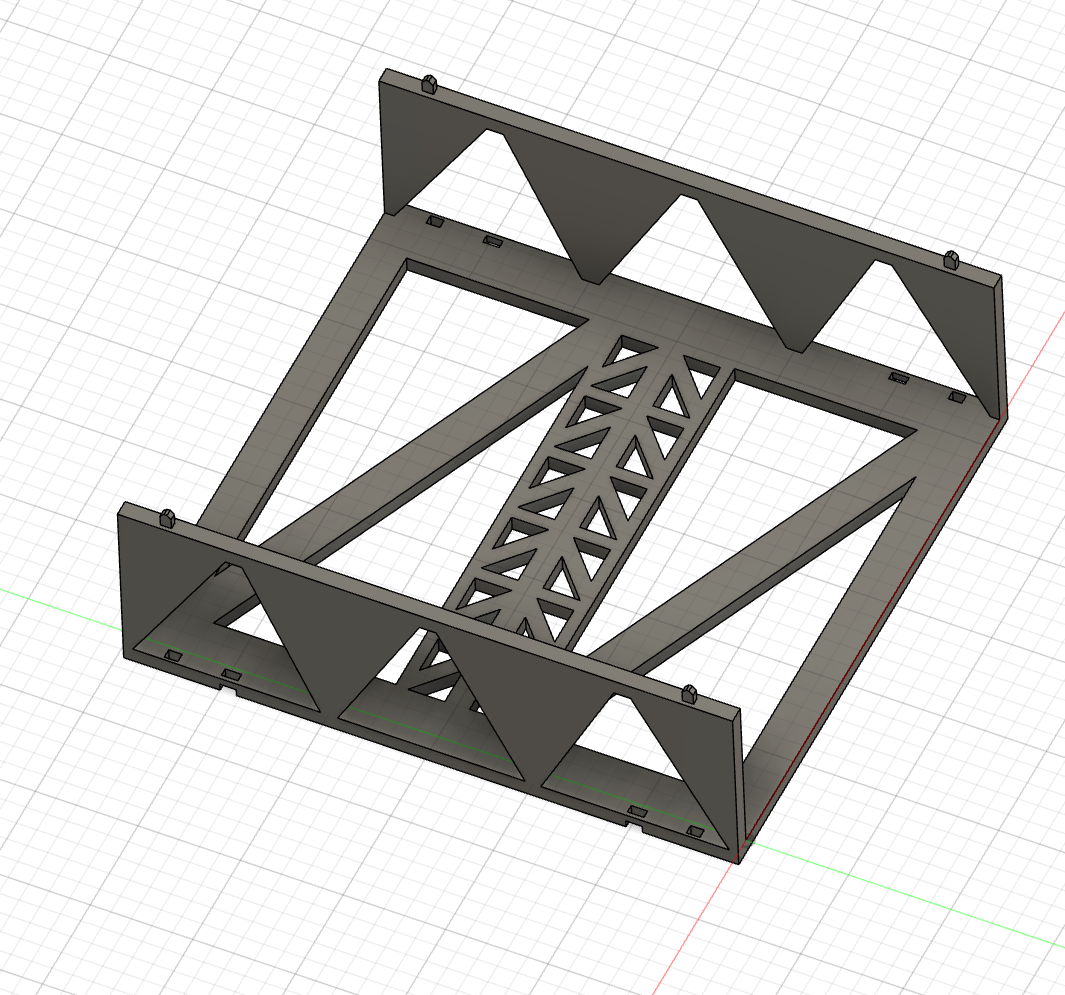
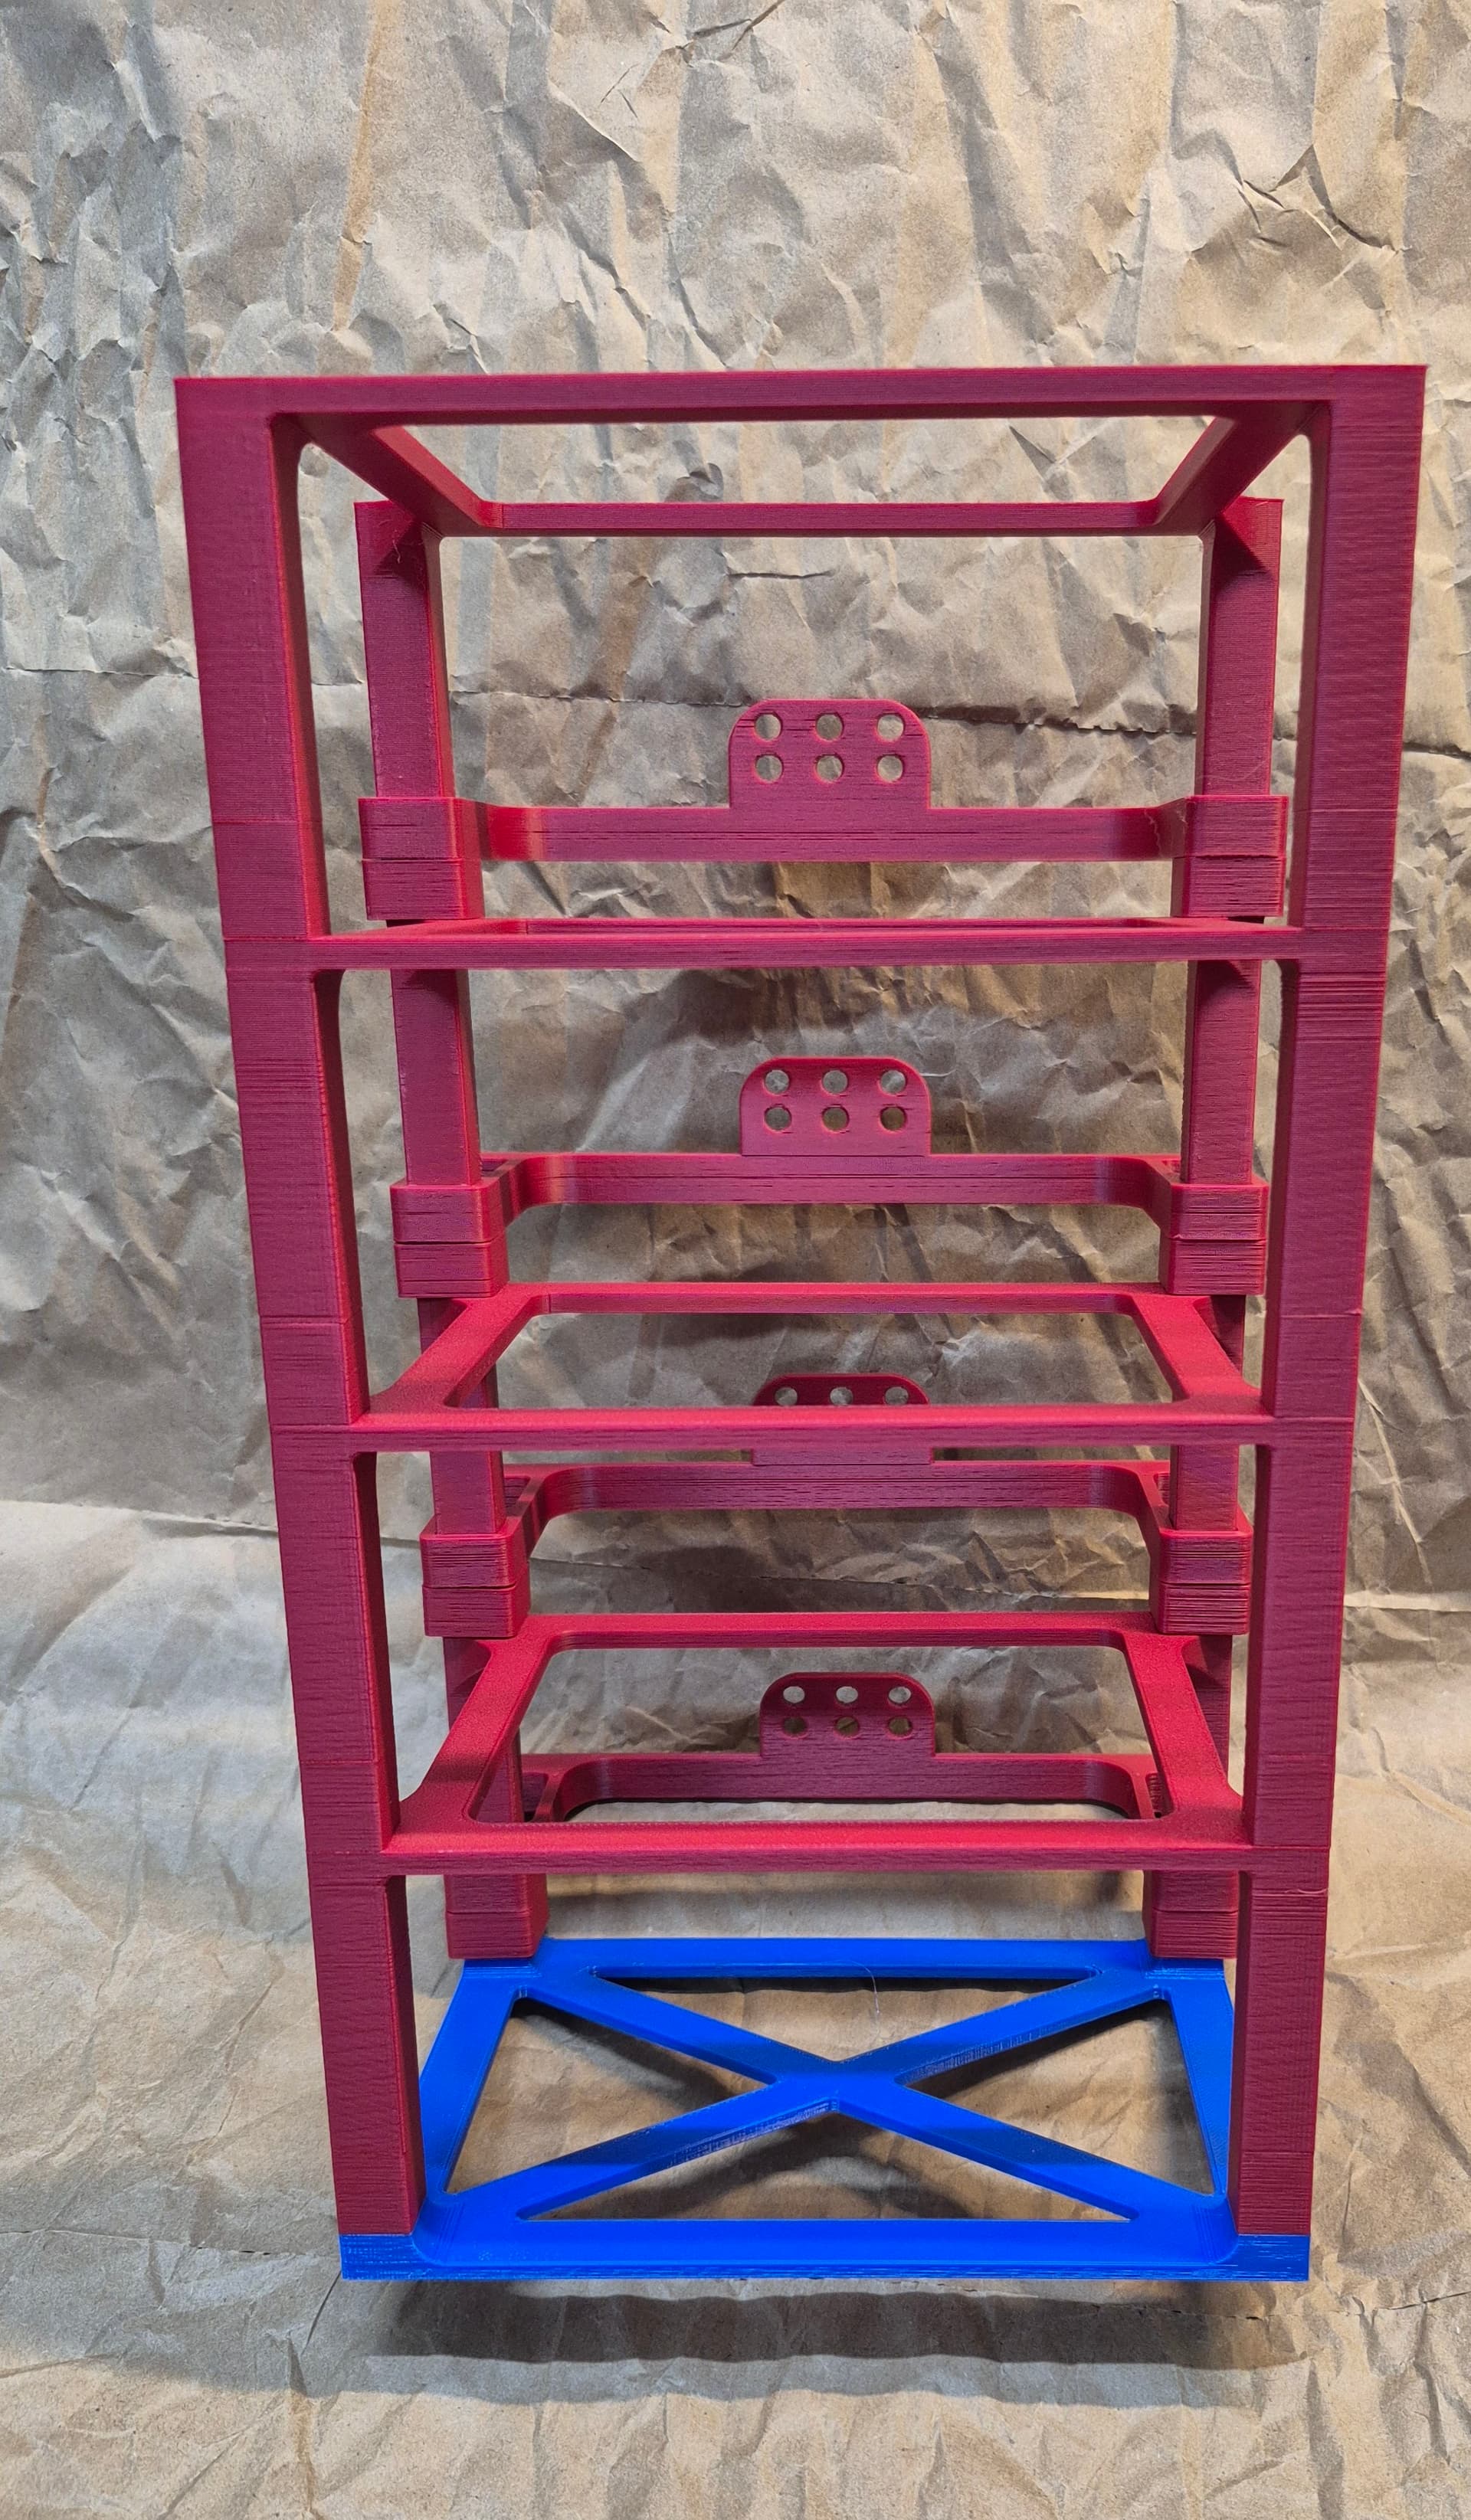
Back to the drawing board, what if I make something like a server rack… Hrmmm. Prototype time.
(each rack stack would have a base to add rigidity and avoid legs bowing)
Okay, we are getting somewhere.
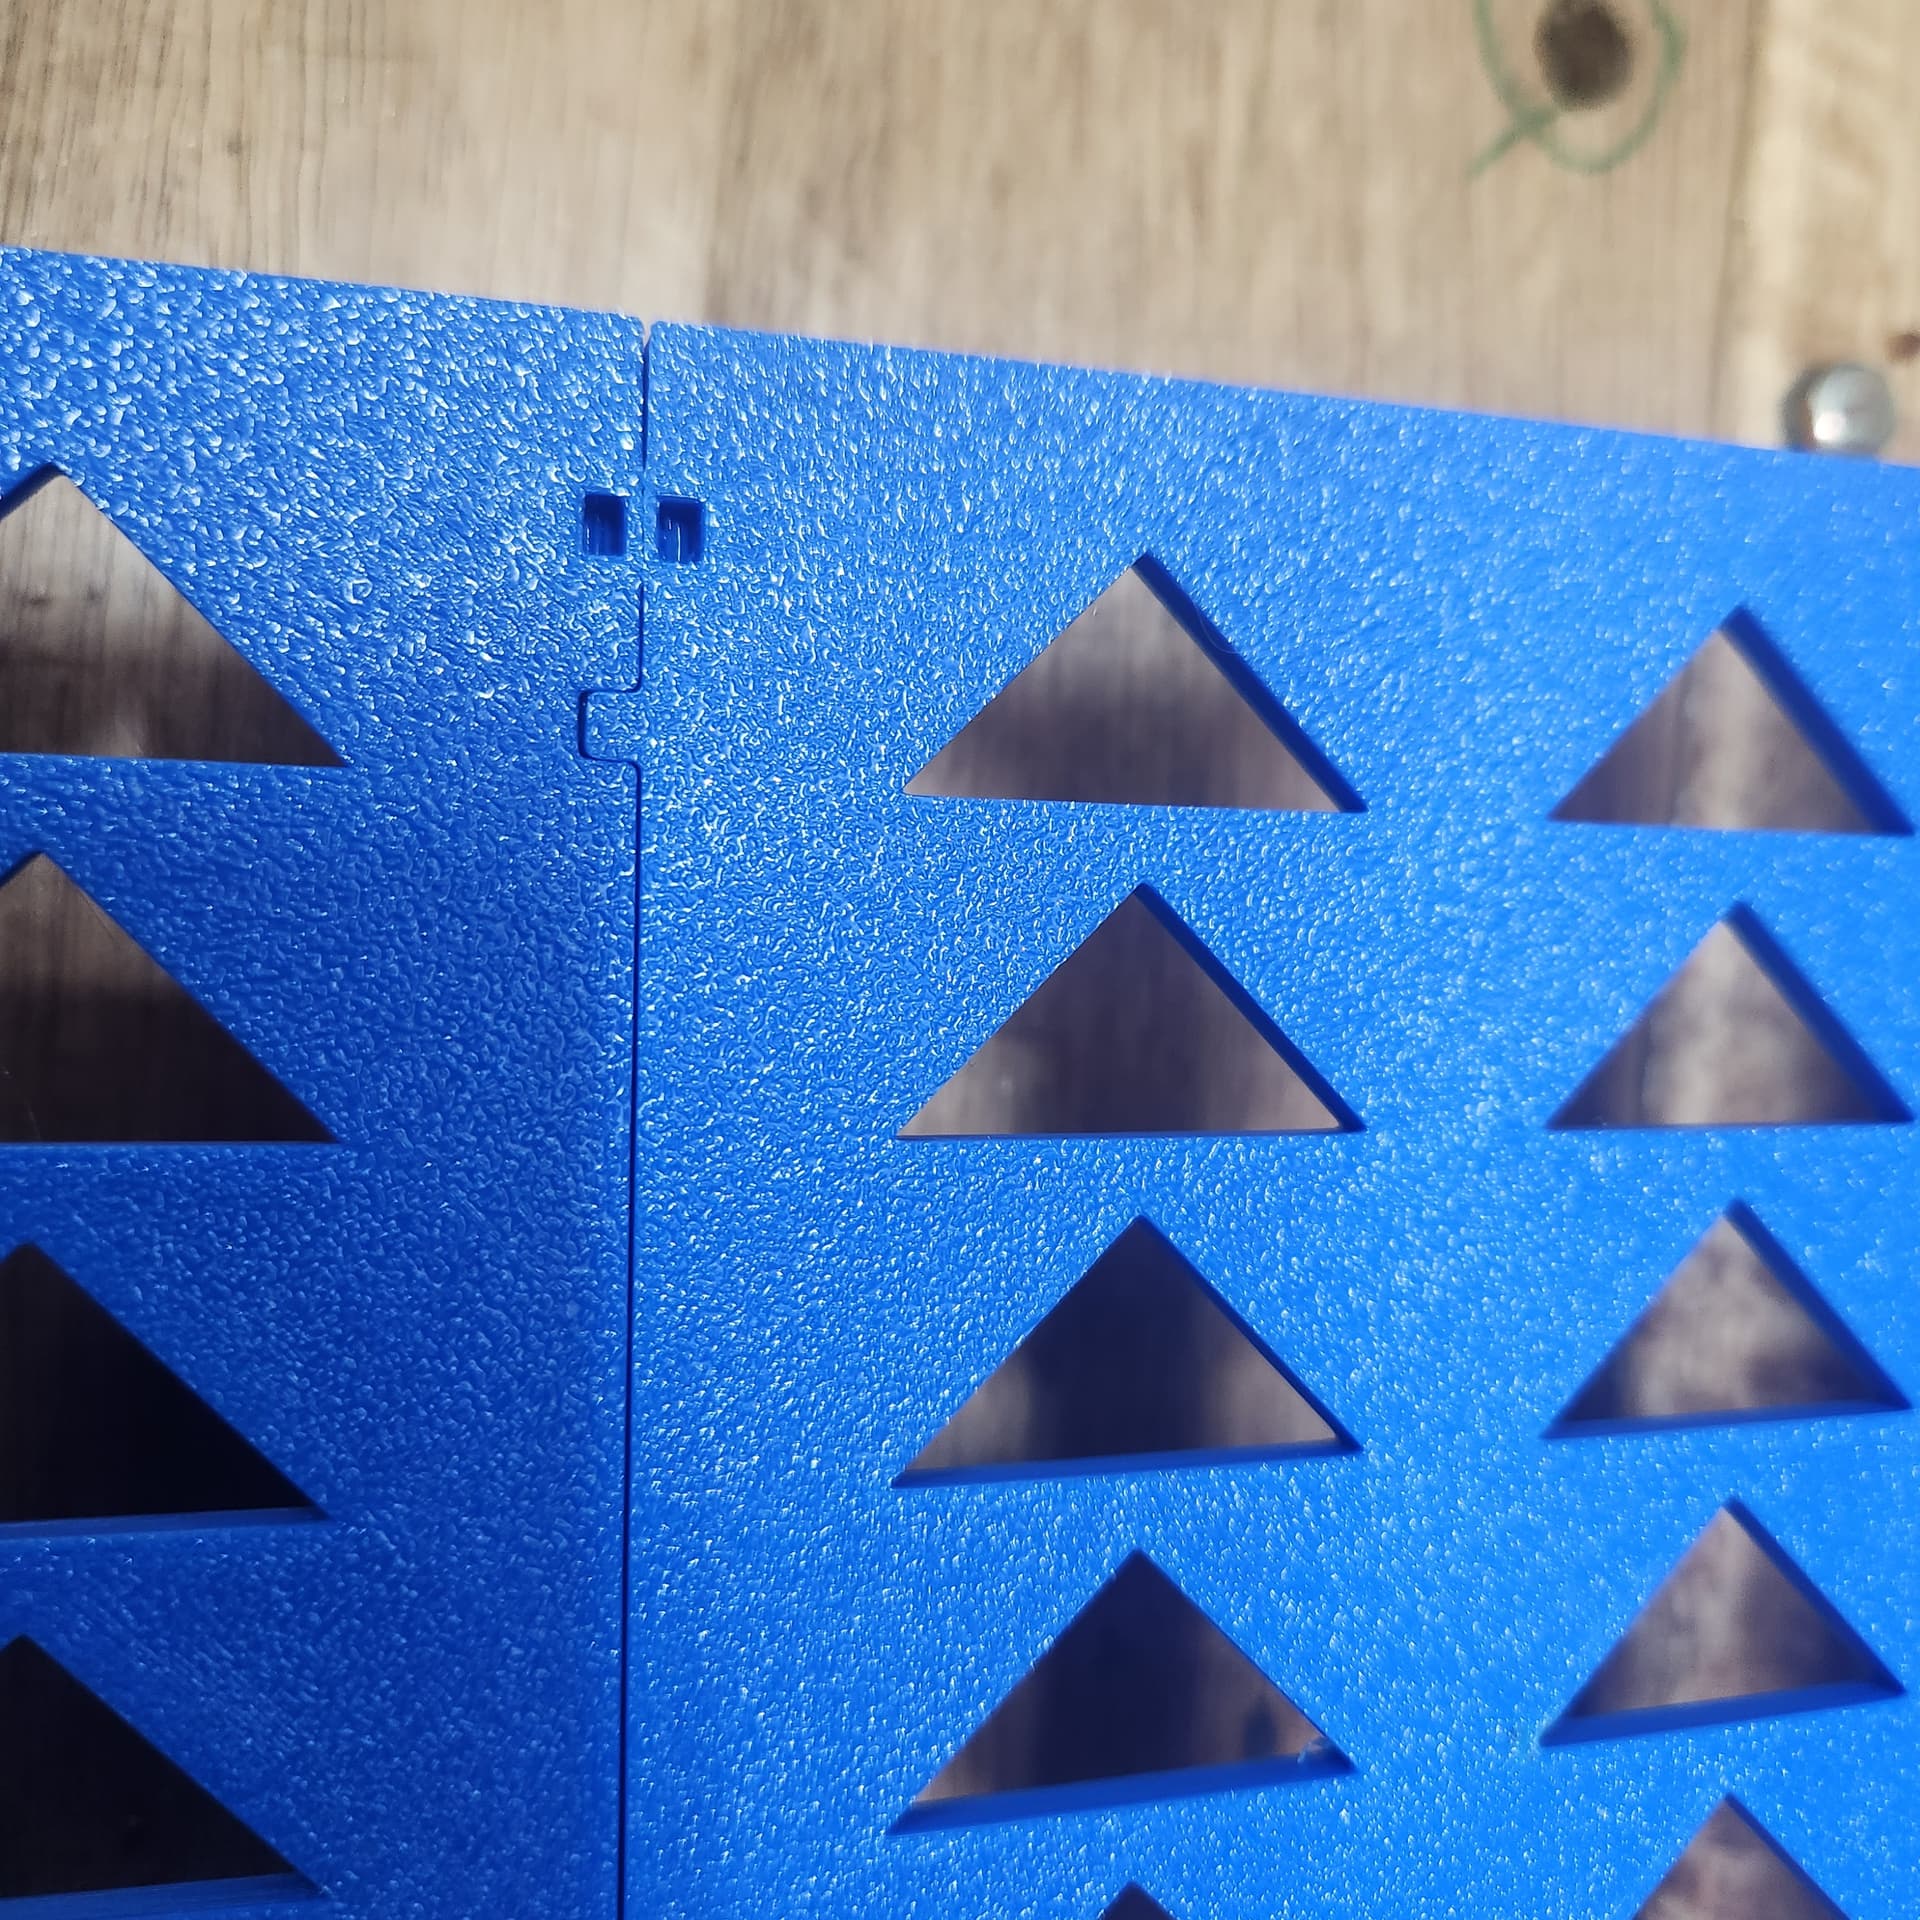
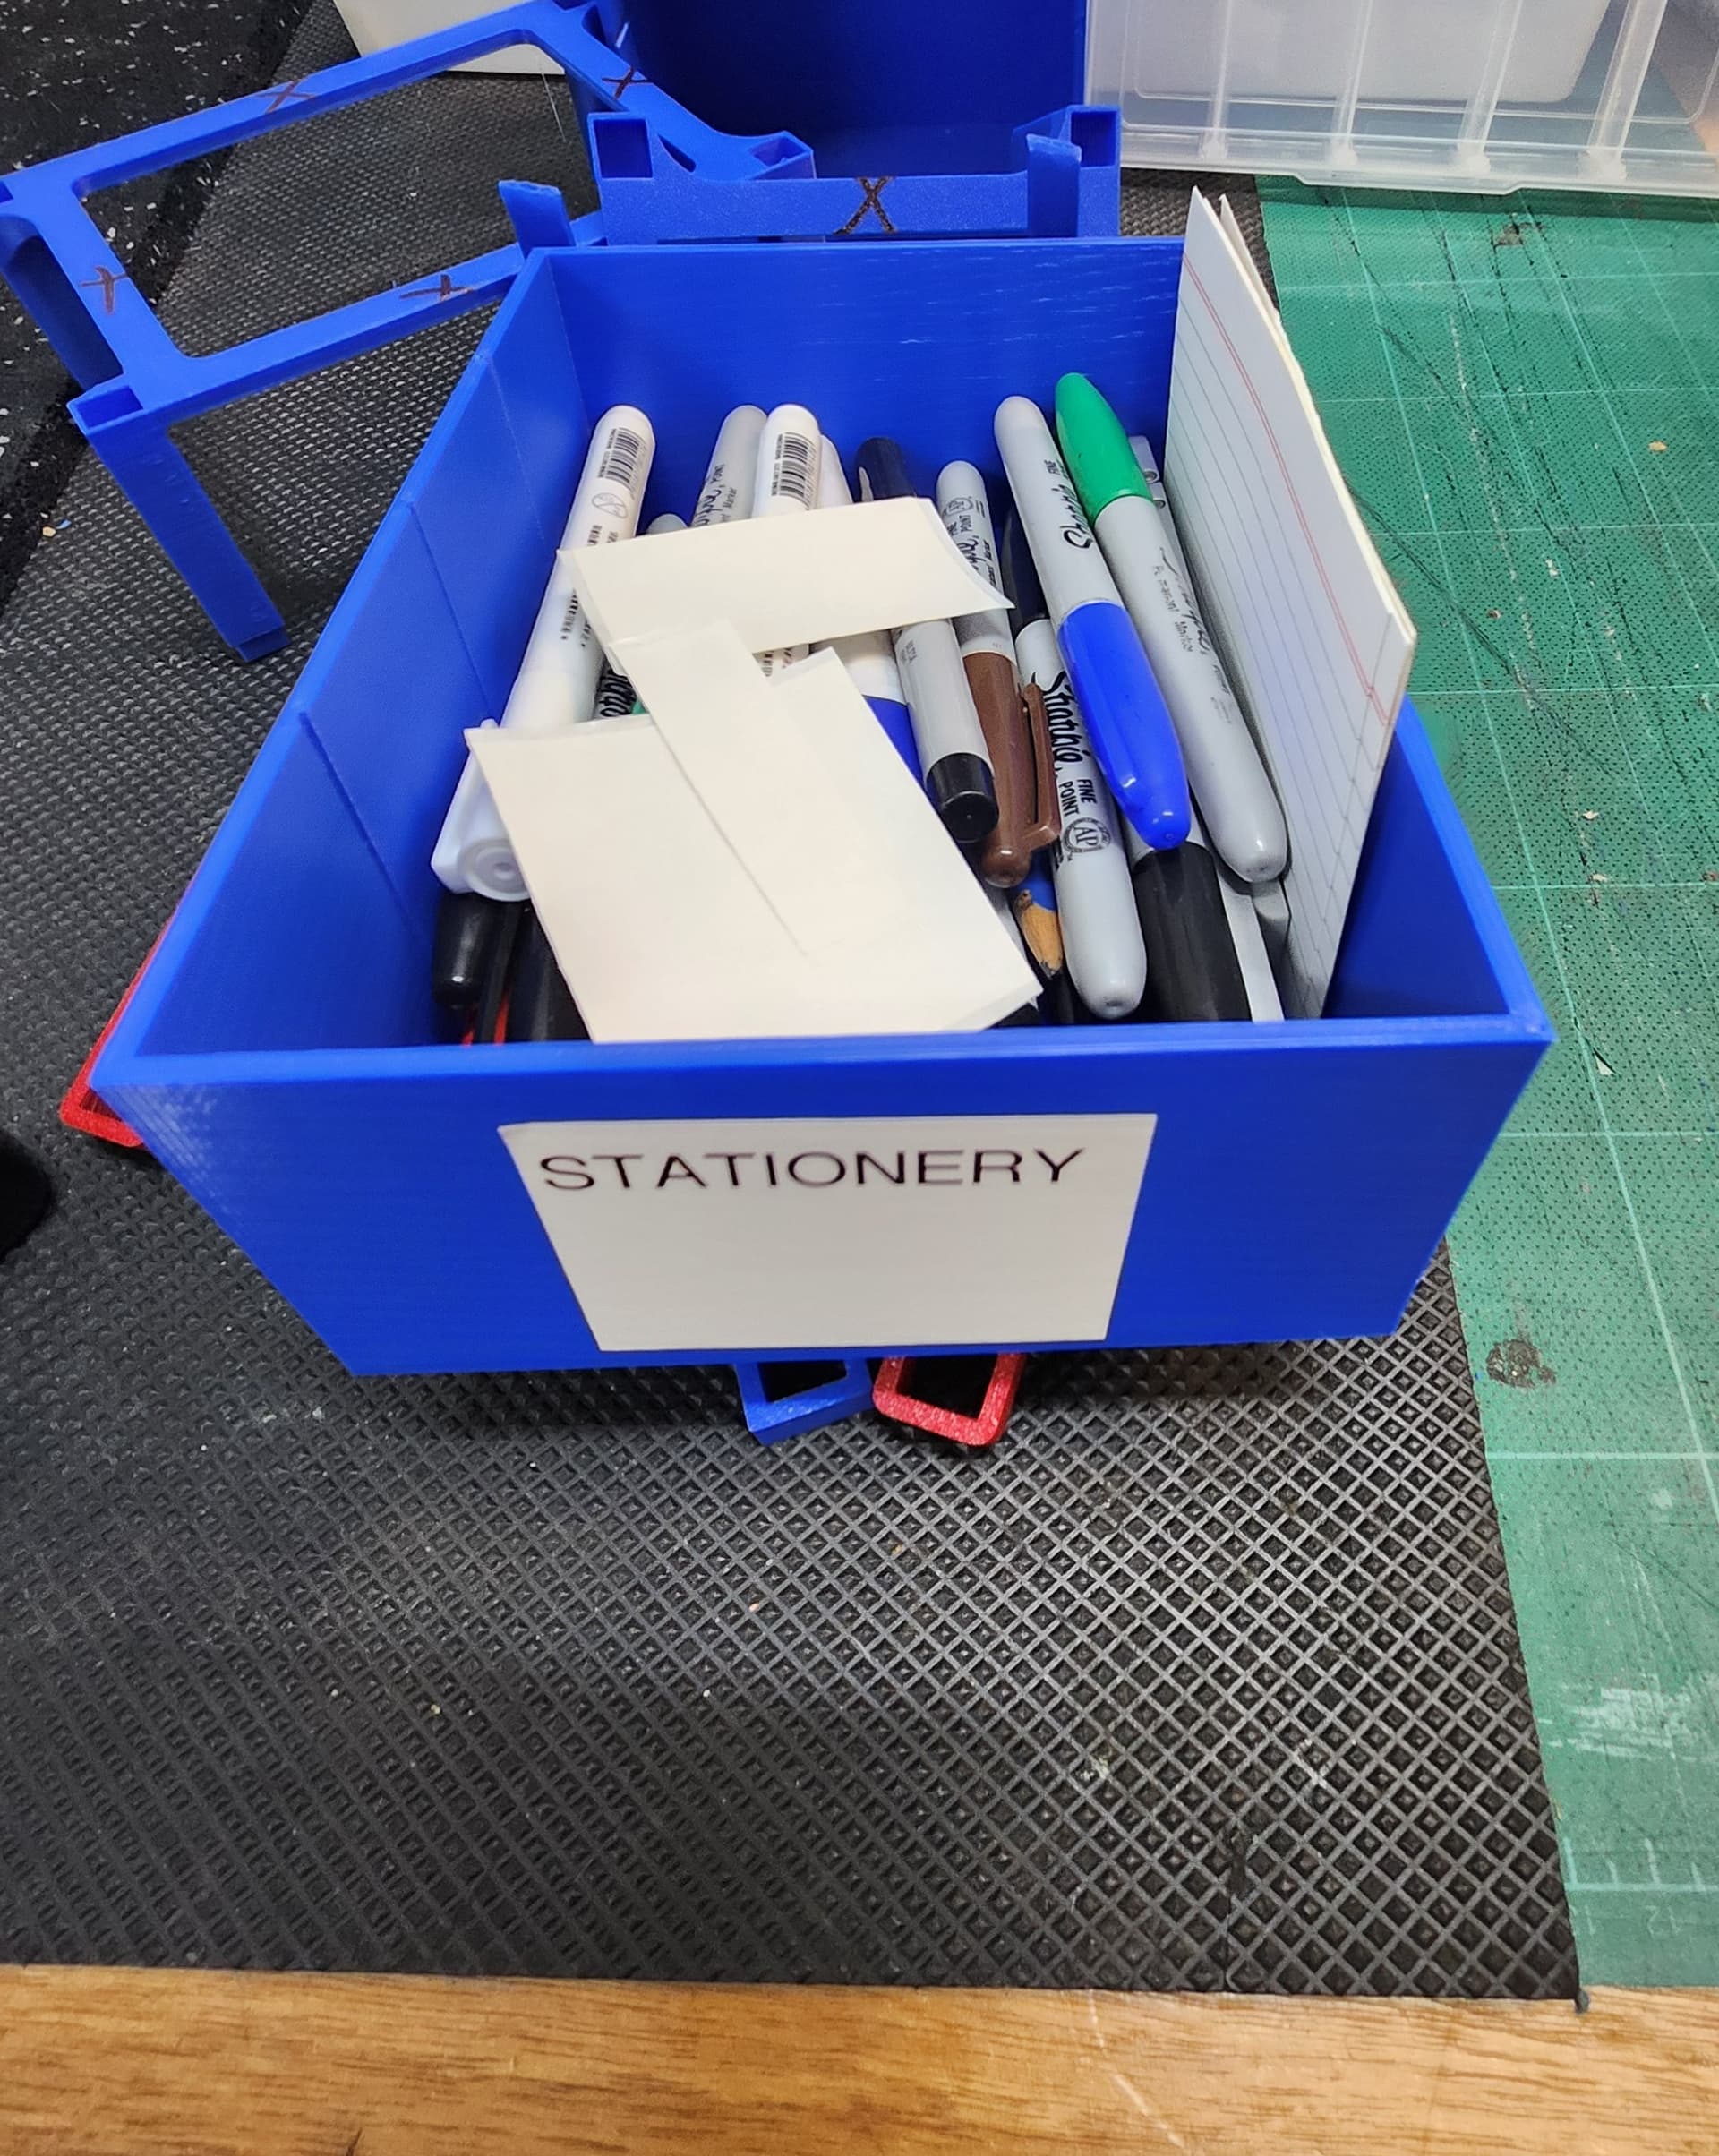
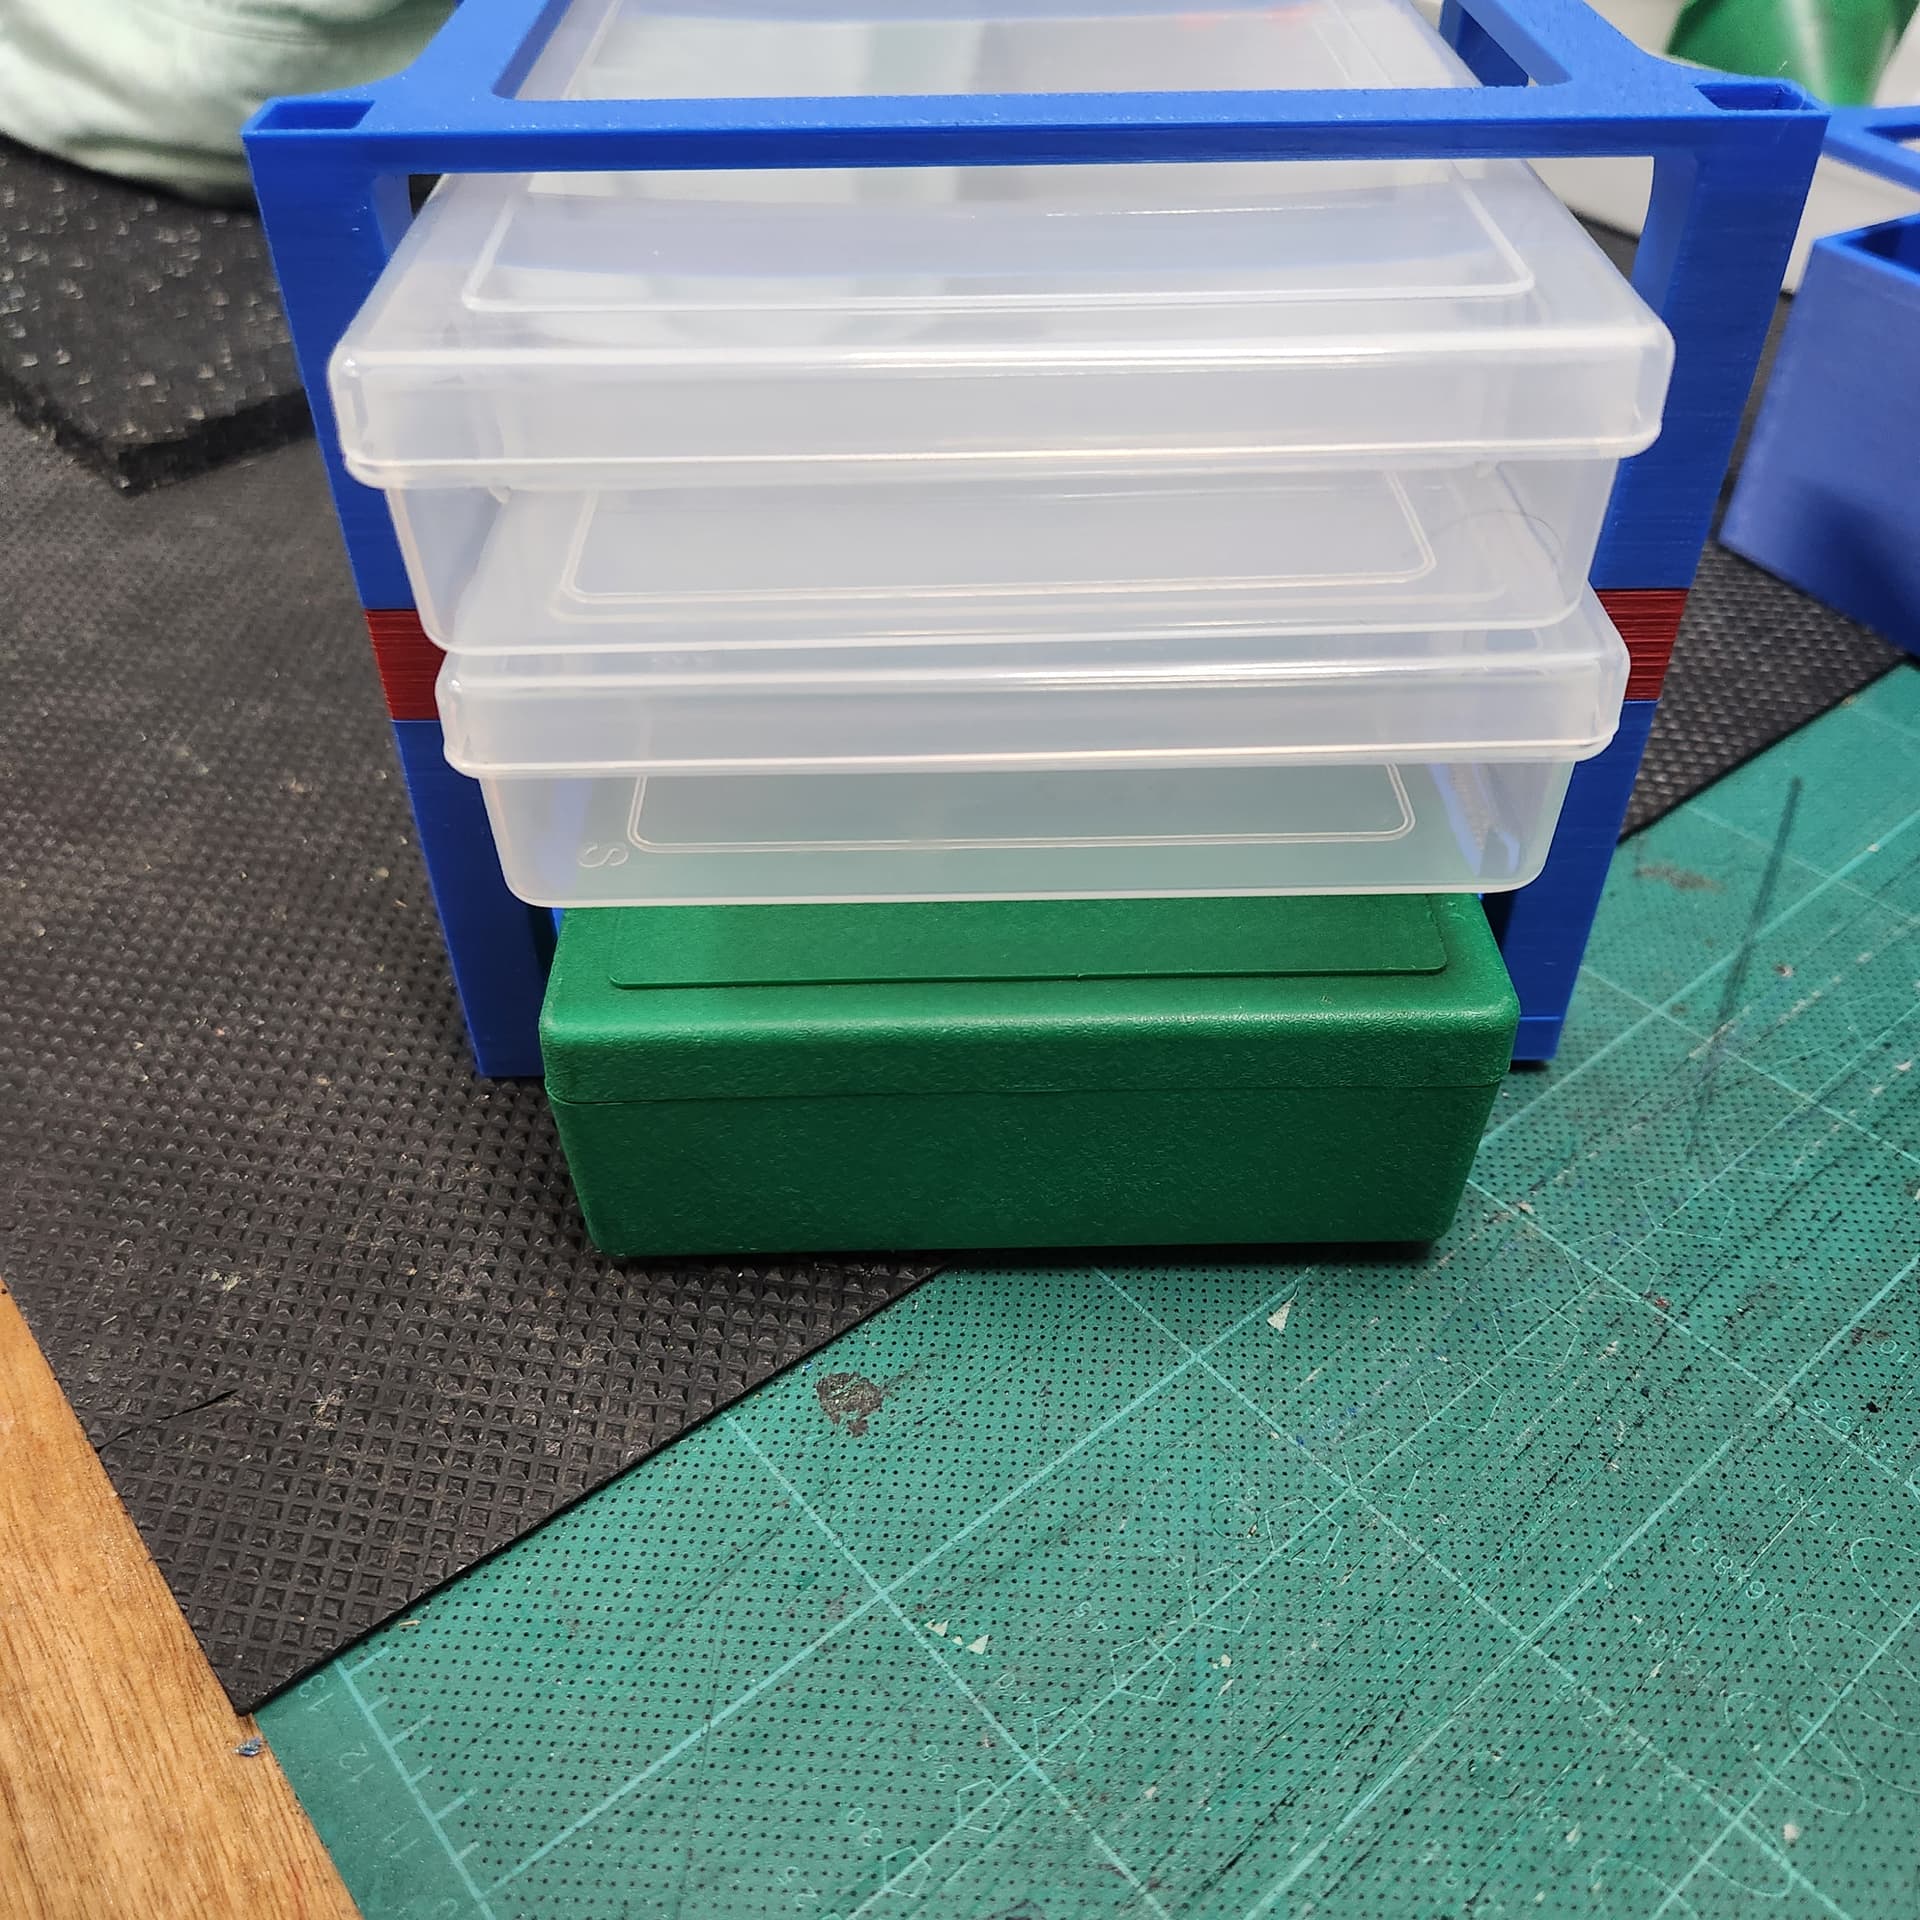
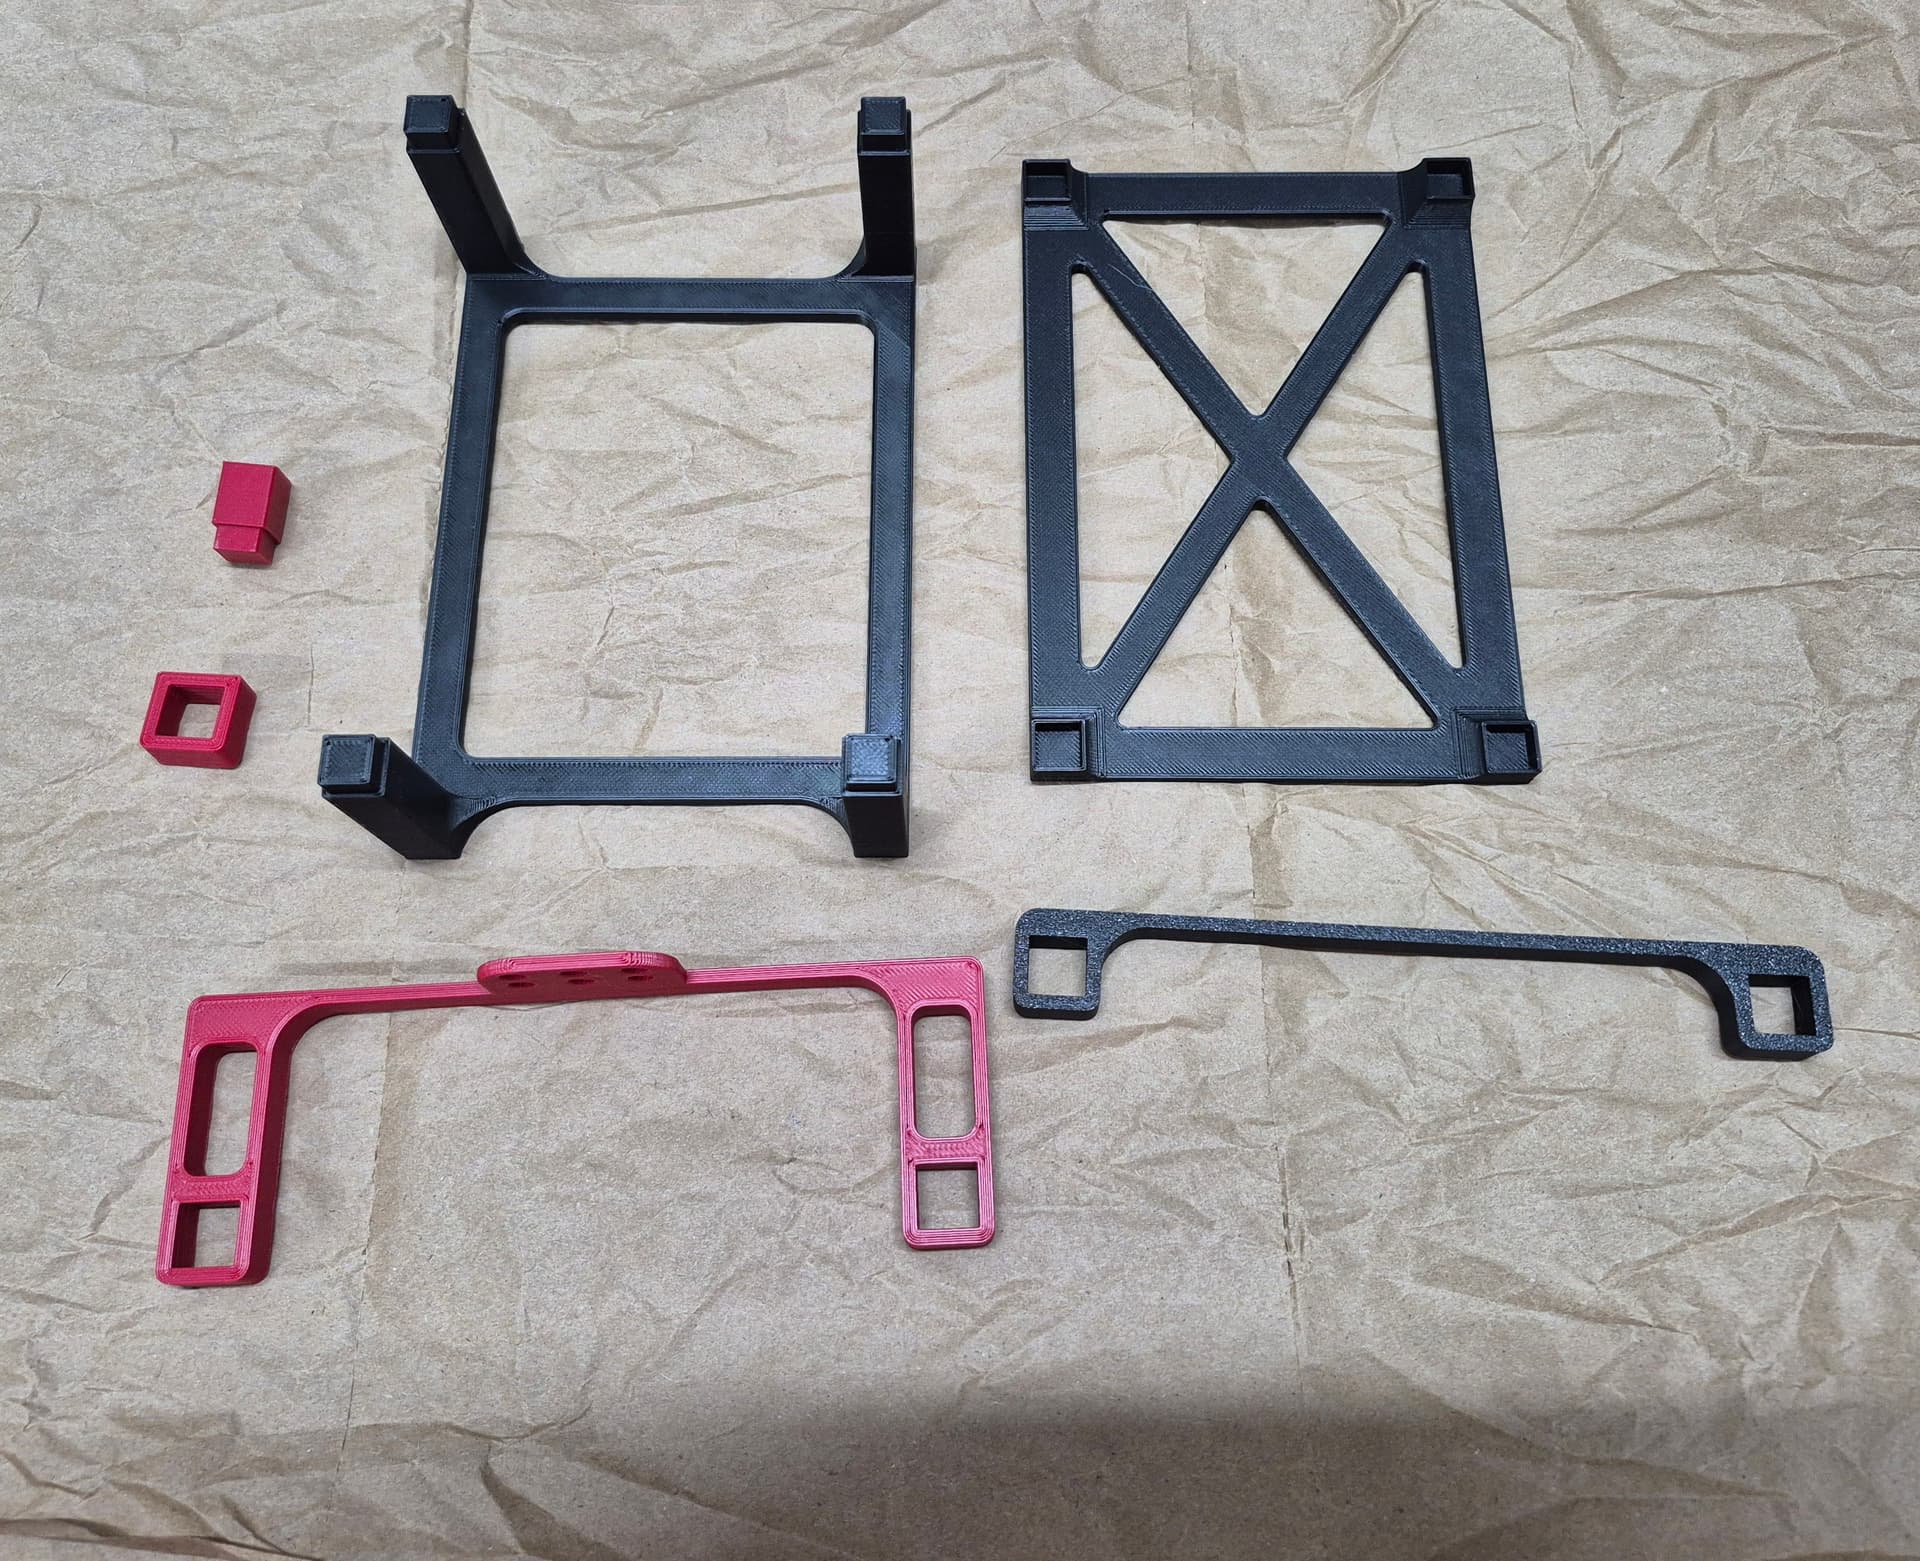
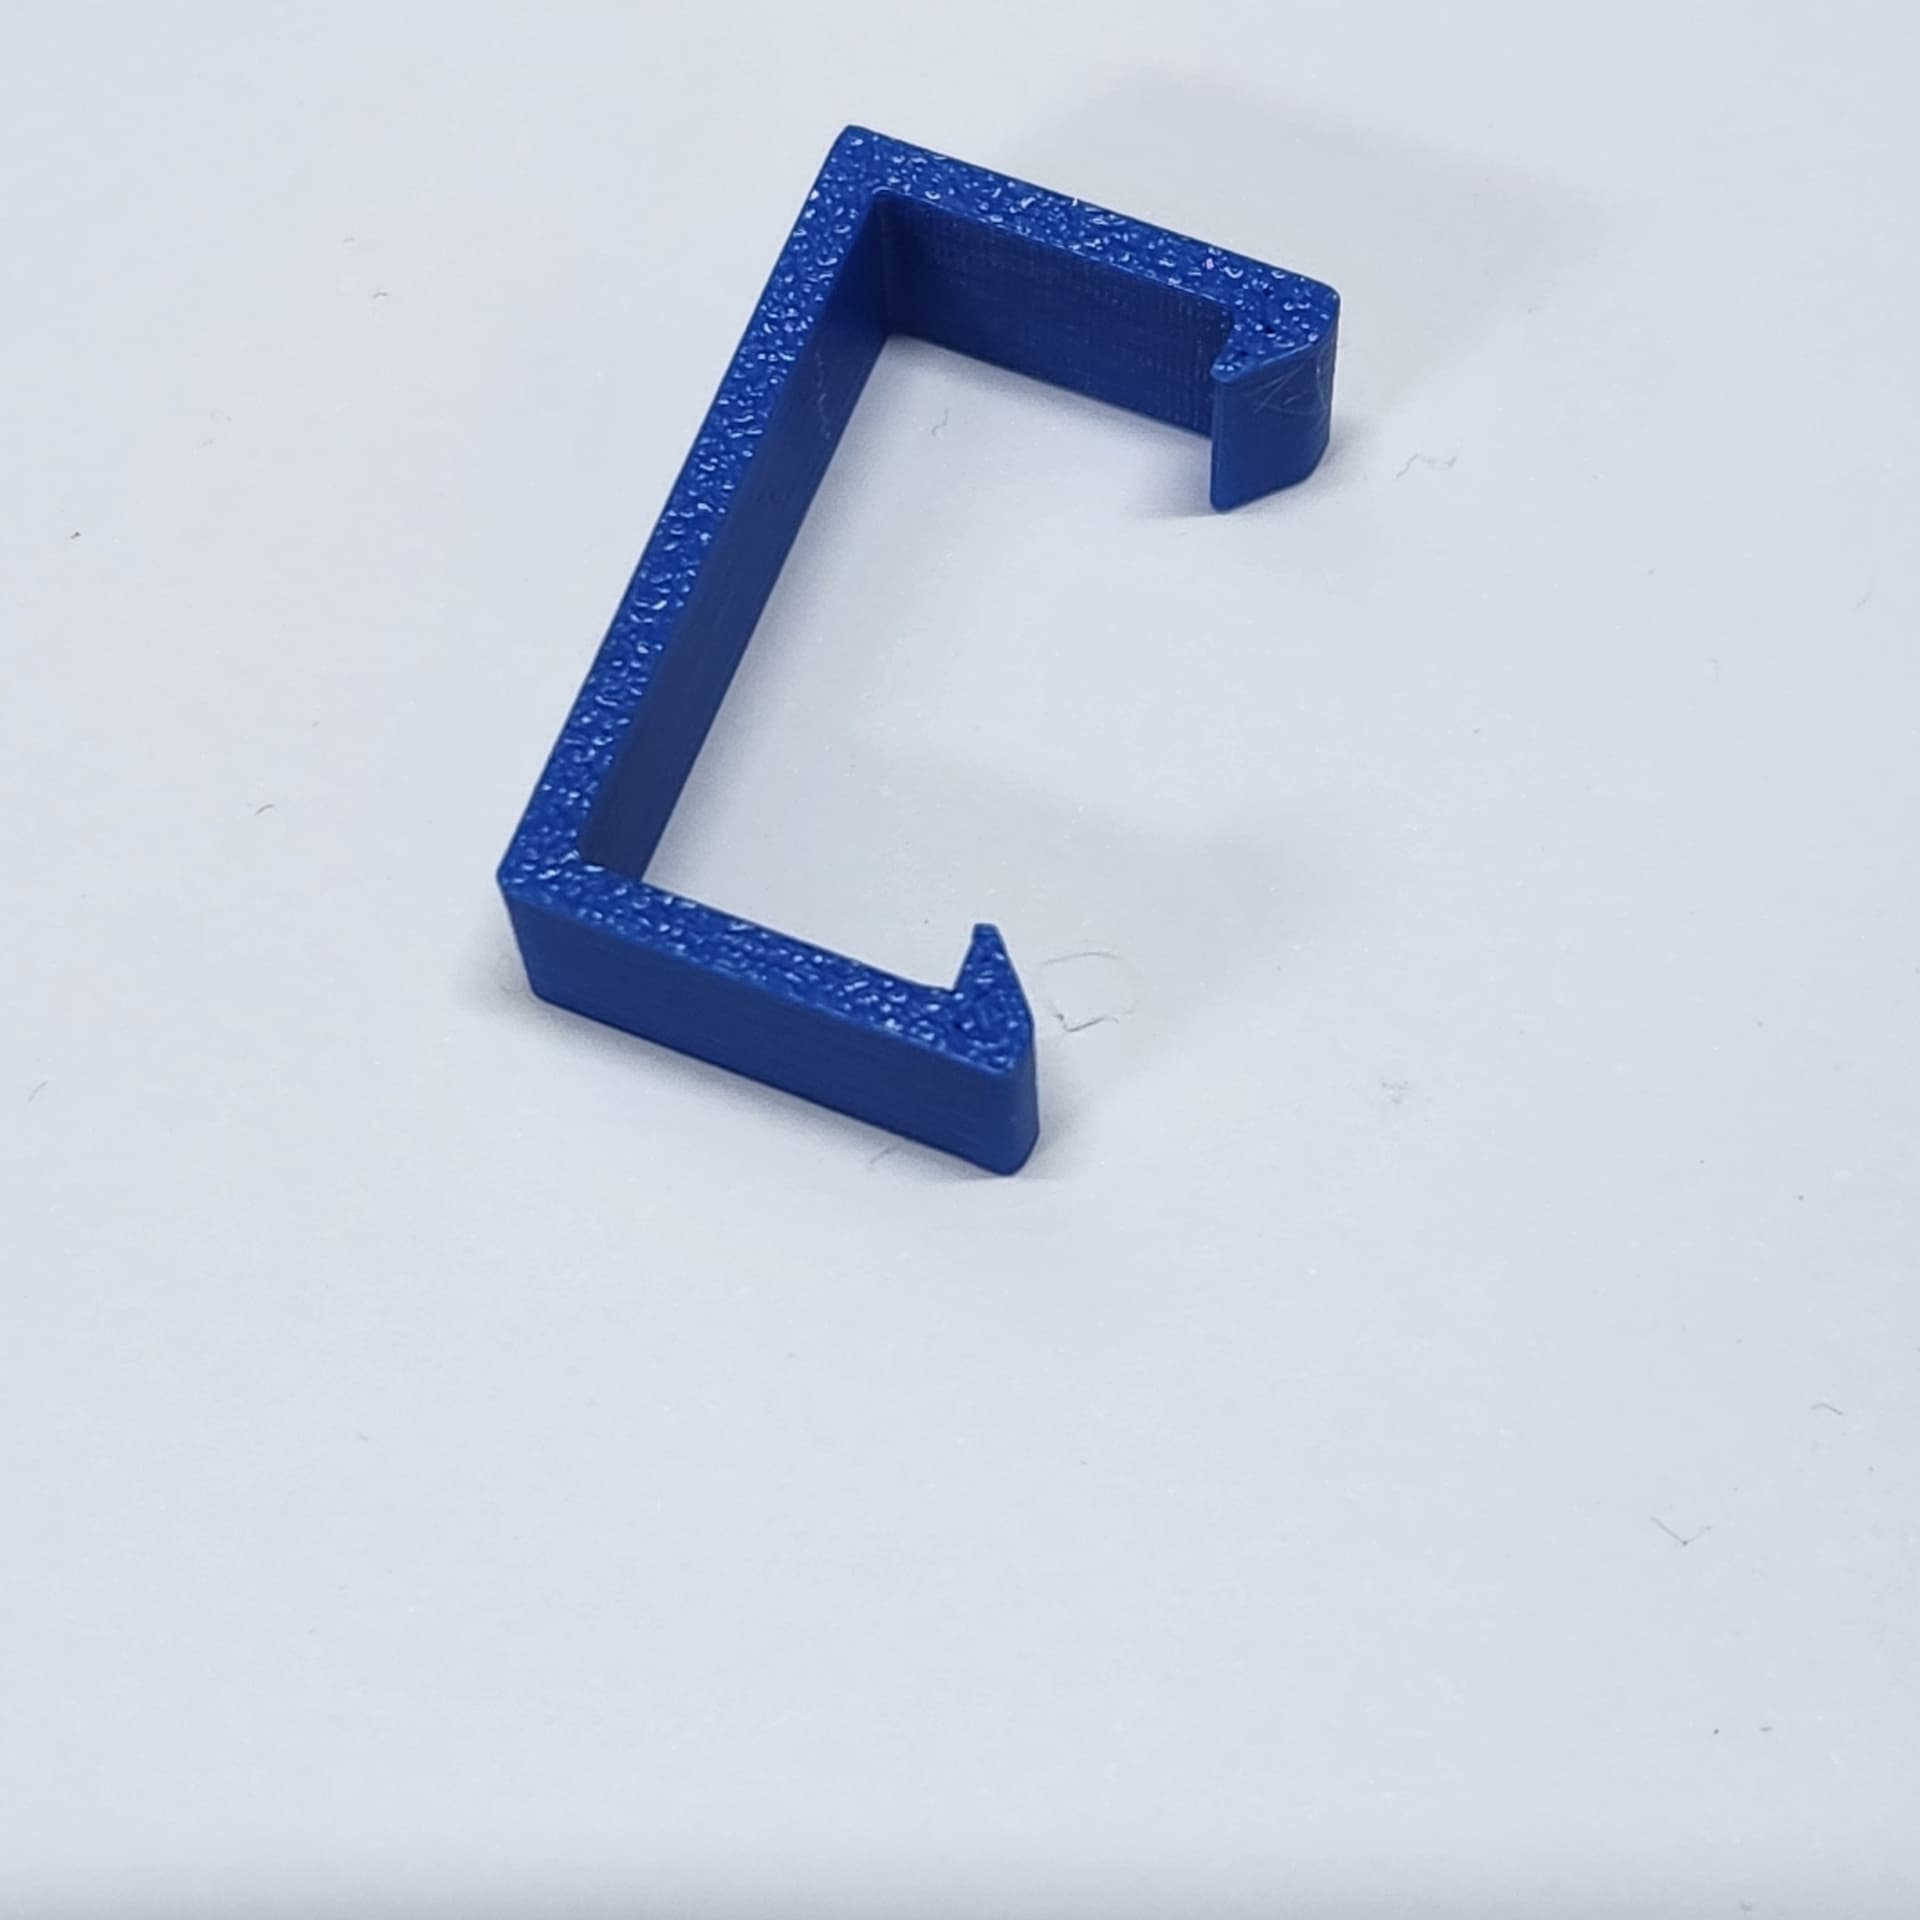
The transparent boxes are for Lee dies, I got rid of those boxes ages ago and replaced them with this. Better form factor and more room for extra related parts. The thickness however didn’t sit well with me, I thought maybe have a single frame for all common sizes and small frame extensions for this thinner boxes.
Yep, that works (red bits are the frame extensions).
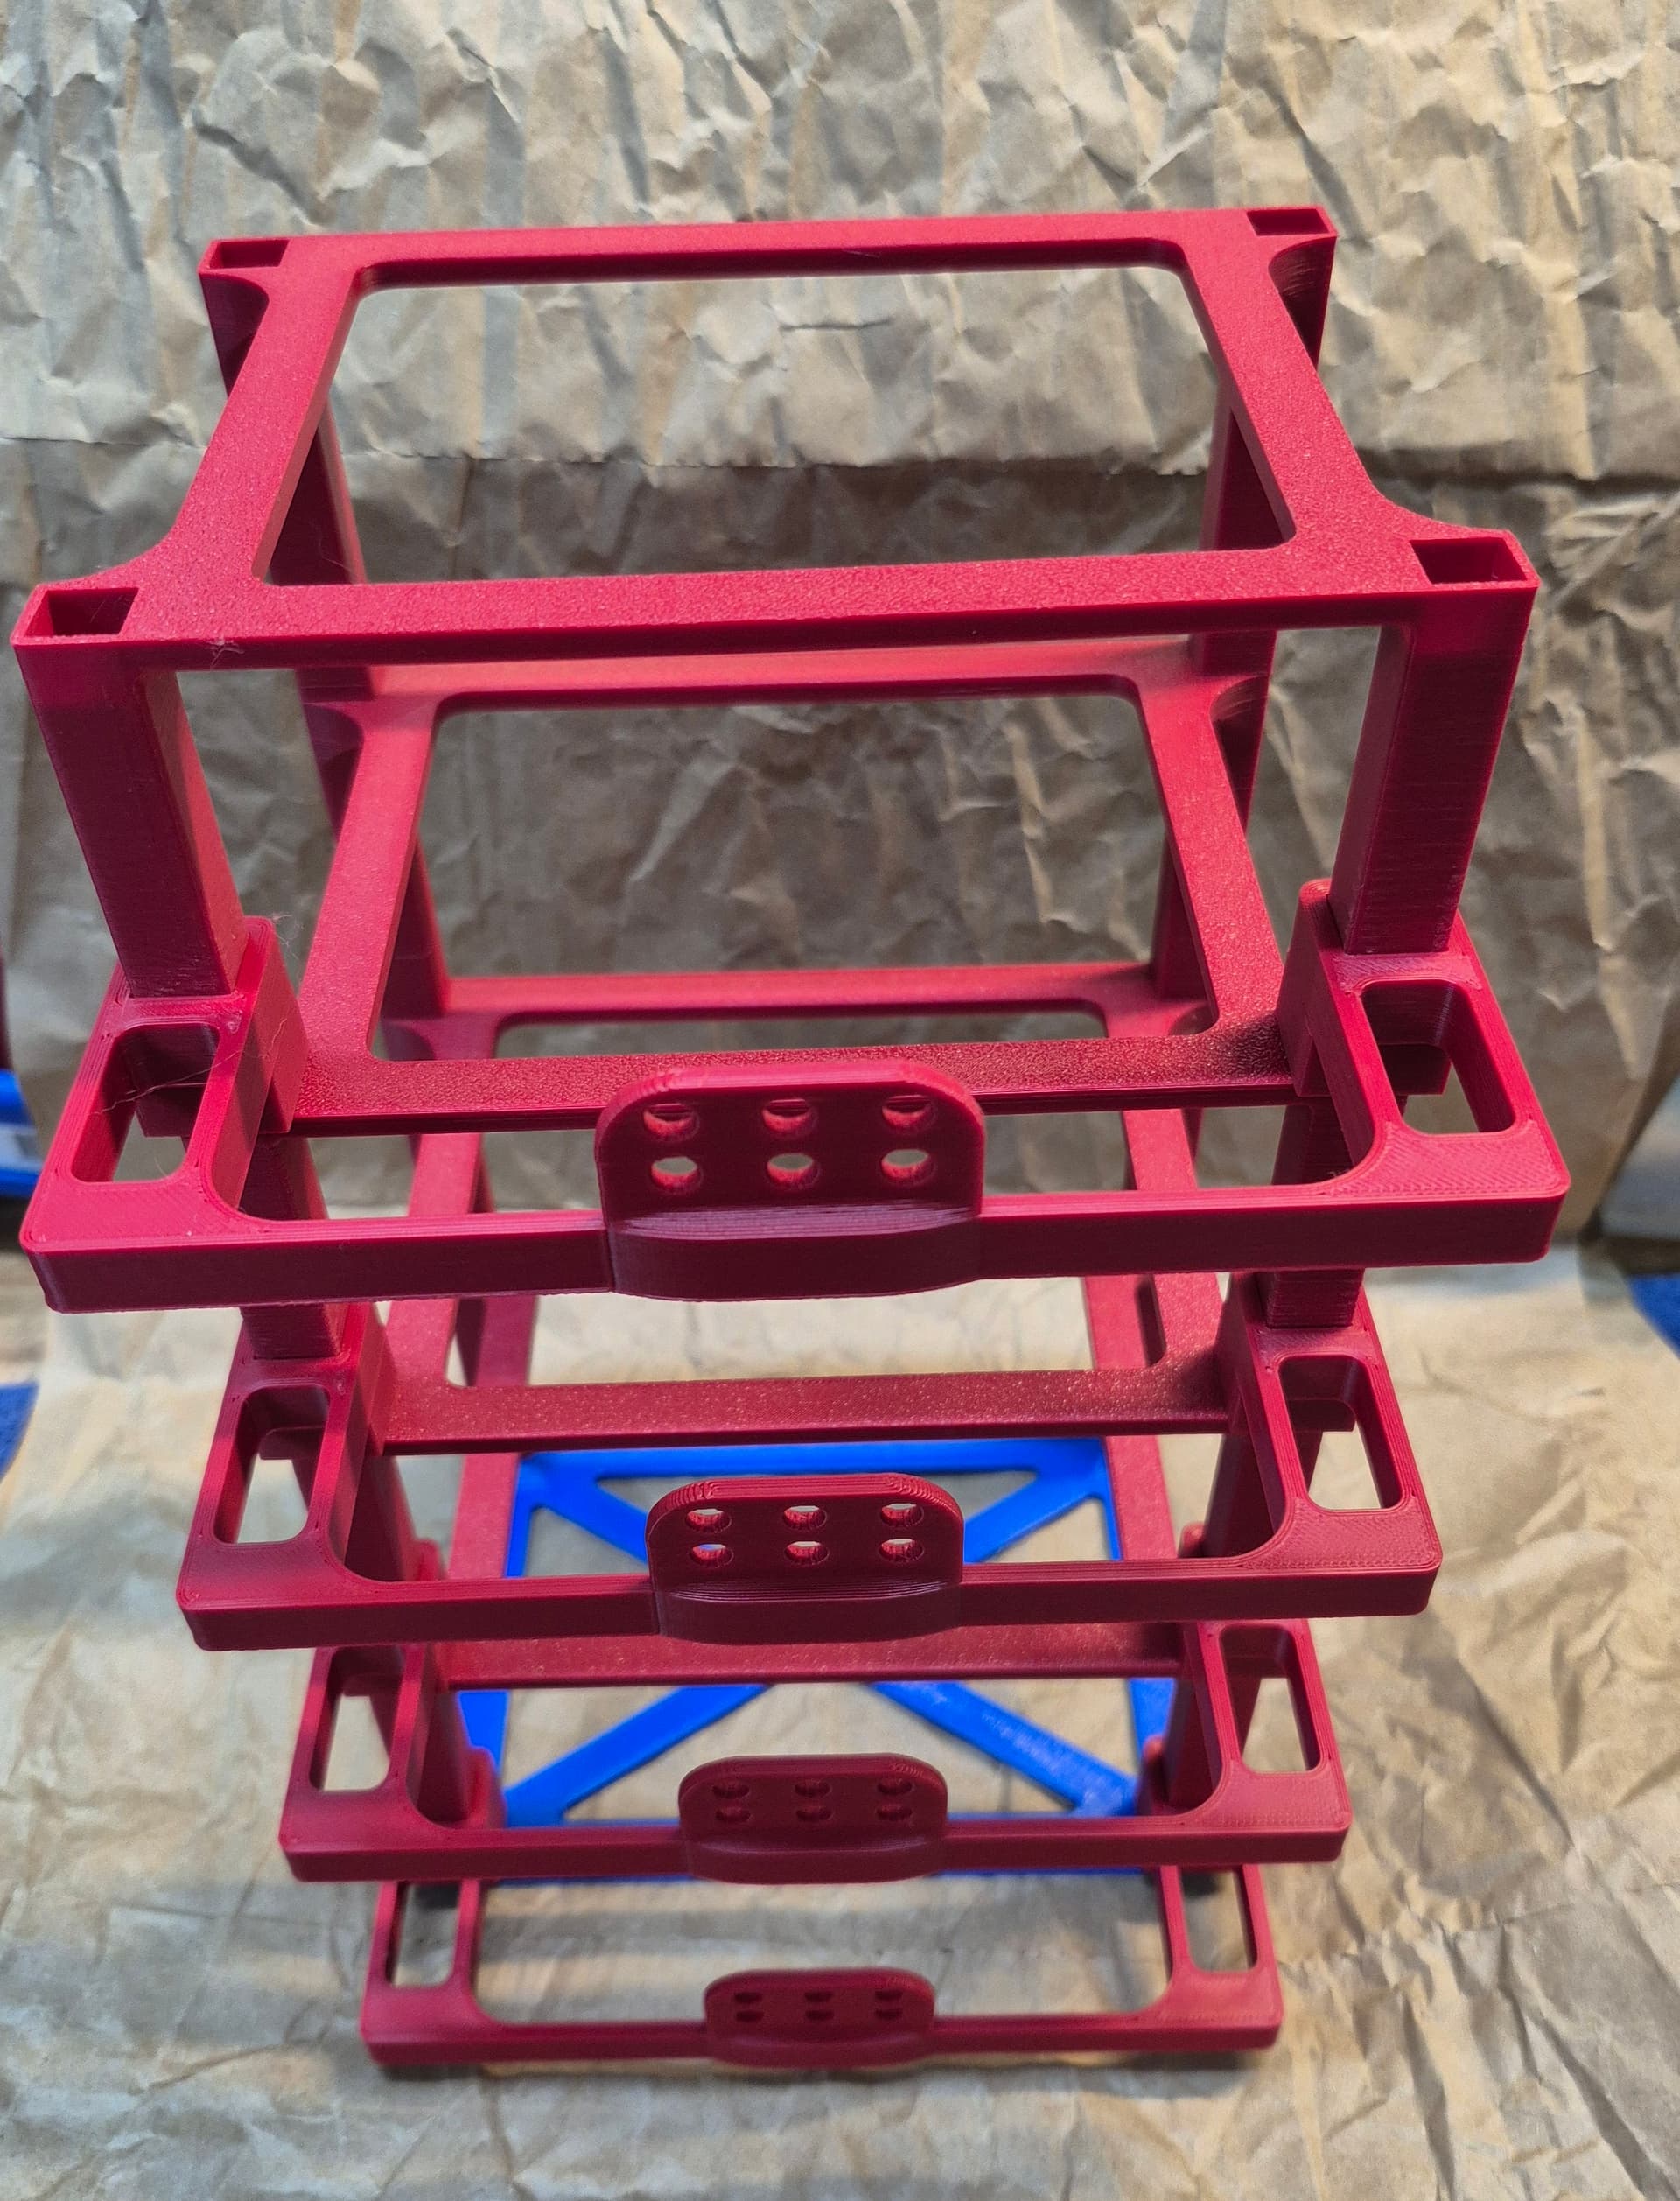
Next, I want different depth boxes to line up at the front and not fall out the back…
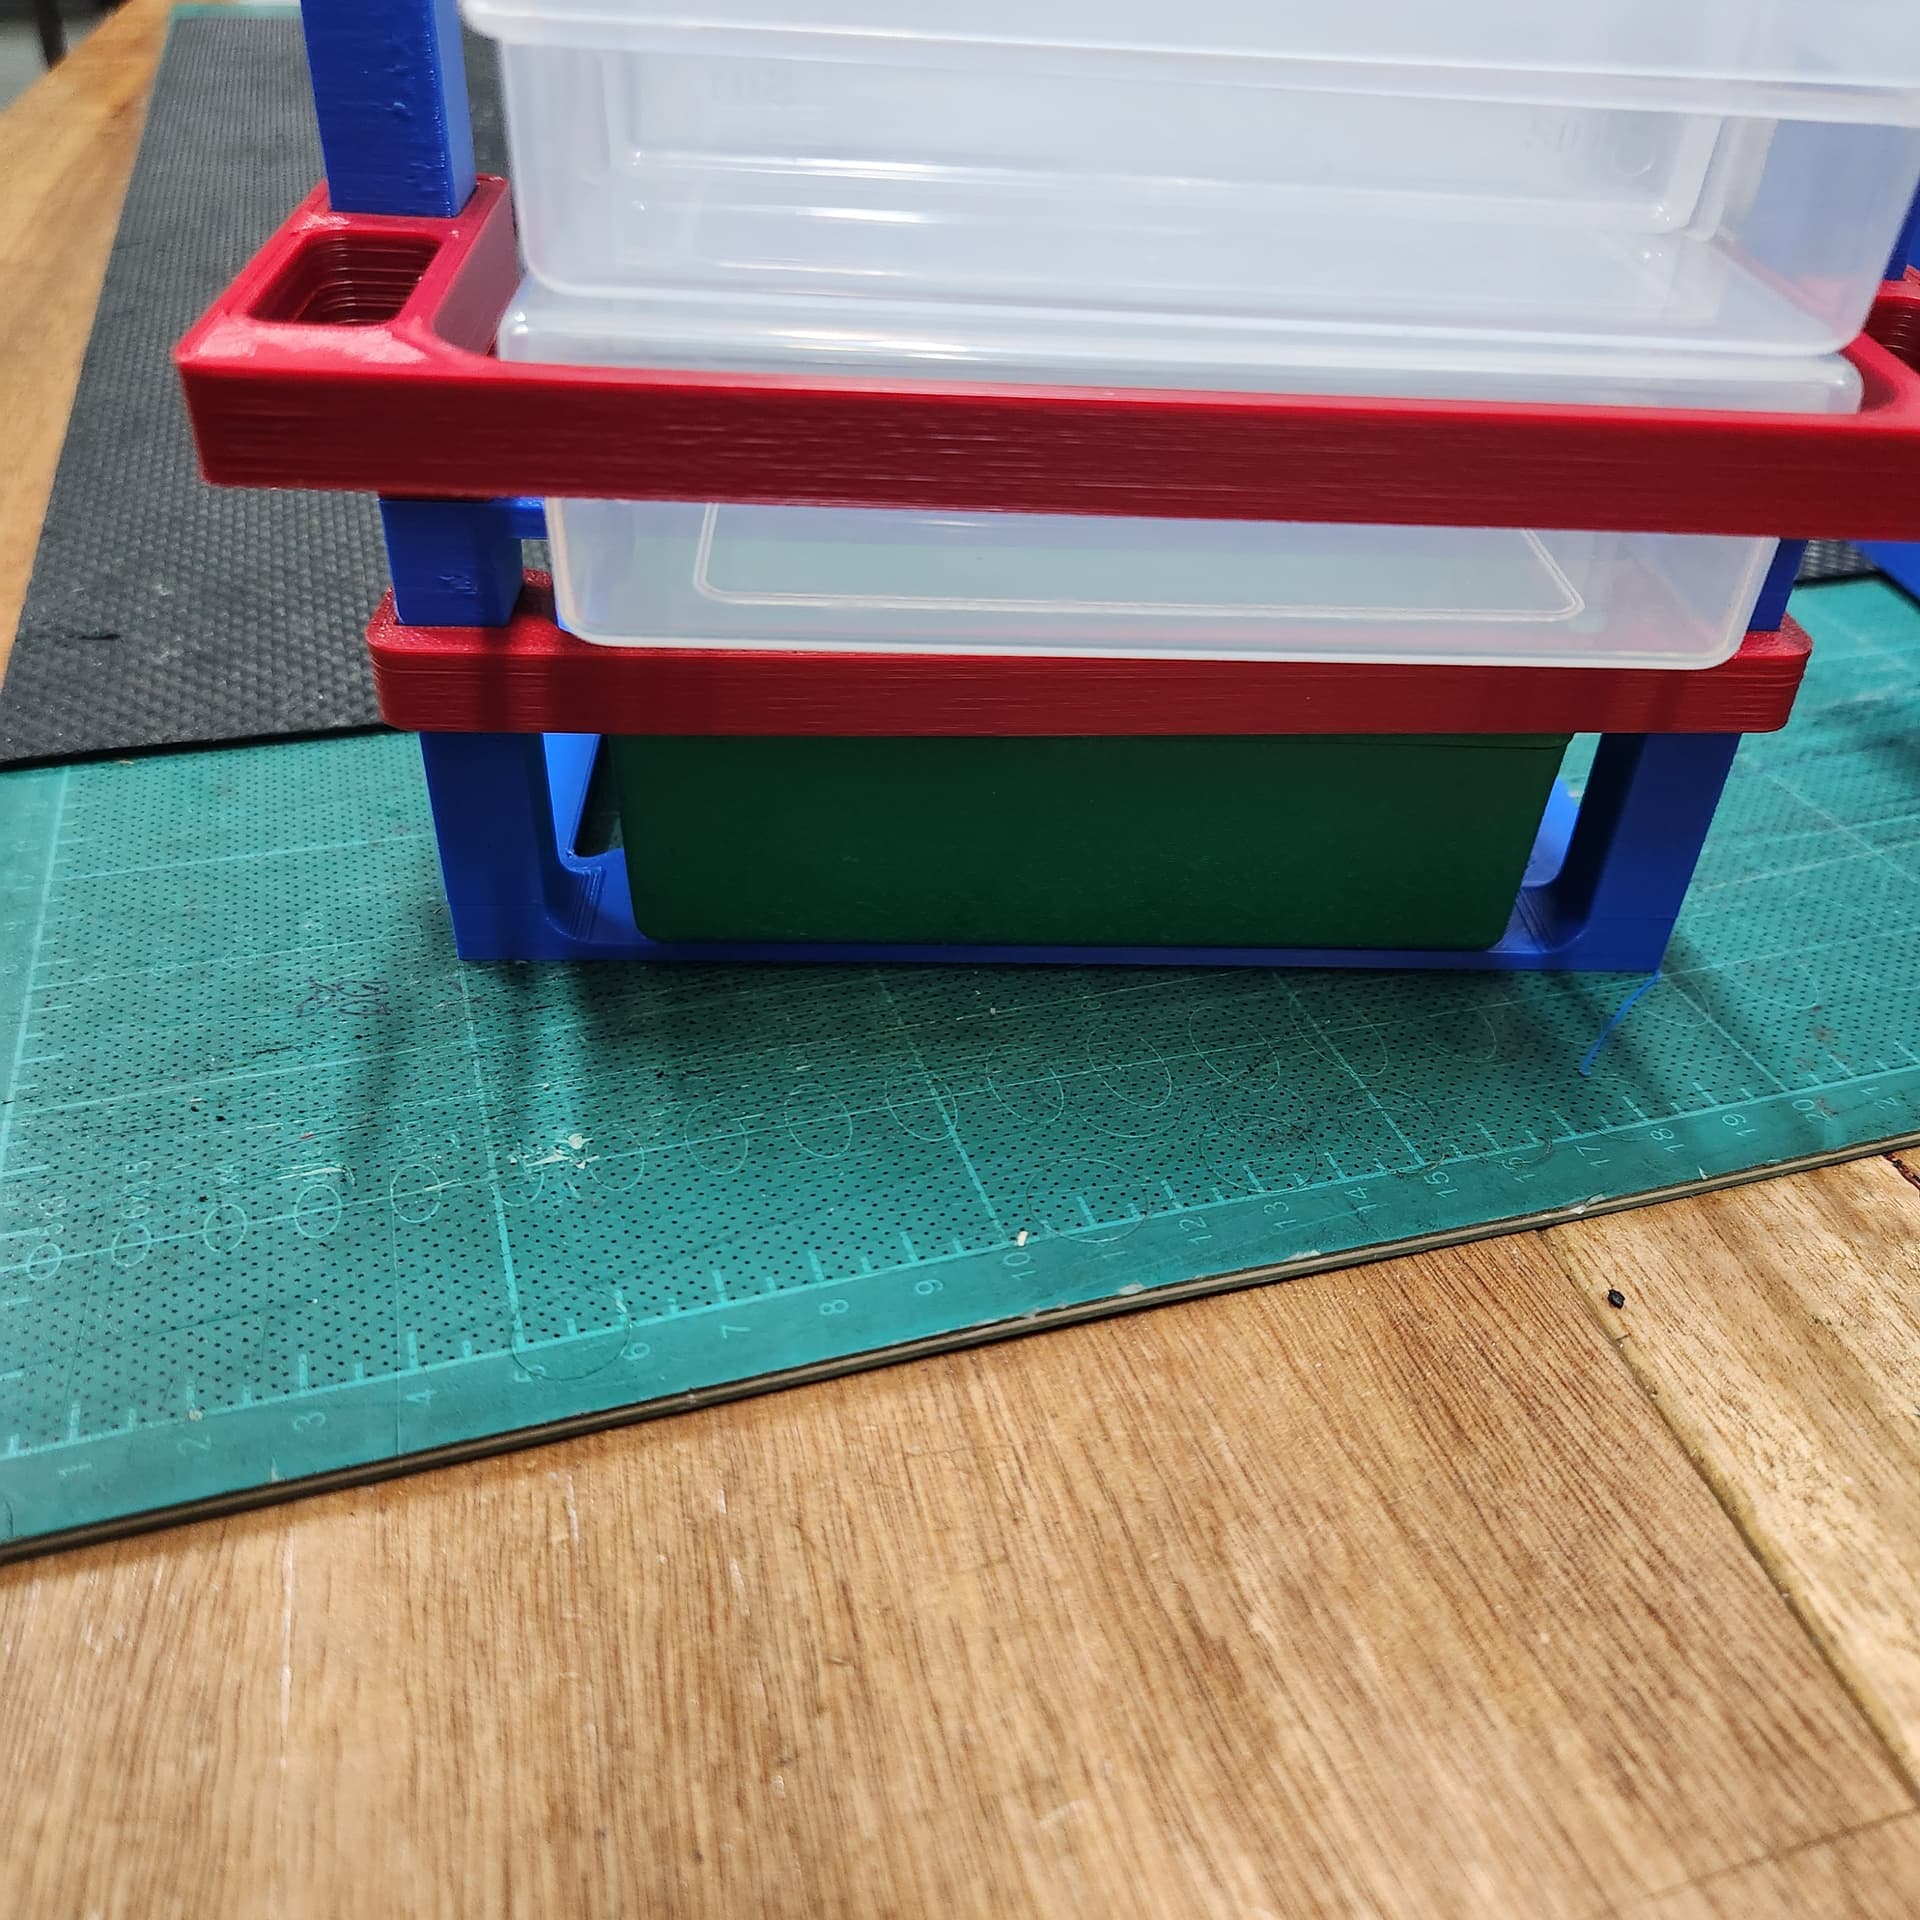
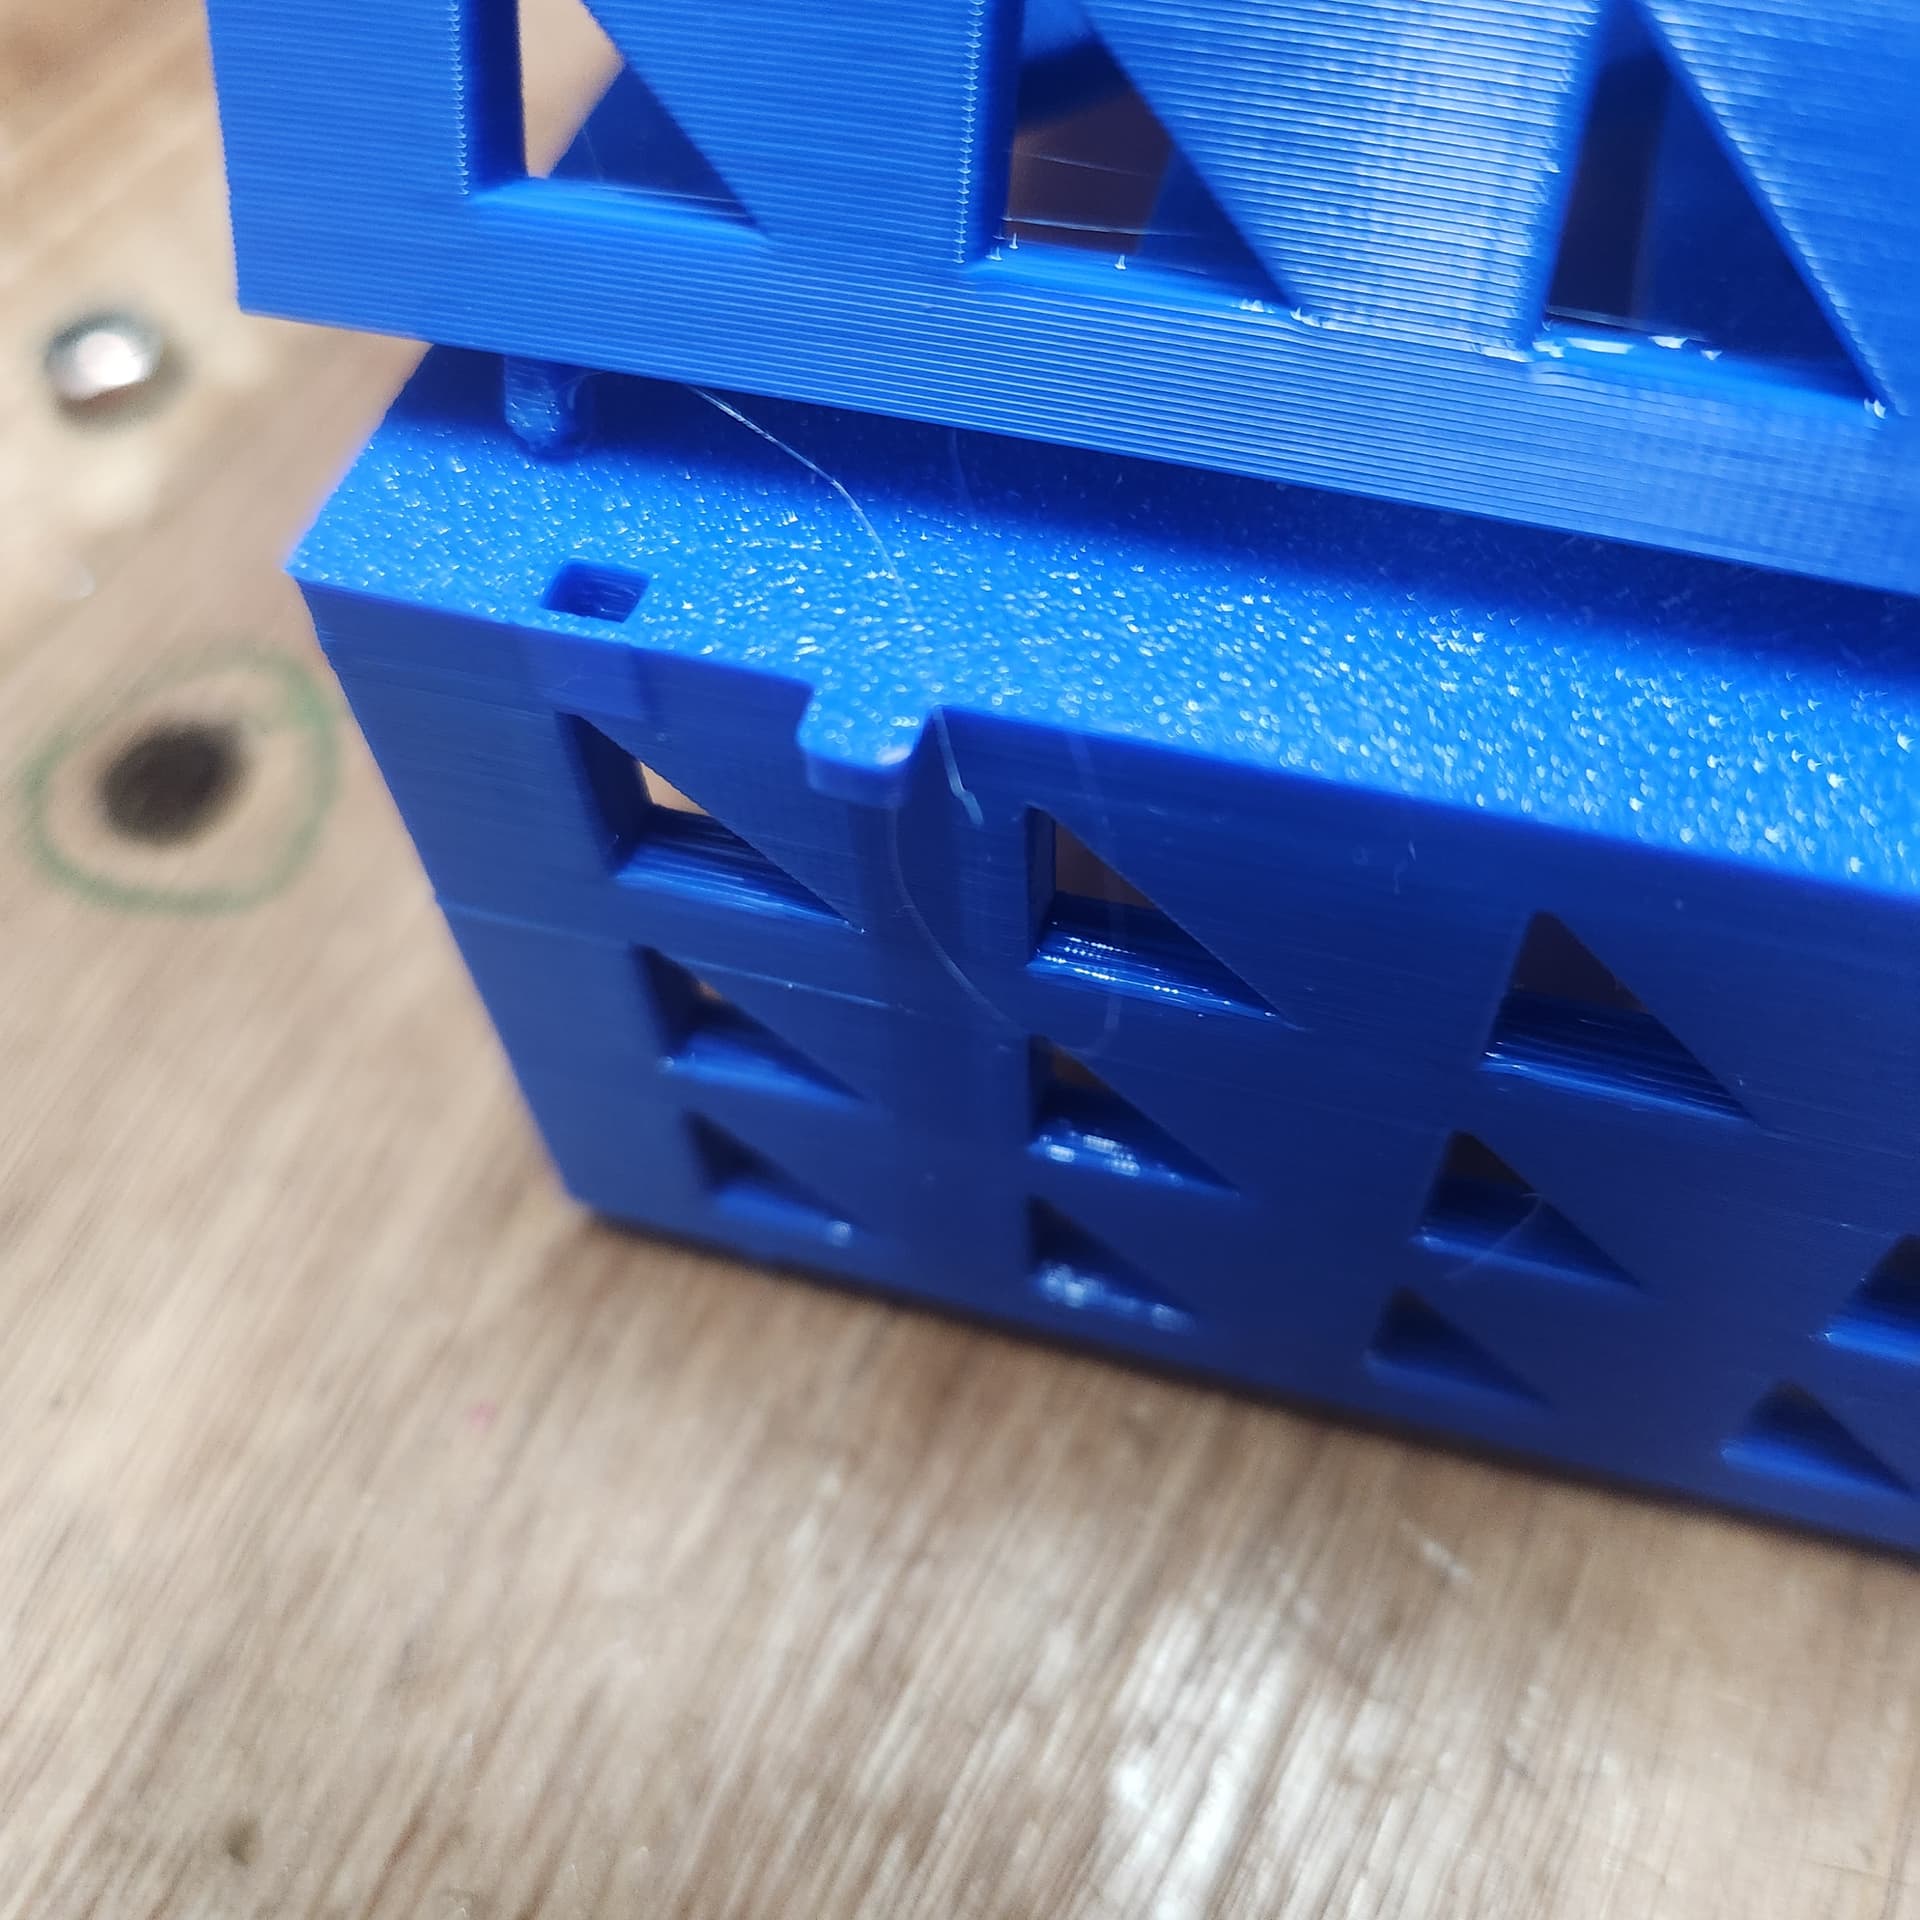
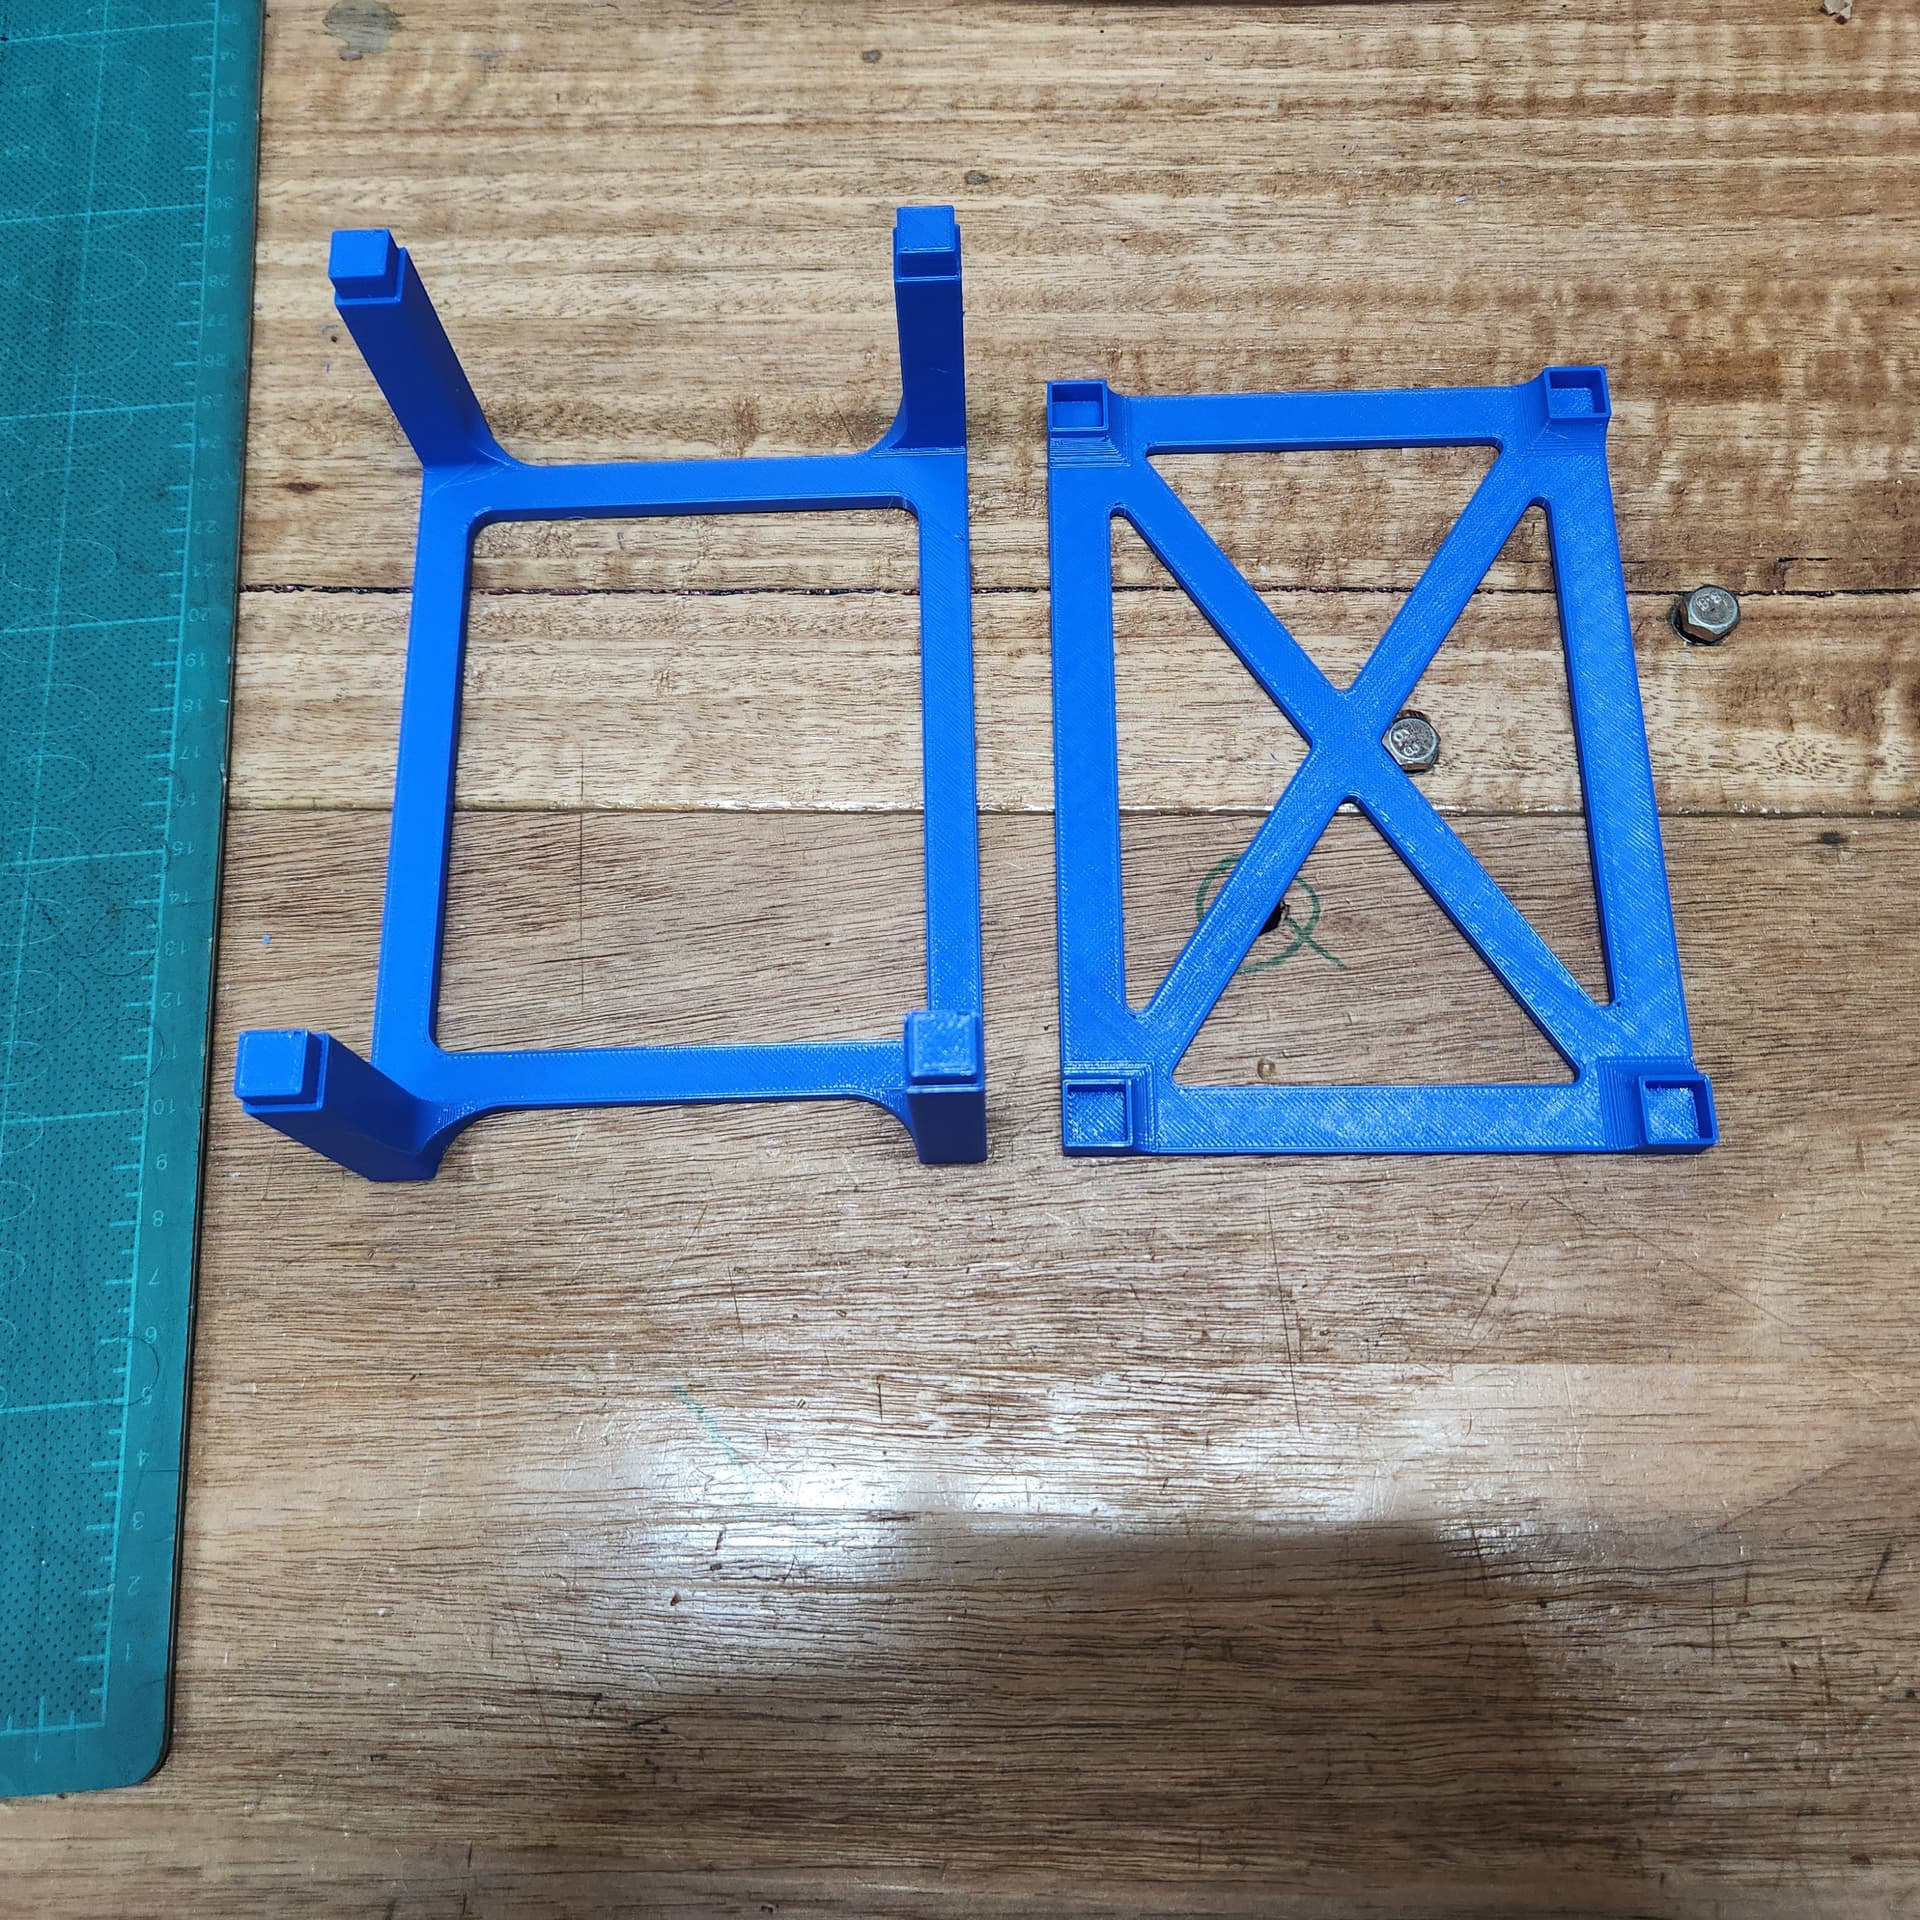
Beginning to come together, modular frames, modular backing… With a little oopsy on the double stacked frame, notice how one of the boxes is not retained. I added a small extension to larger backing and a small spacer for double stacked frame (2 boxes).
More testing.
Stress test… Printing with PLA+, which is known not have catastrophic failures (i.e. snapping, but… Trust but verify).
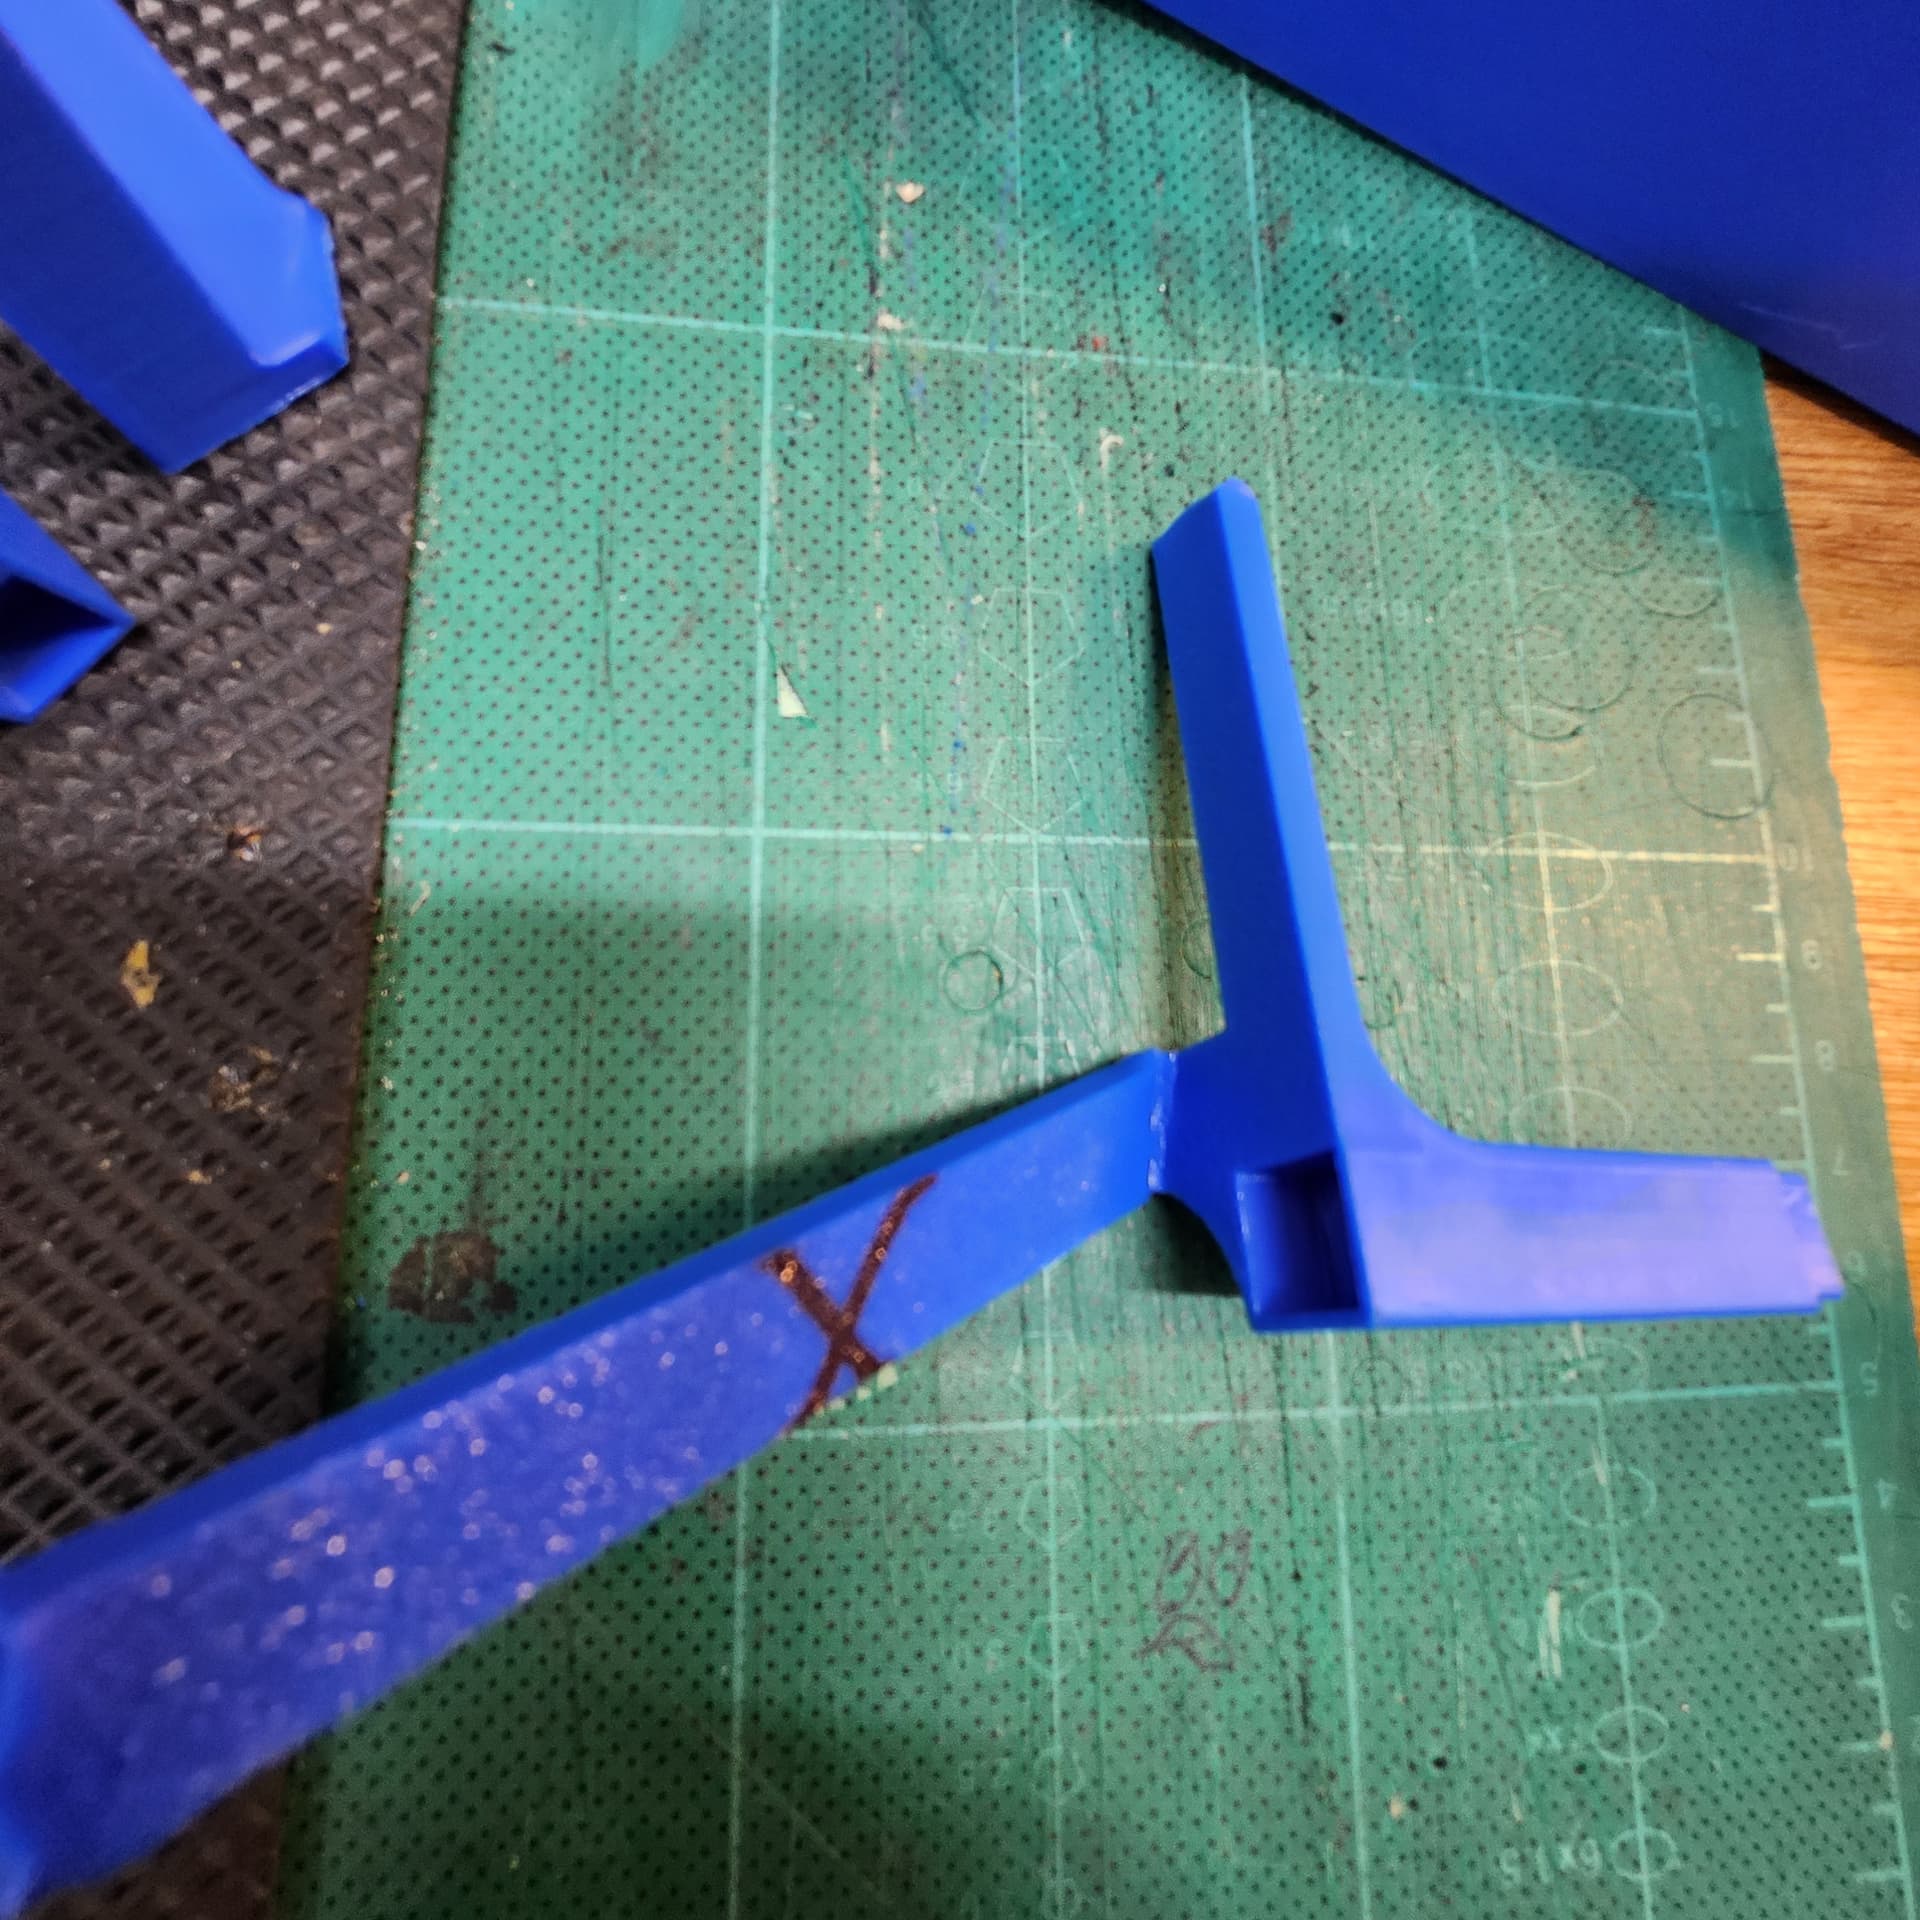

Verified.
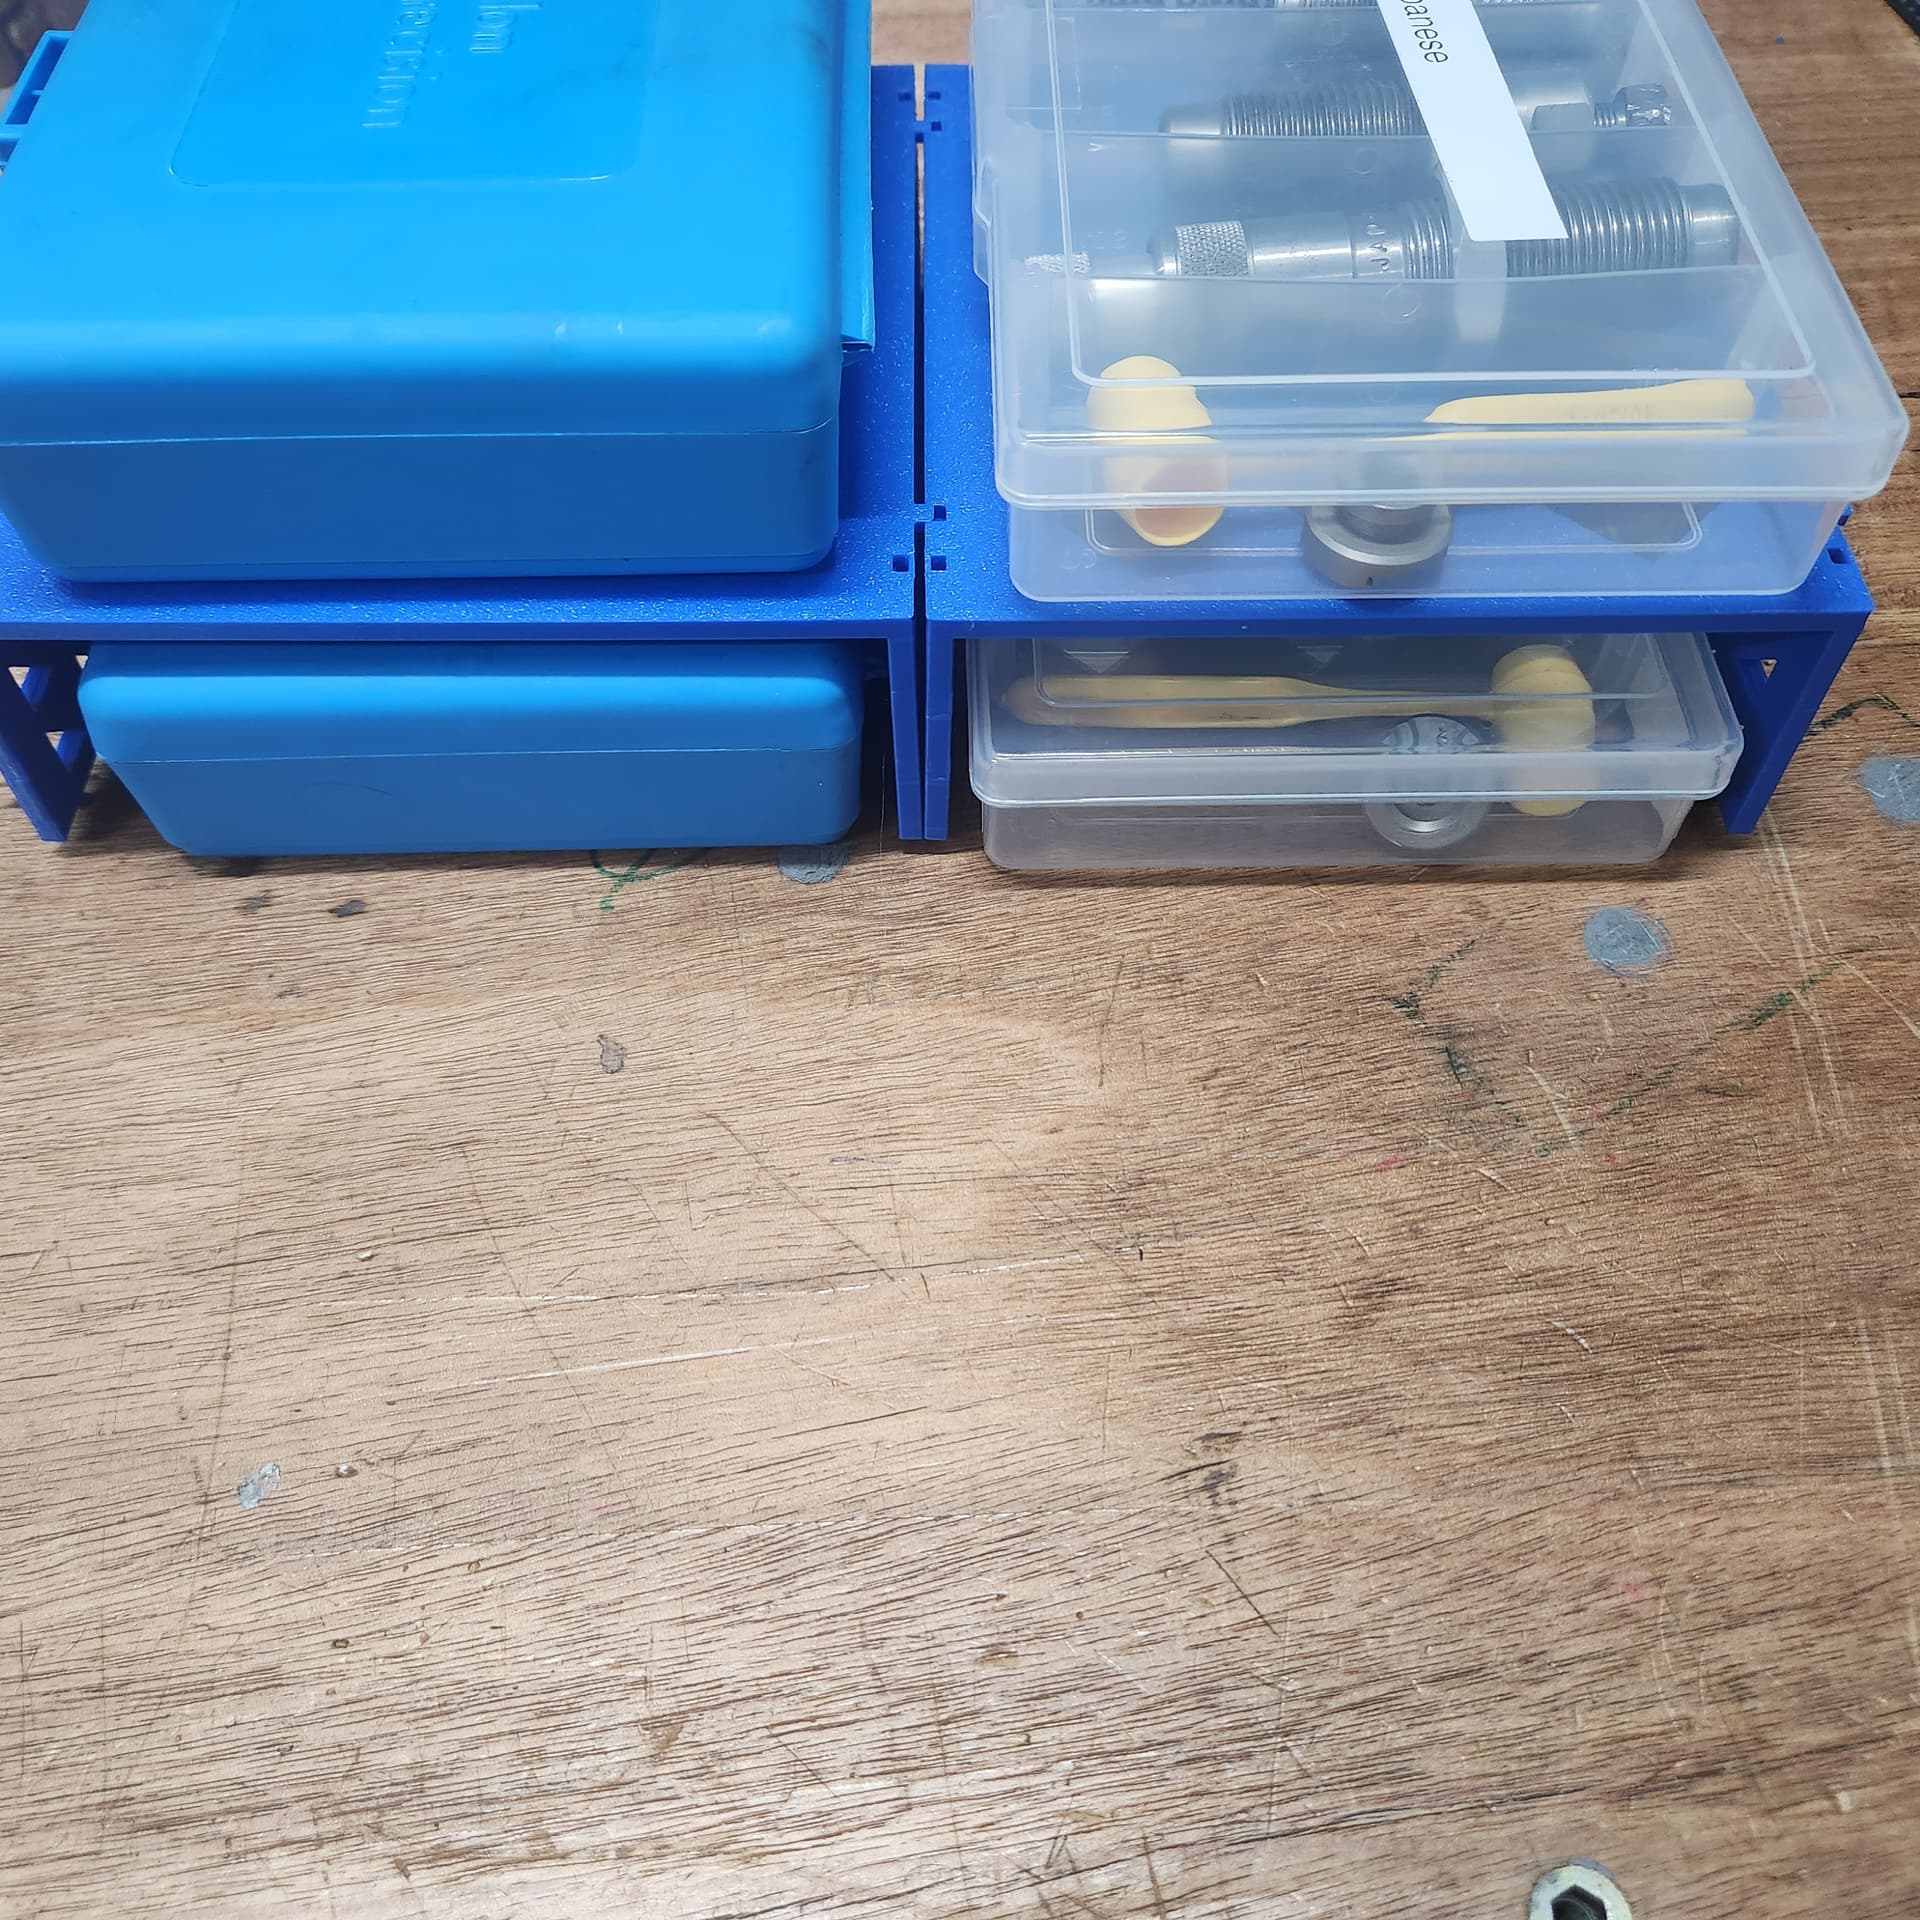
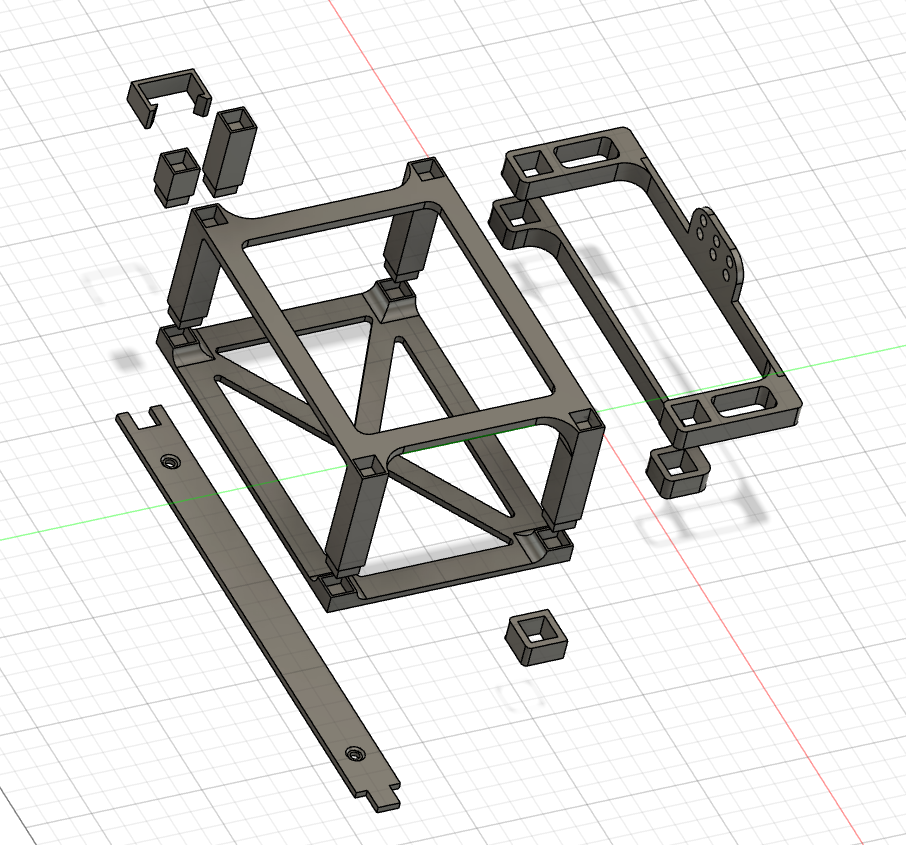
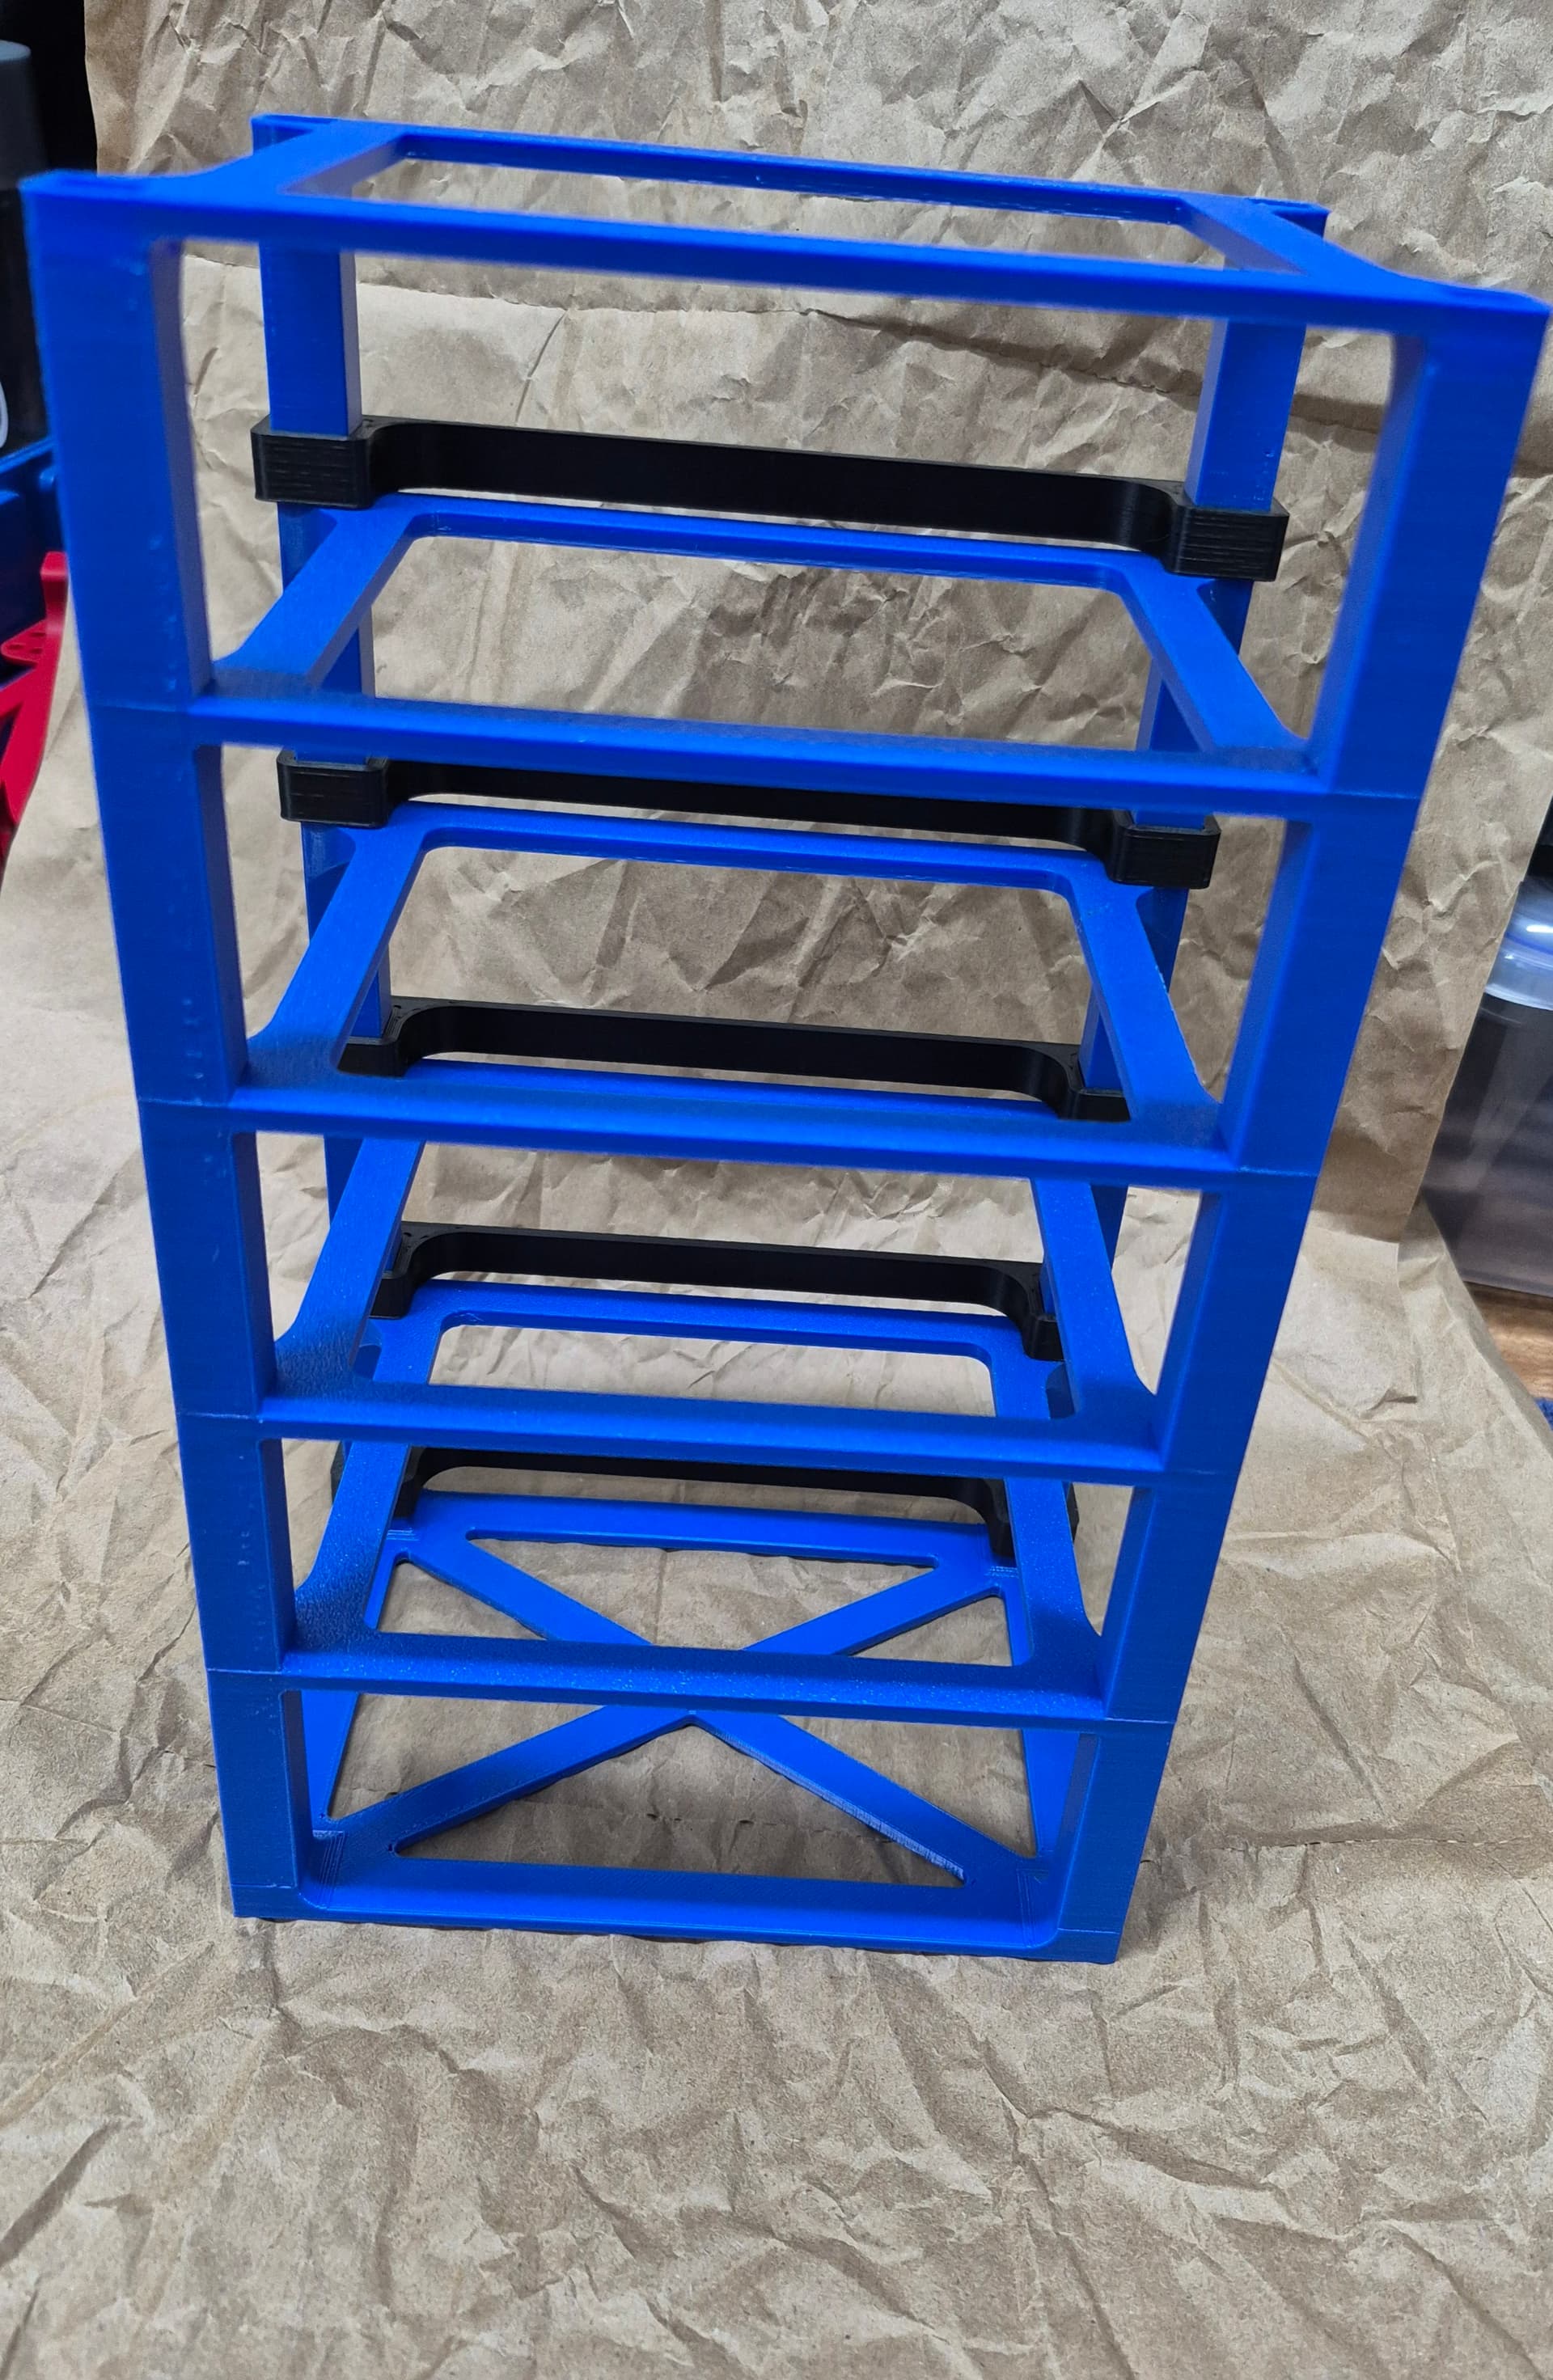
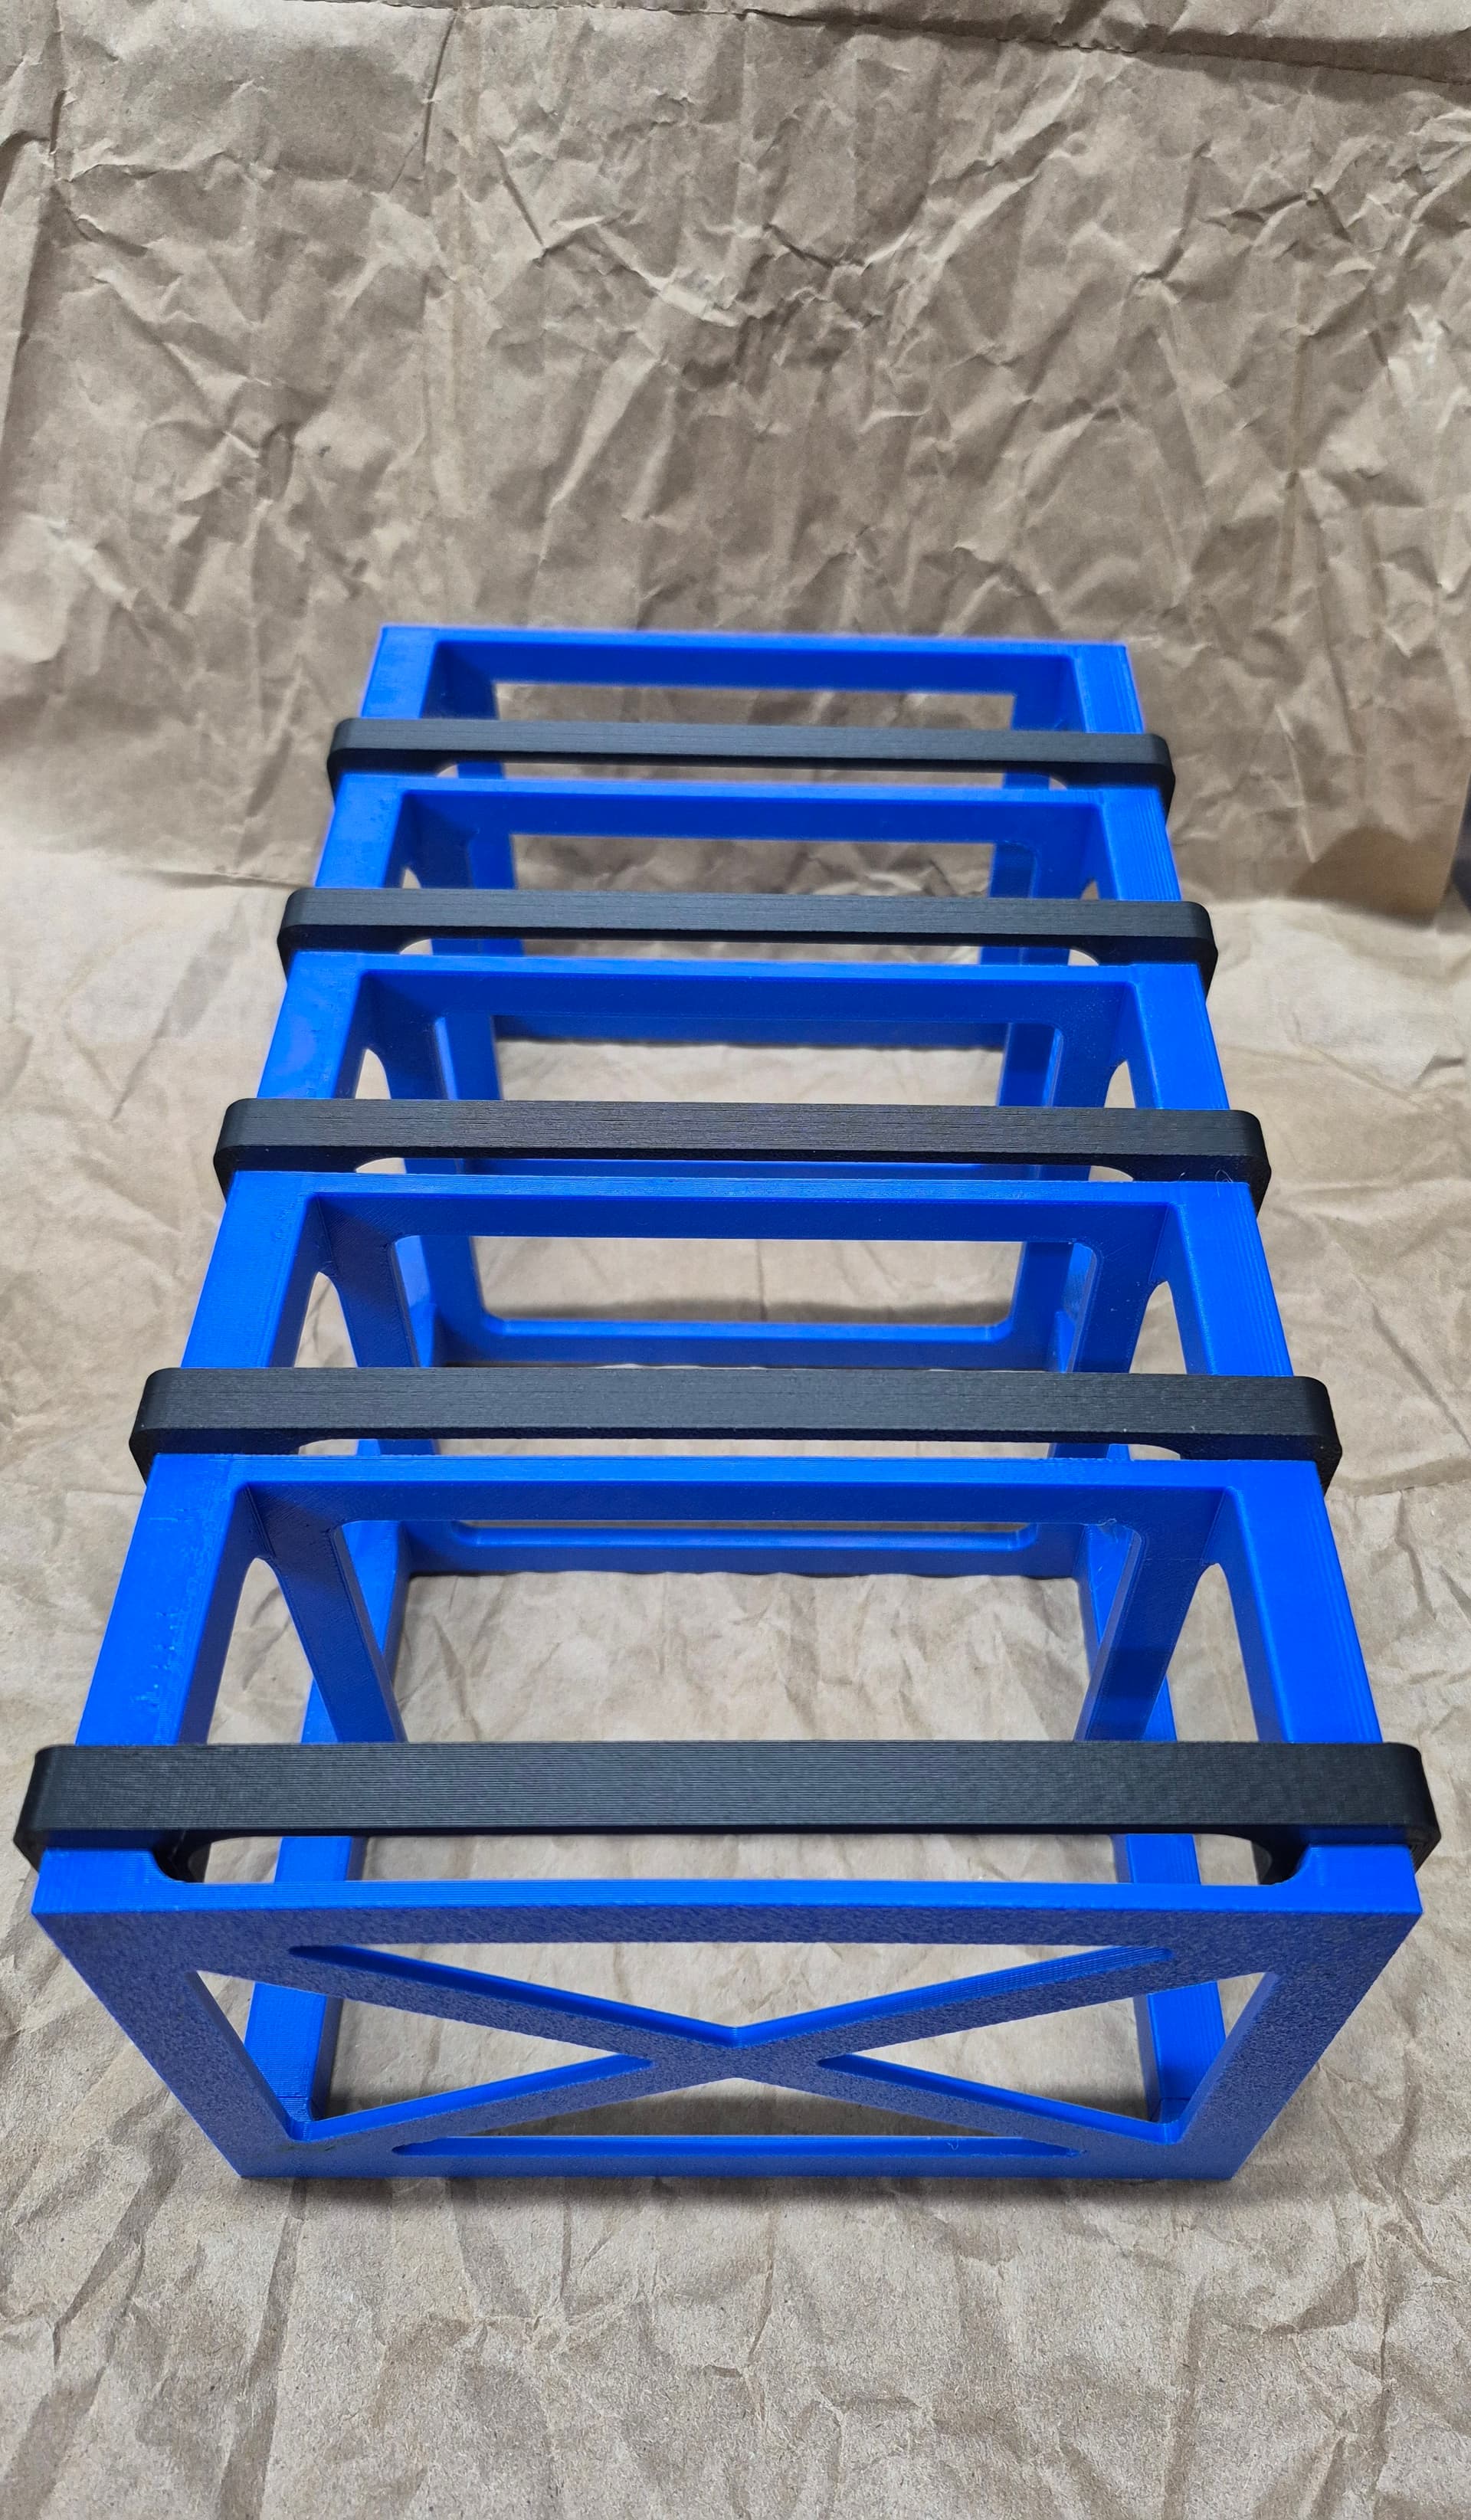
So, we have a few basic parts to make things up how we want it… And some test fittings, assemblies…
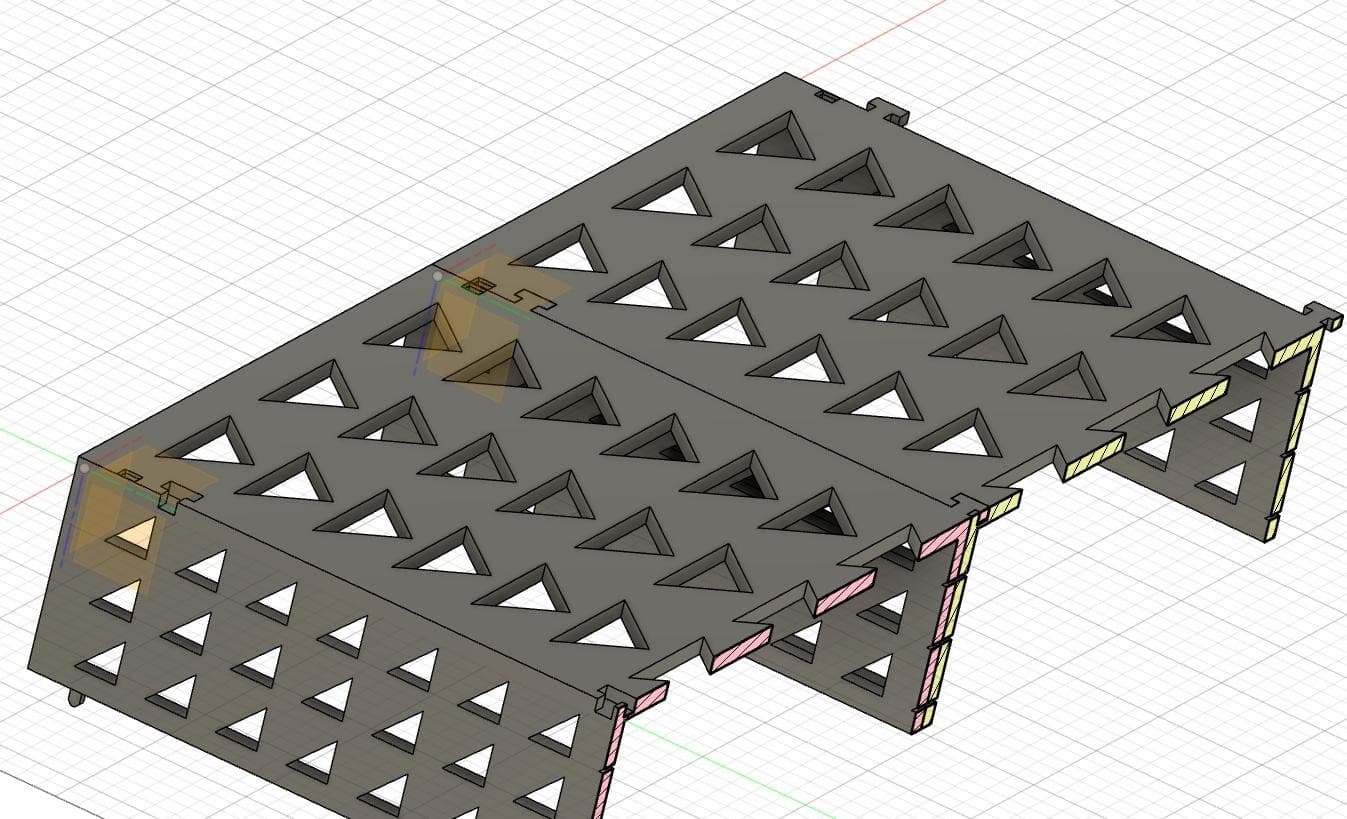
Eventually got to final design…
Clean up and start with clean slate…

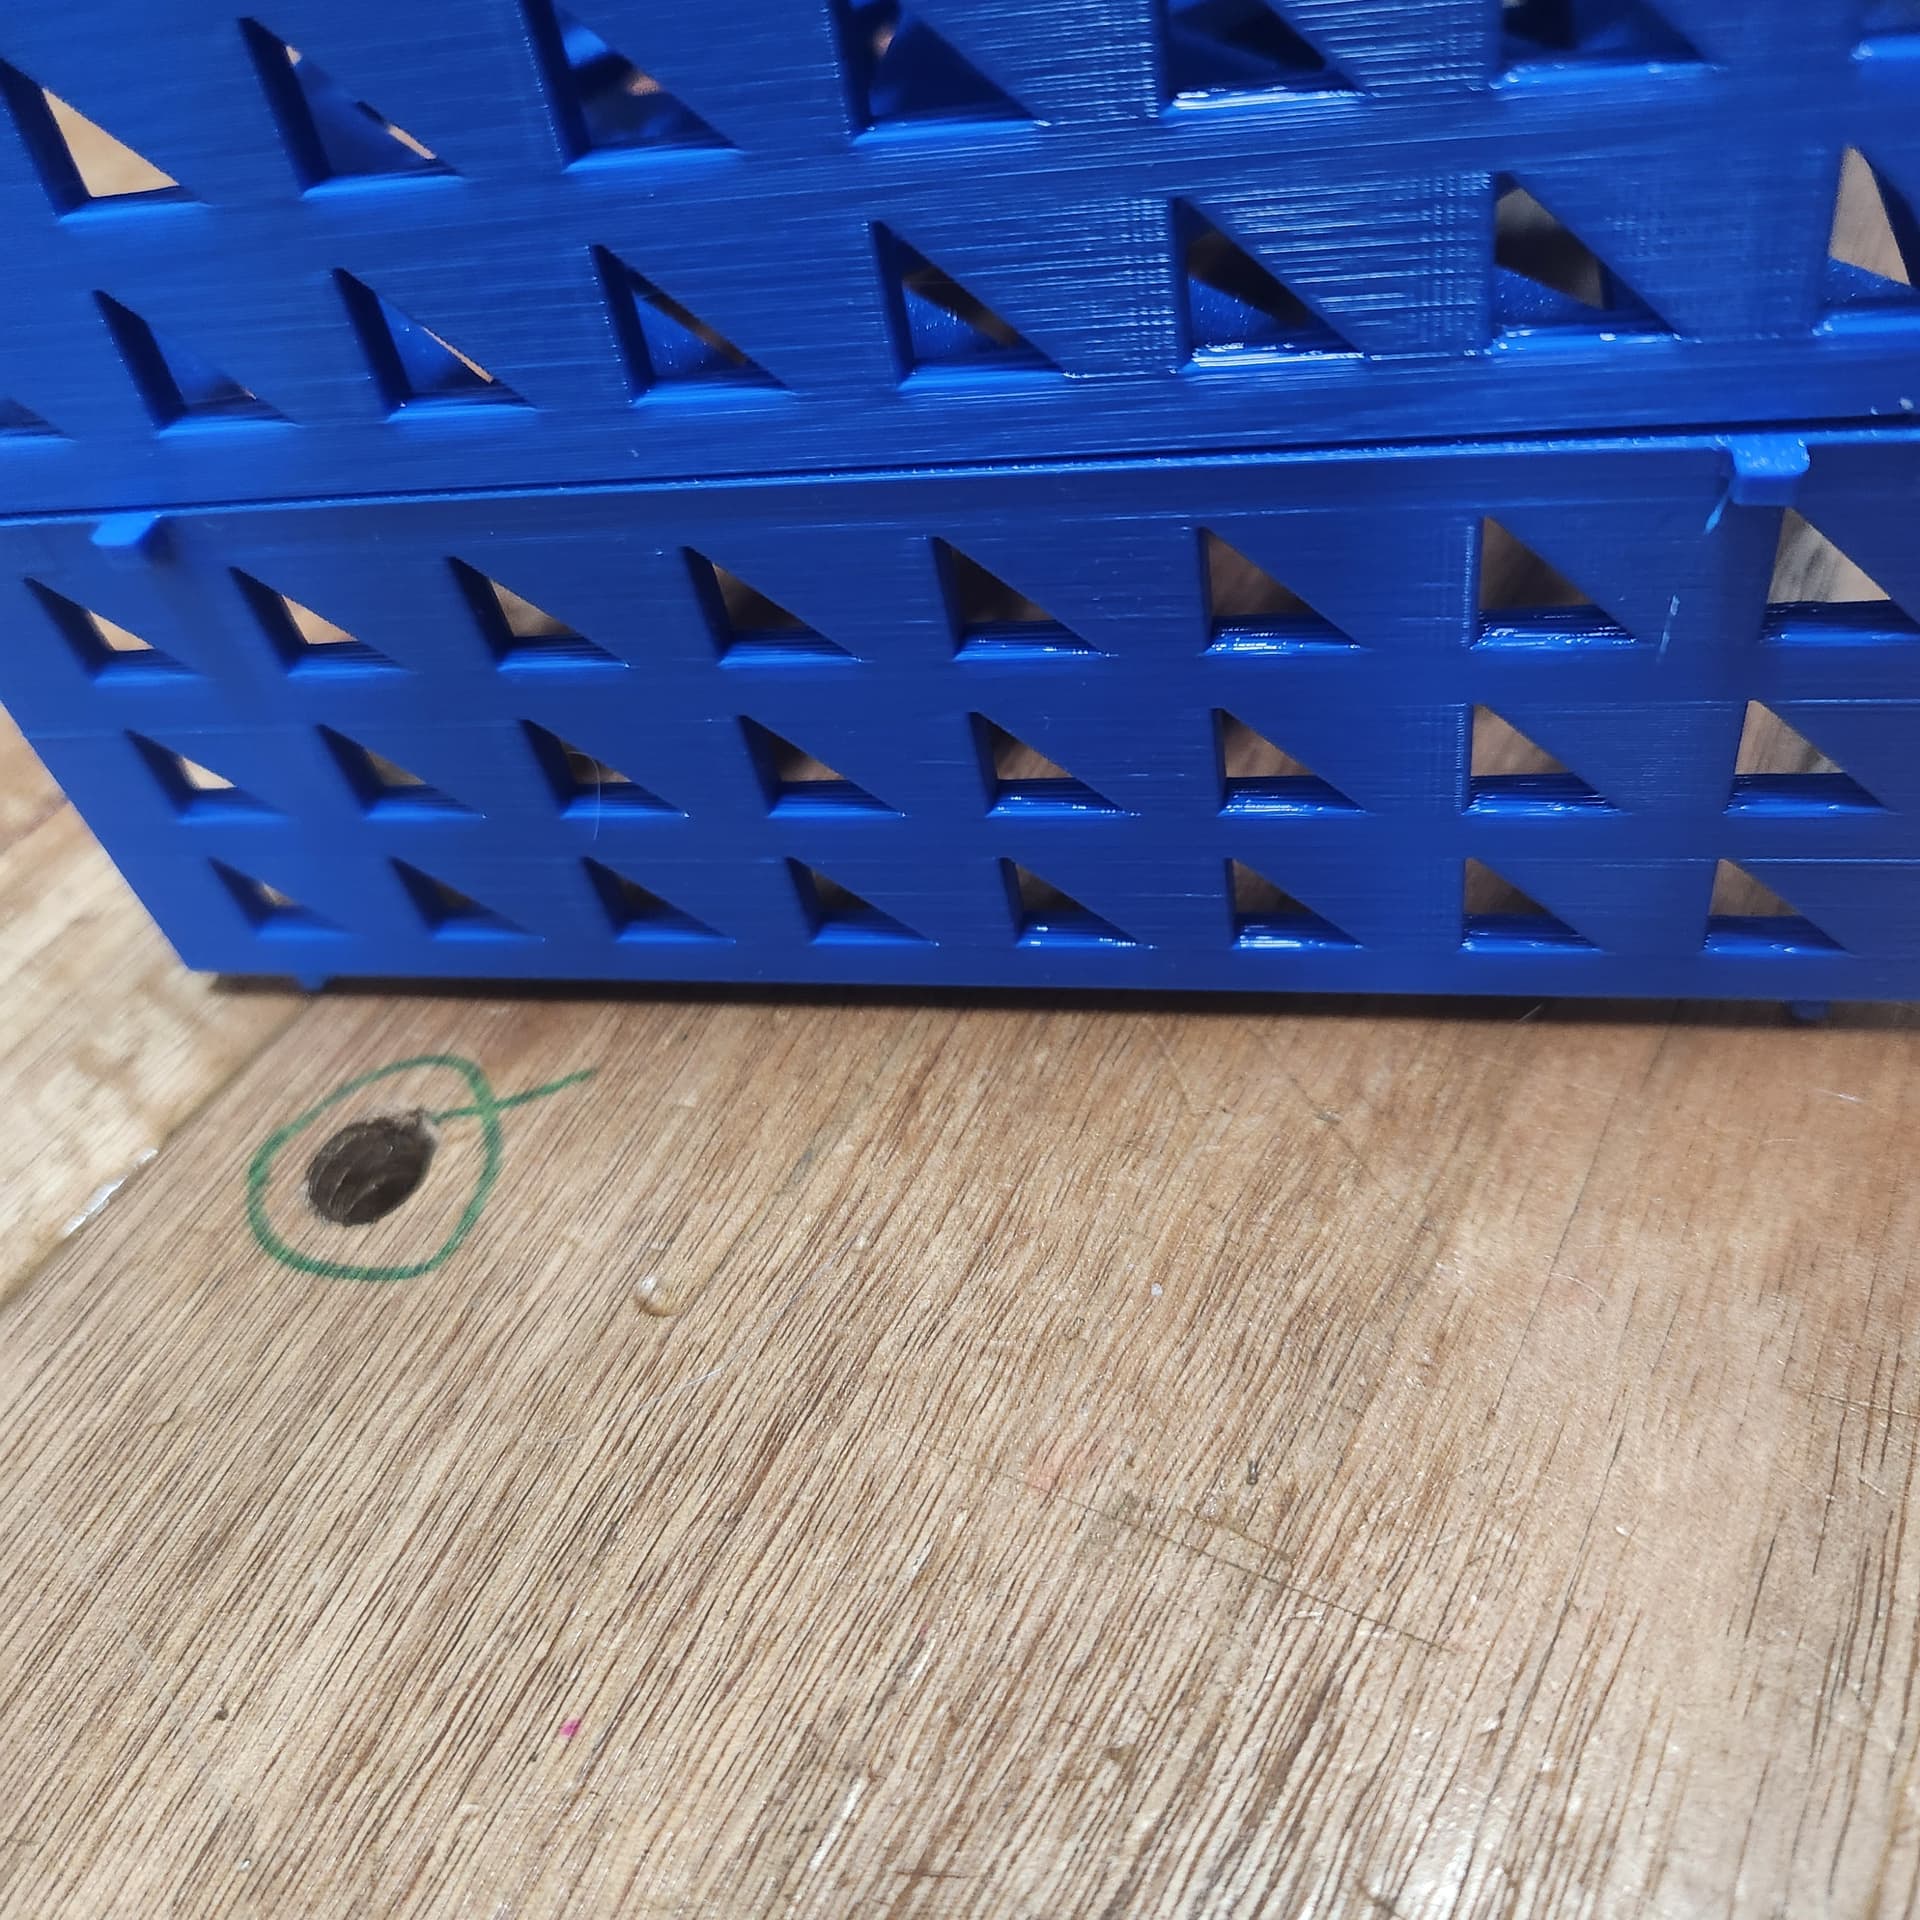
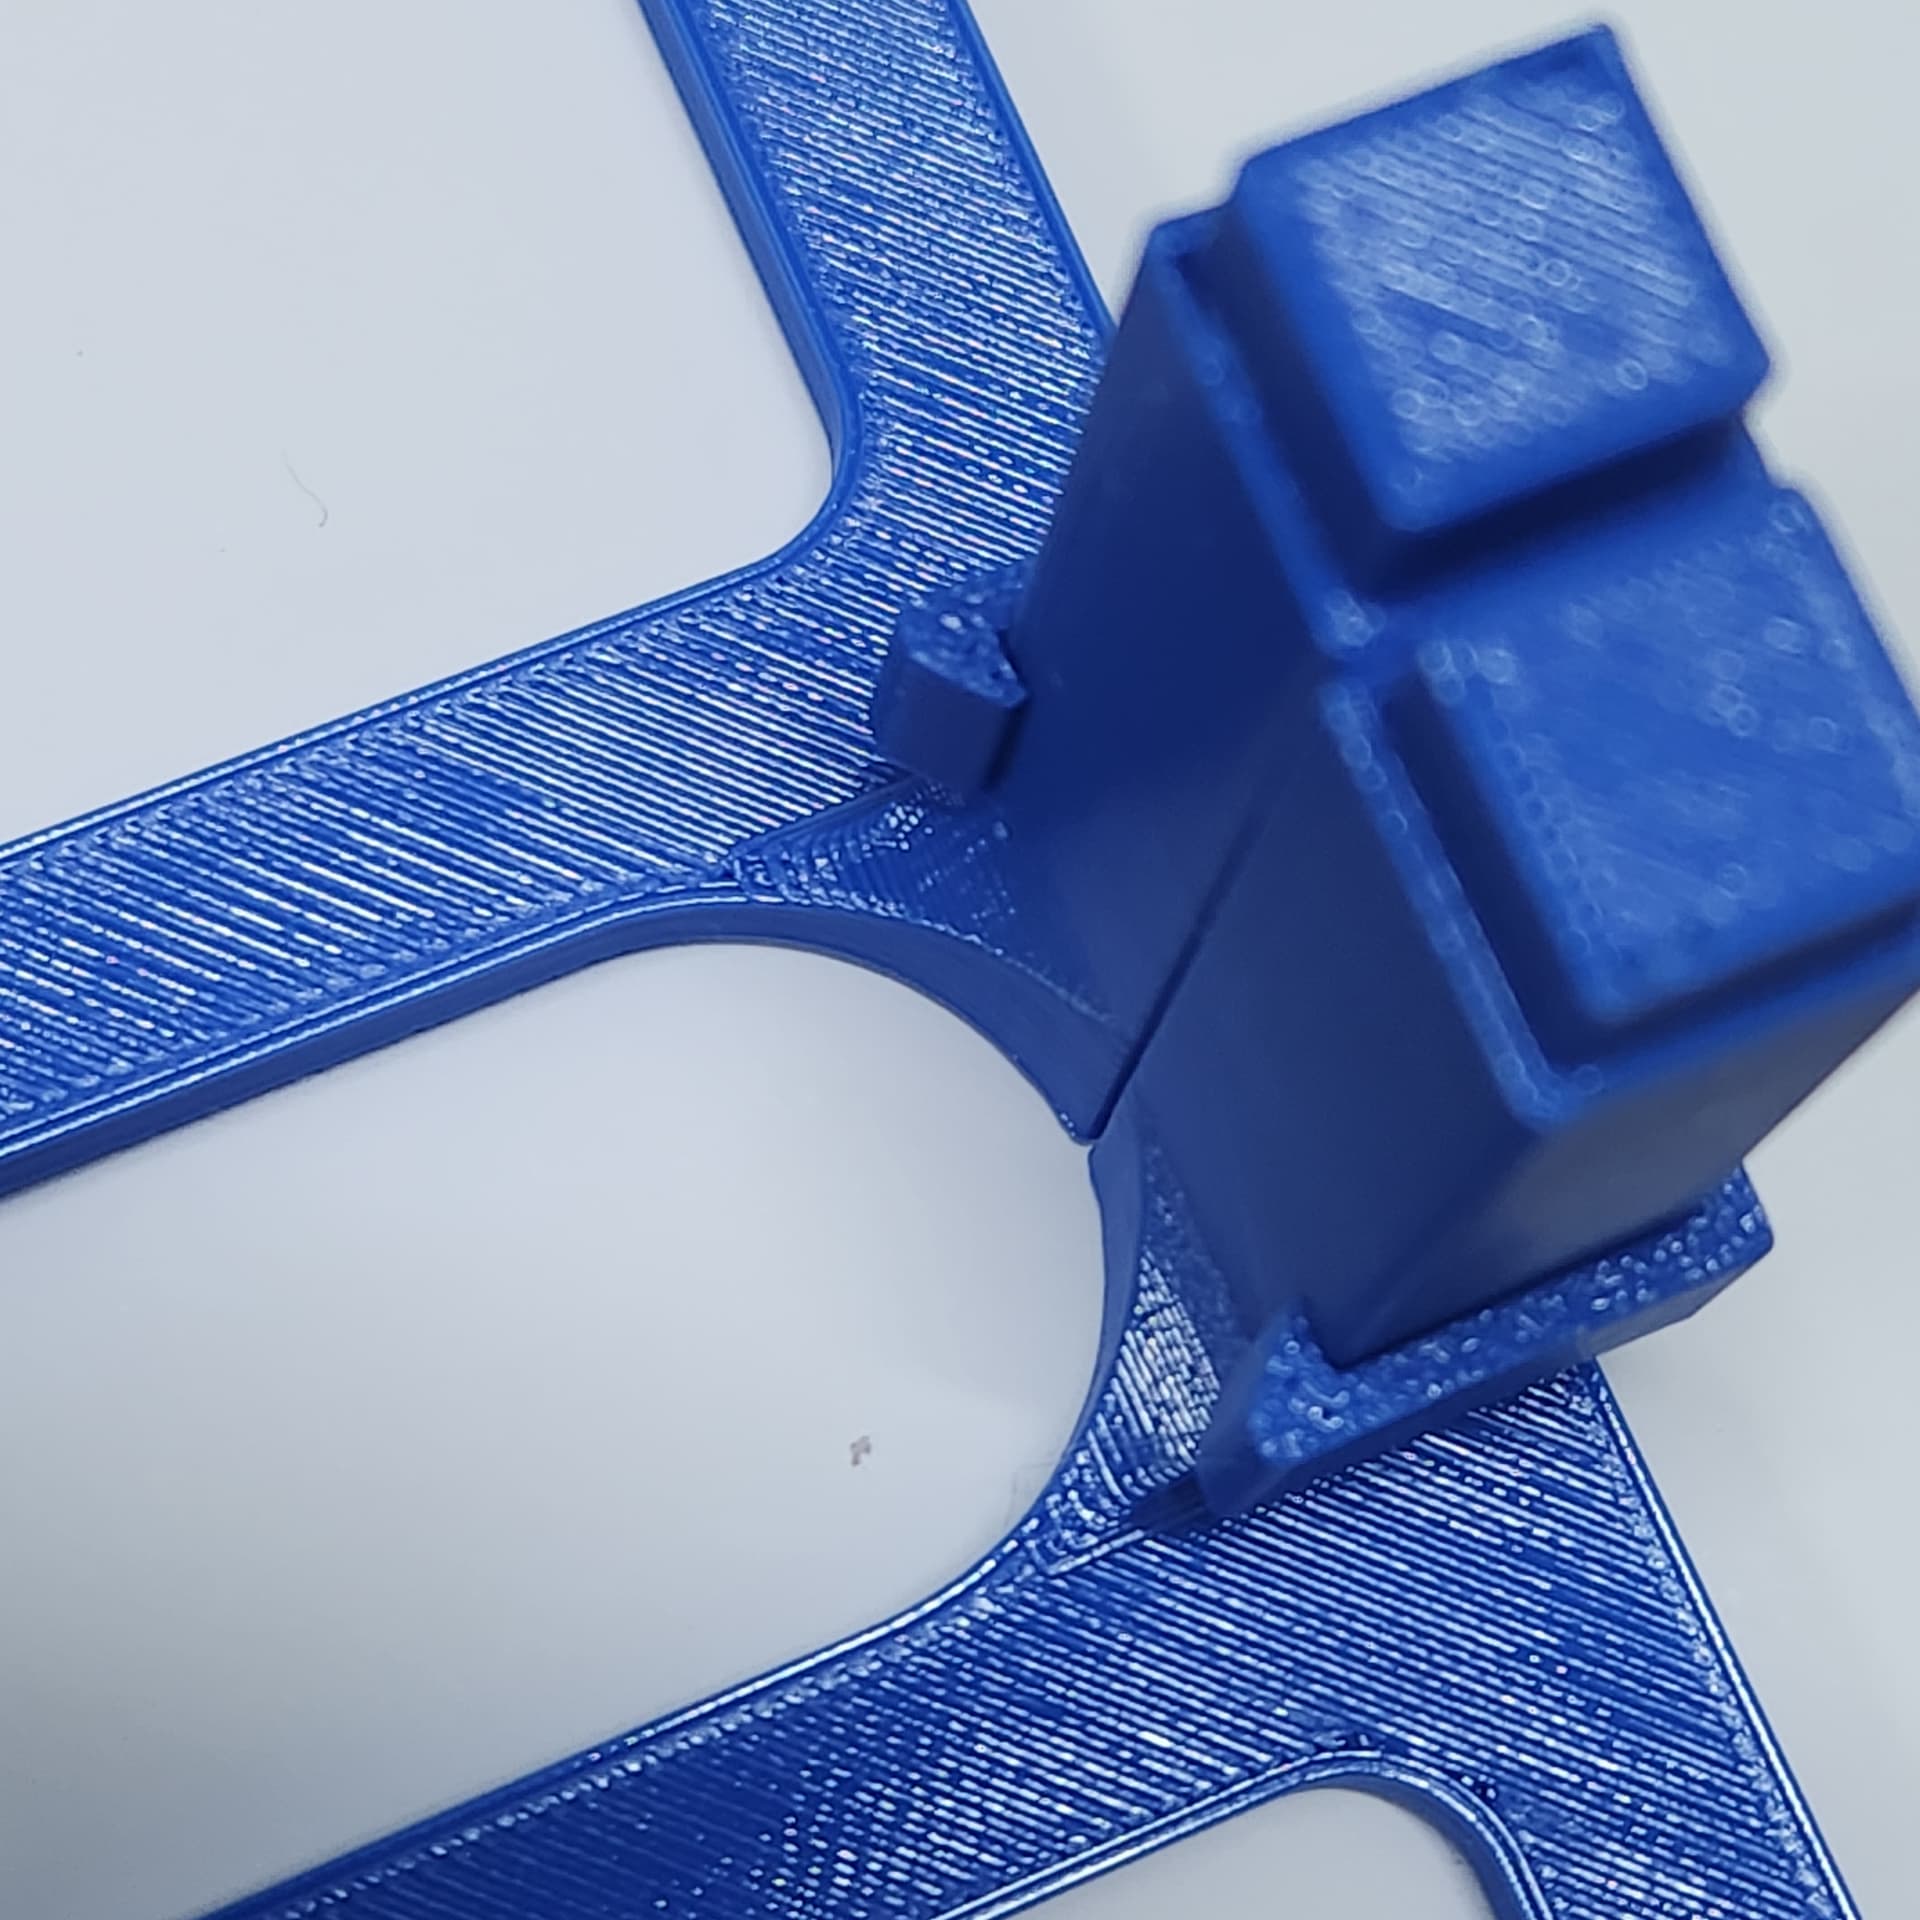
Install the hard stop, so they don’t slide backwards:

And bam!
(can’t give away all the secrets
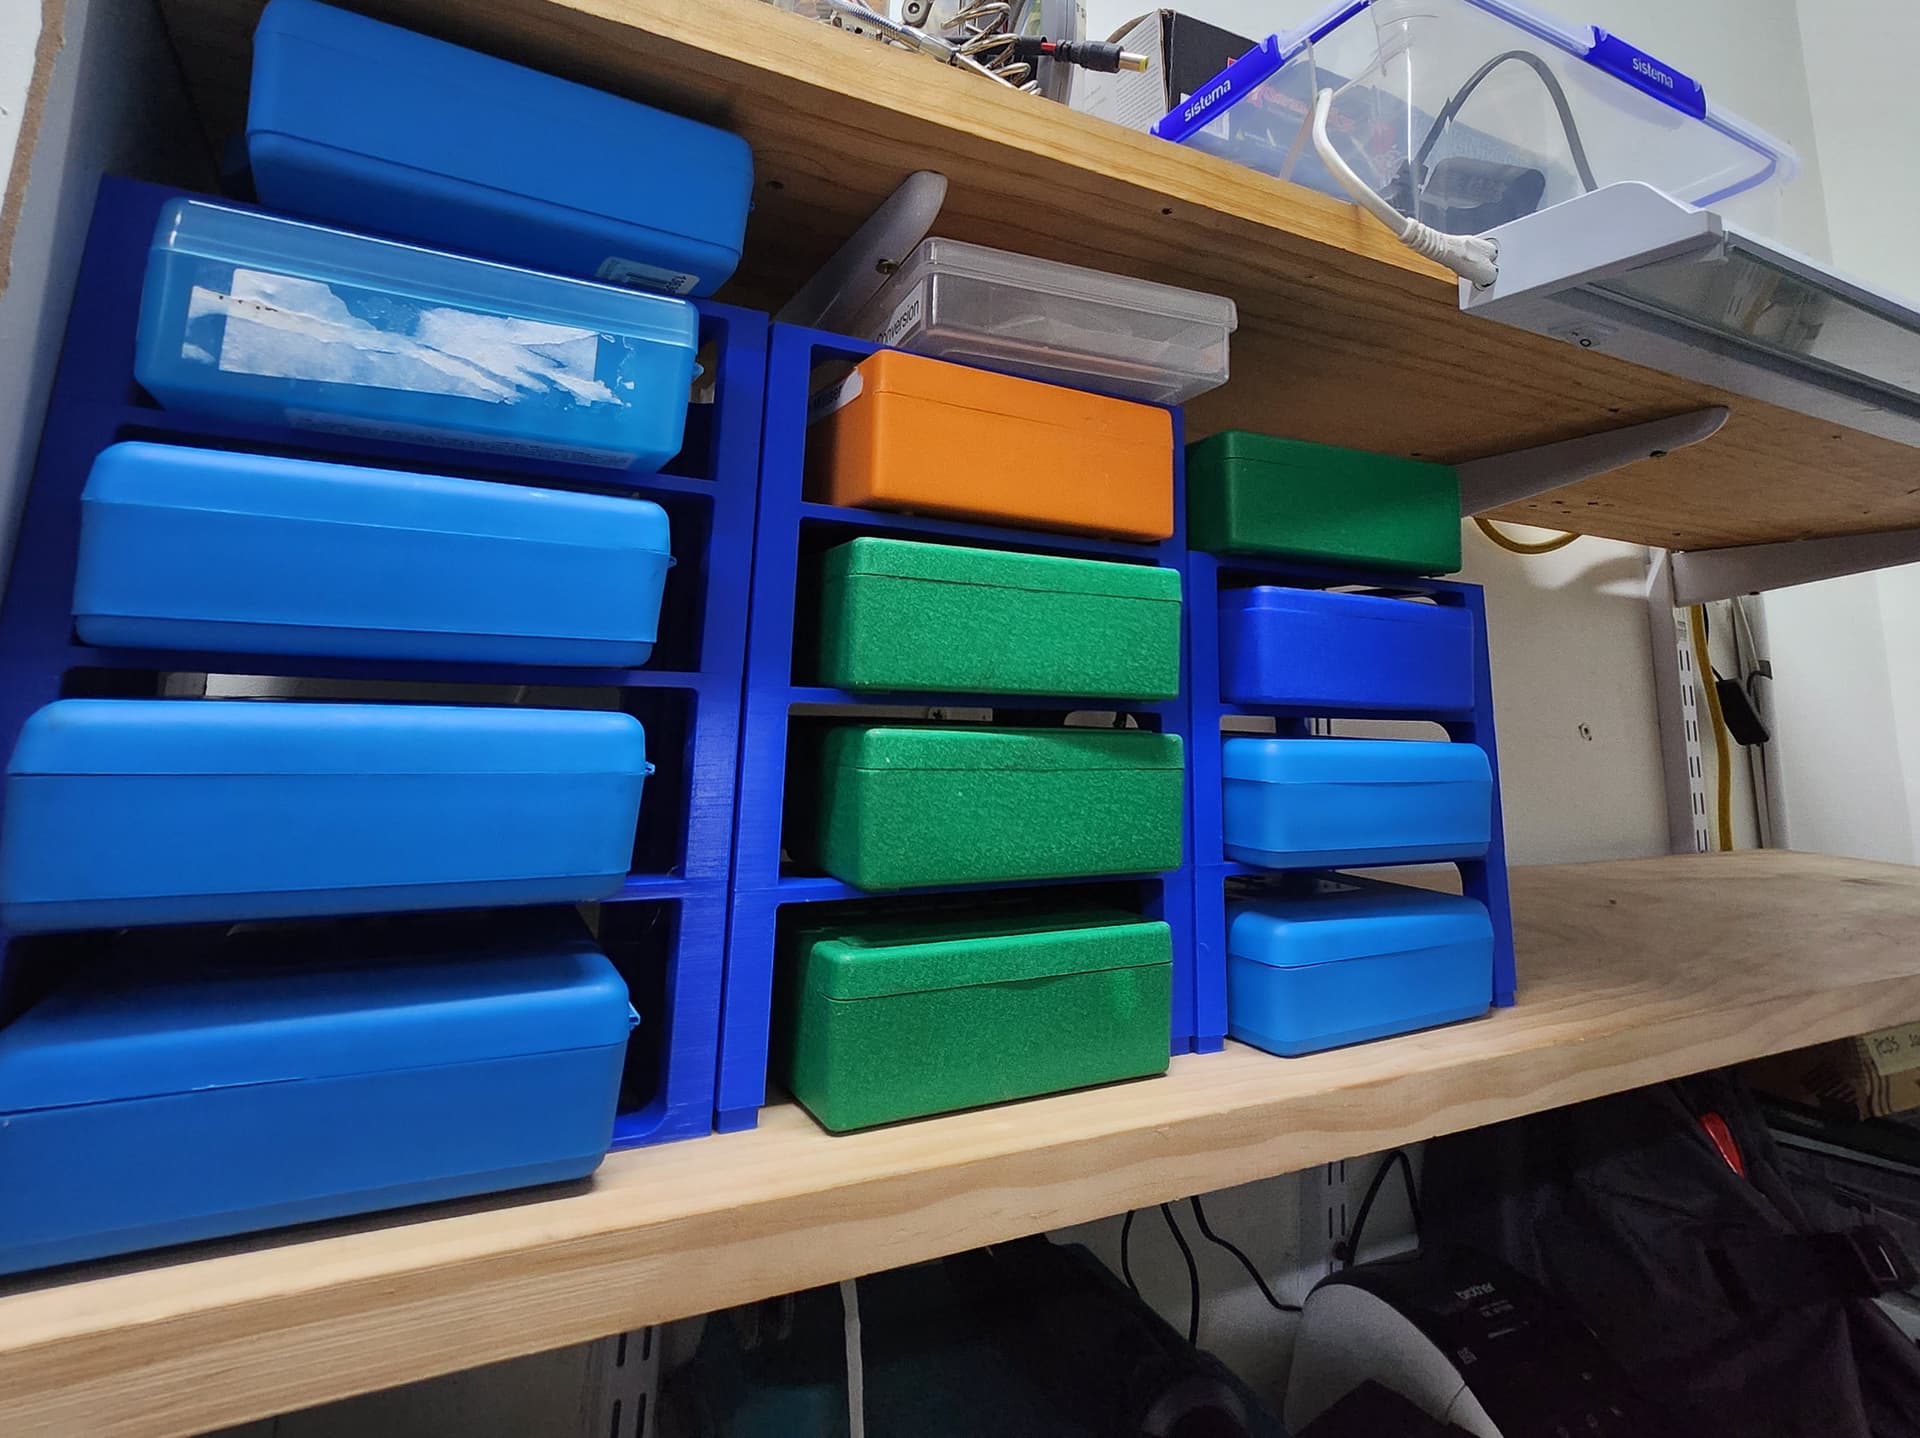
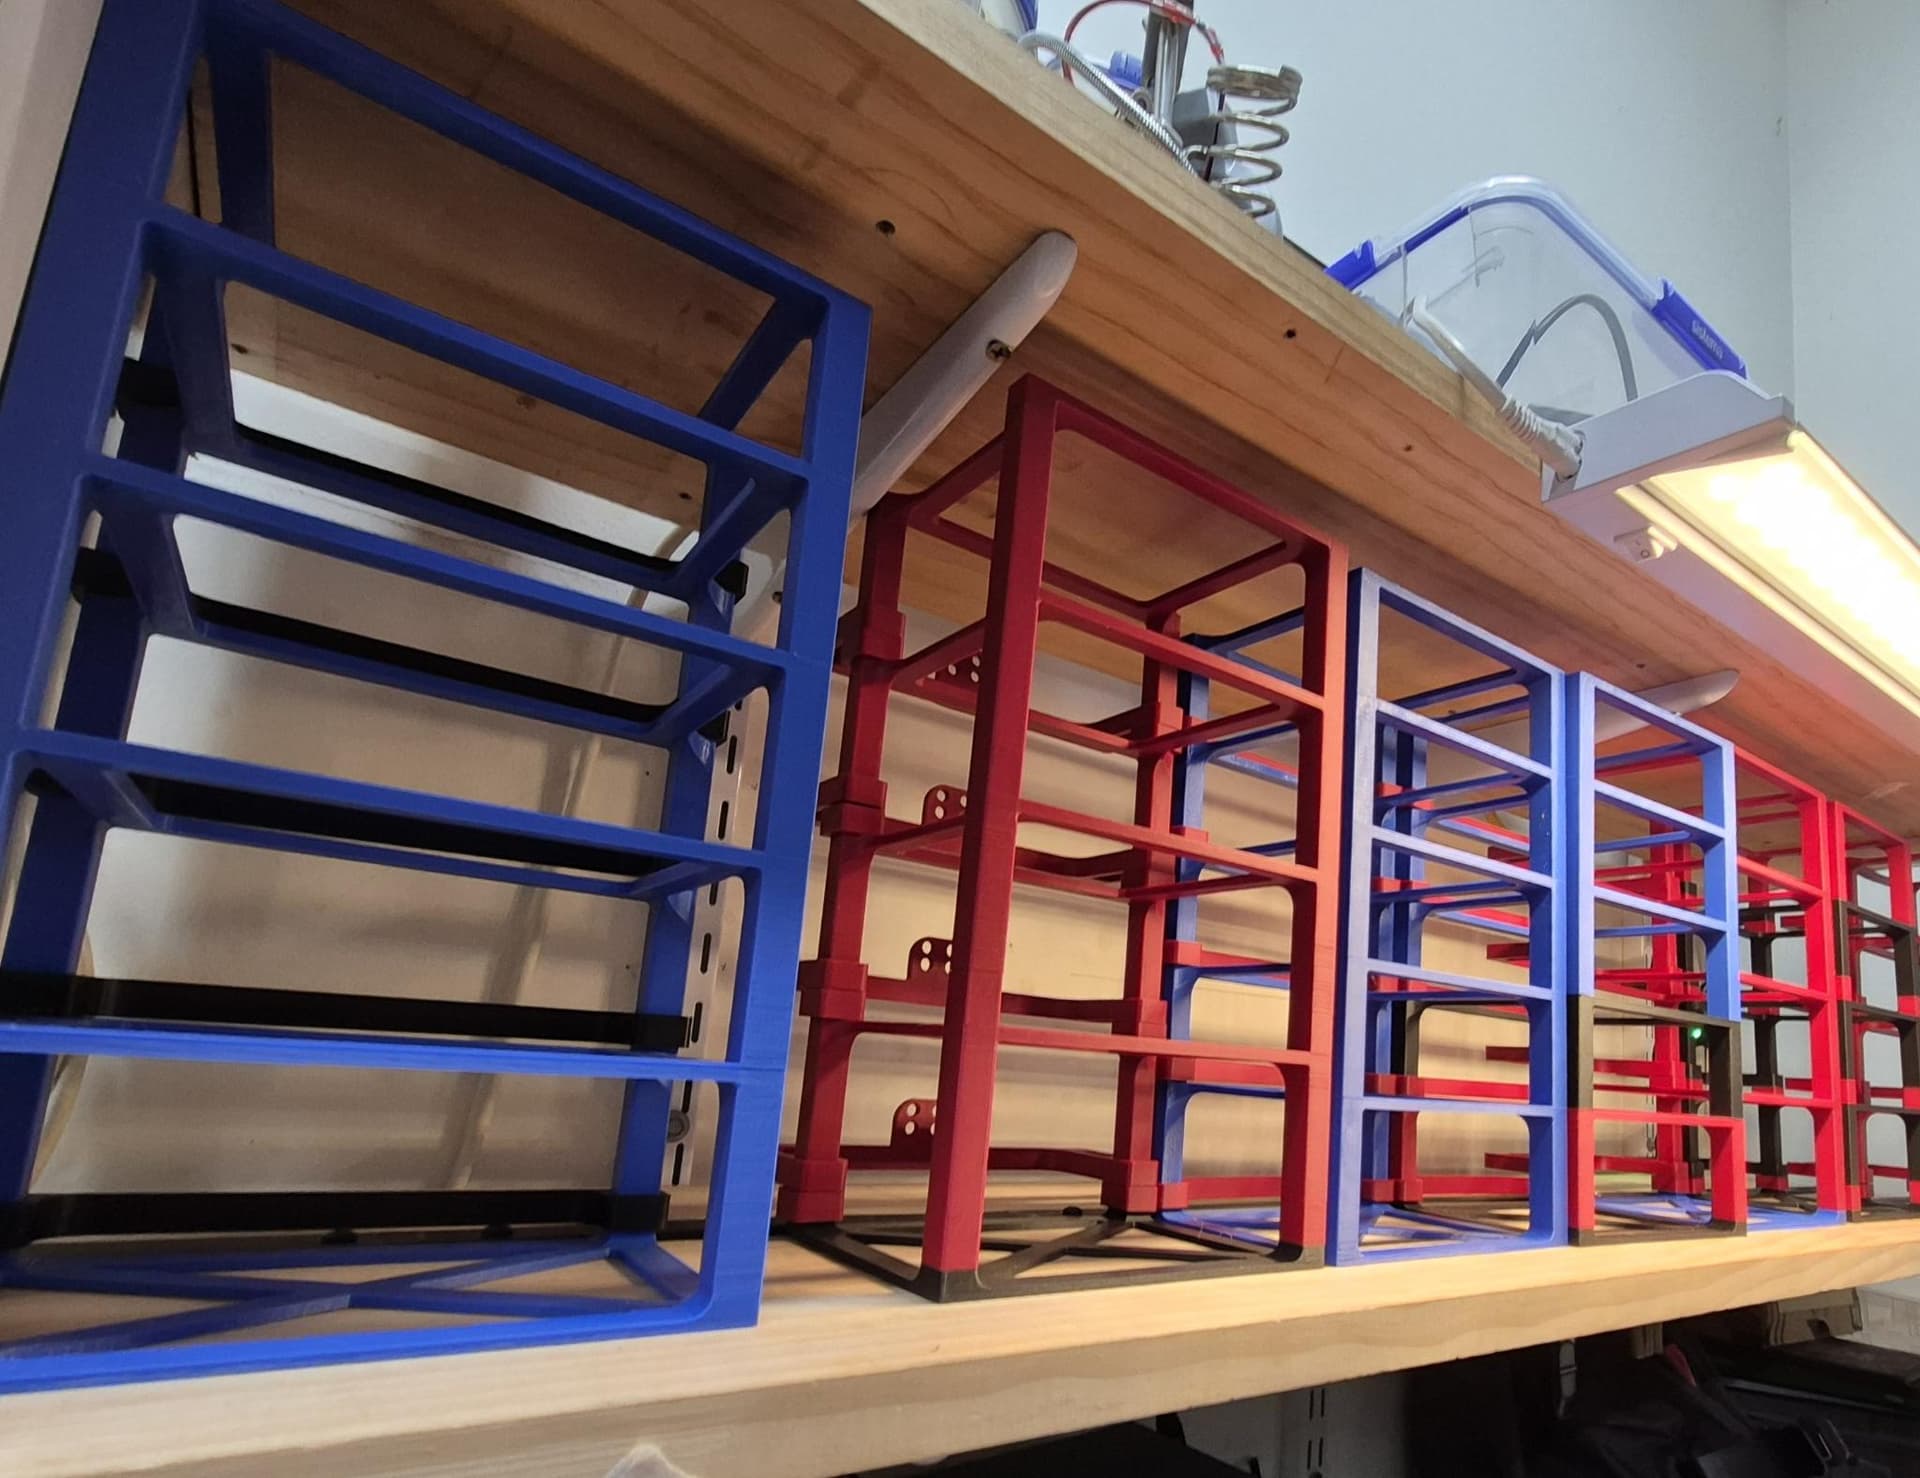
I get 7 frames x 5 slots per frame in the front row, more than enough. Pretty happy.
Some random stuff…
(getting all small bits out of the way)
(timed it well)
(frame coupler, but decided I didn’t need it.)
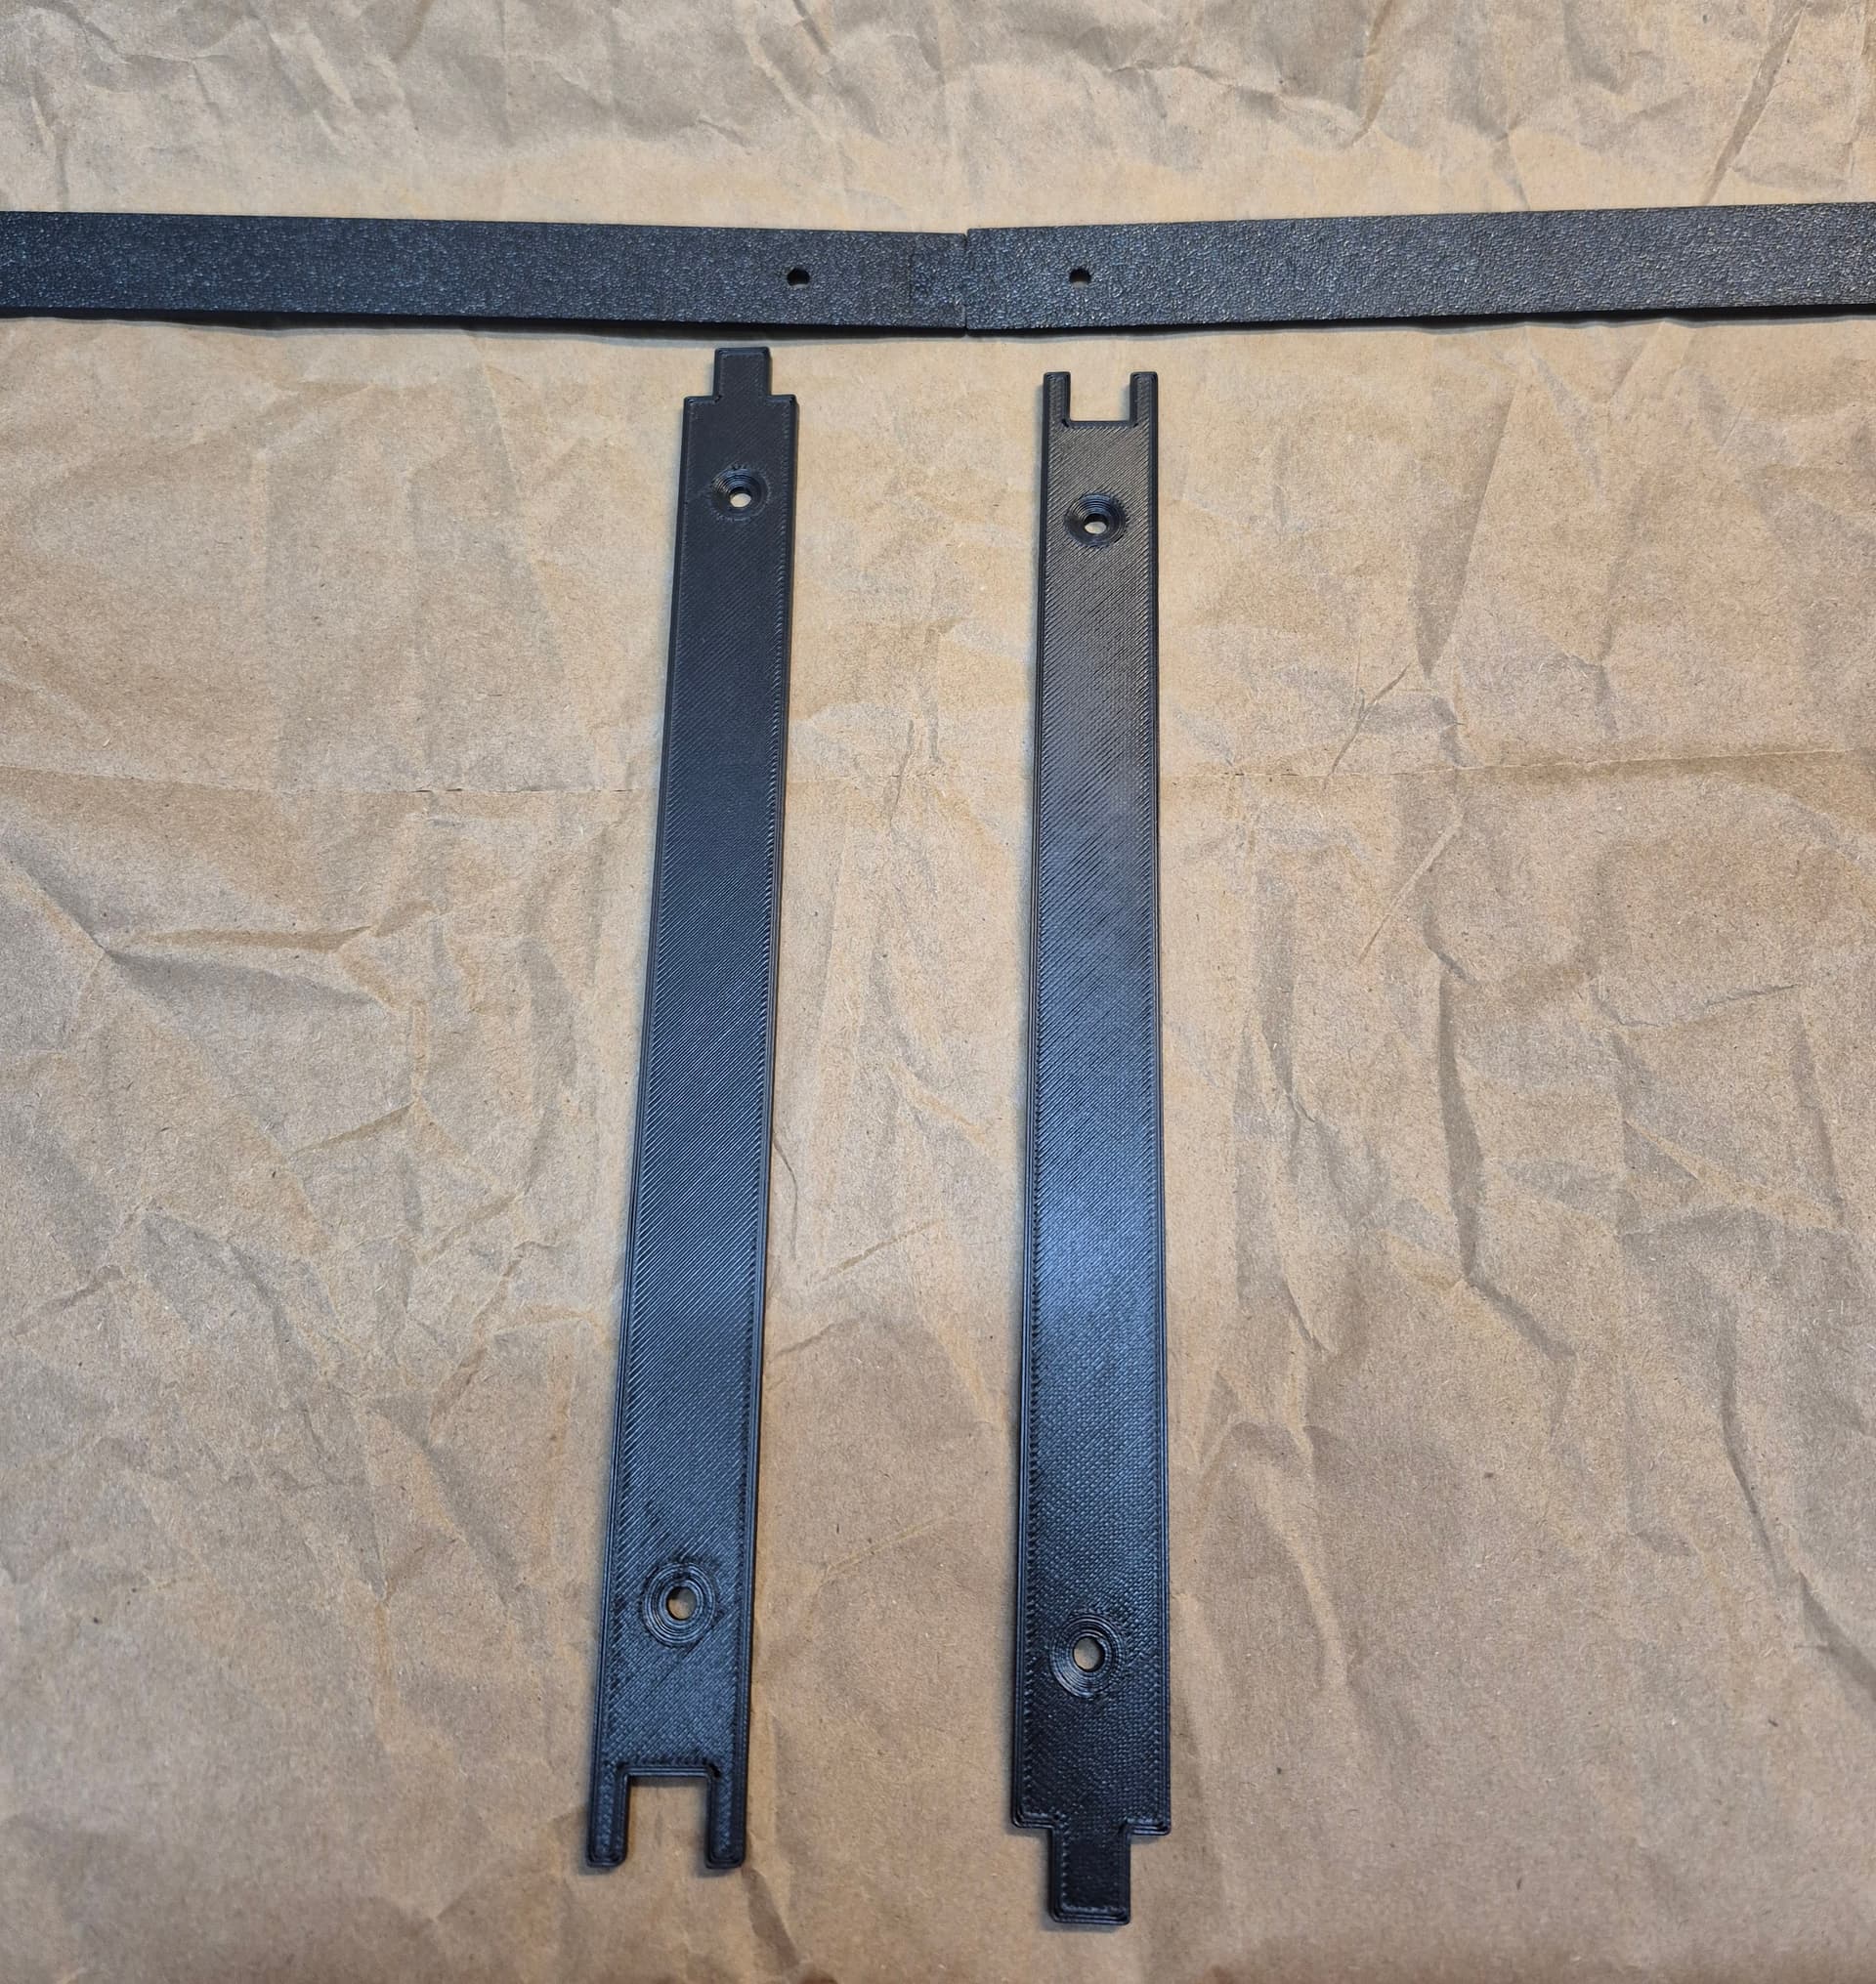
(strips to prevent frames sliding backwards, without endcaps for now)
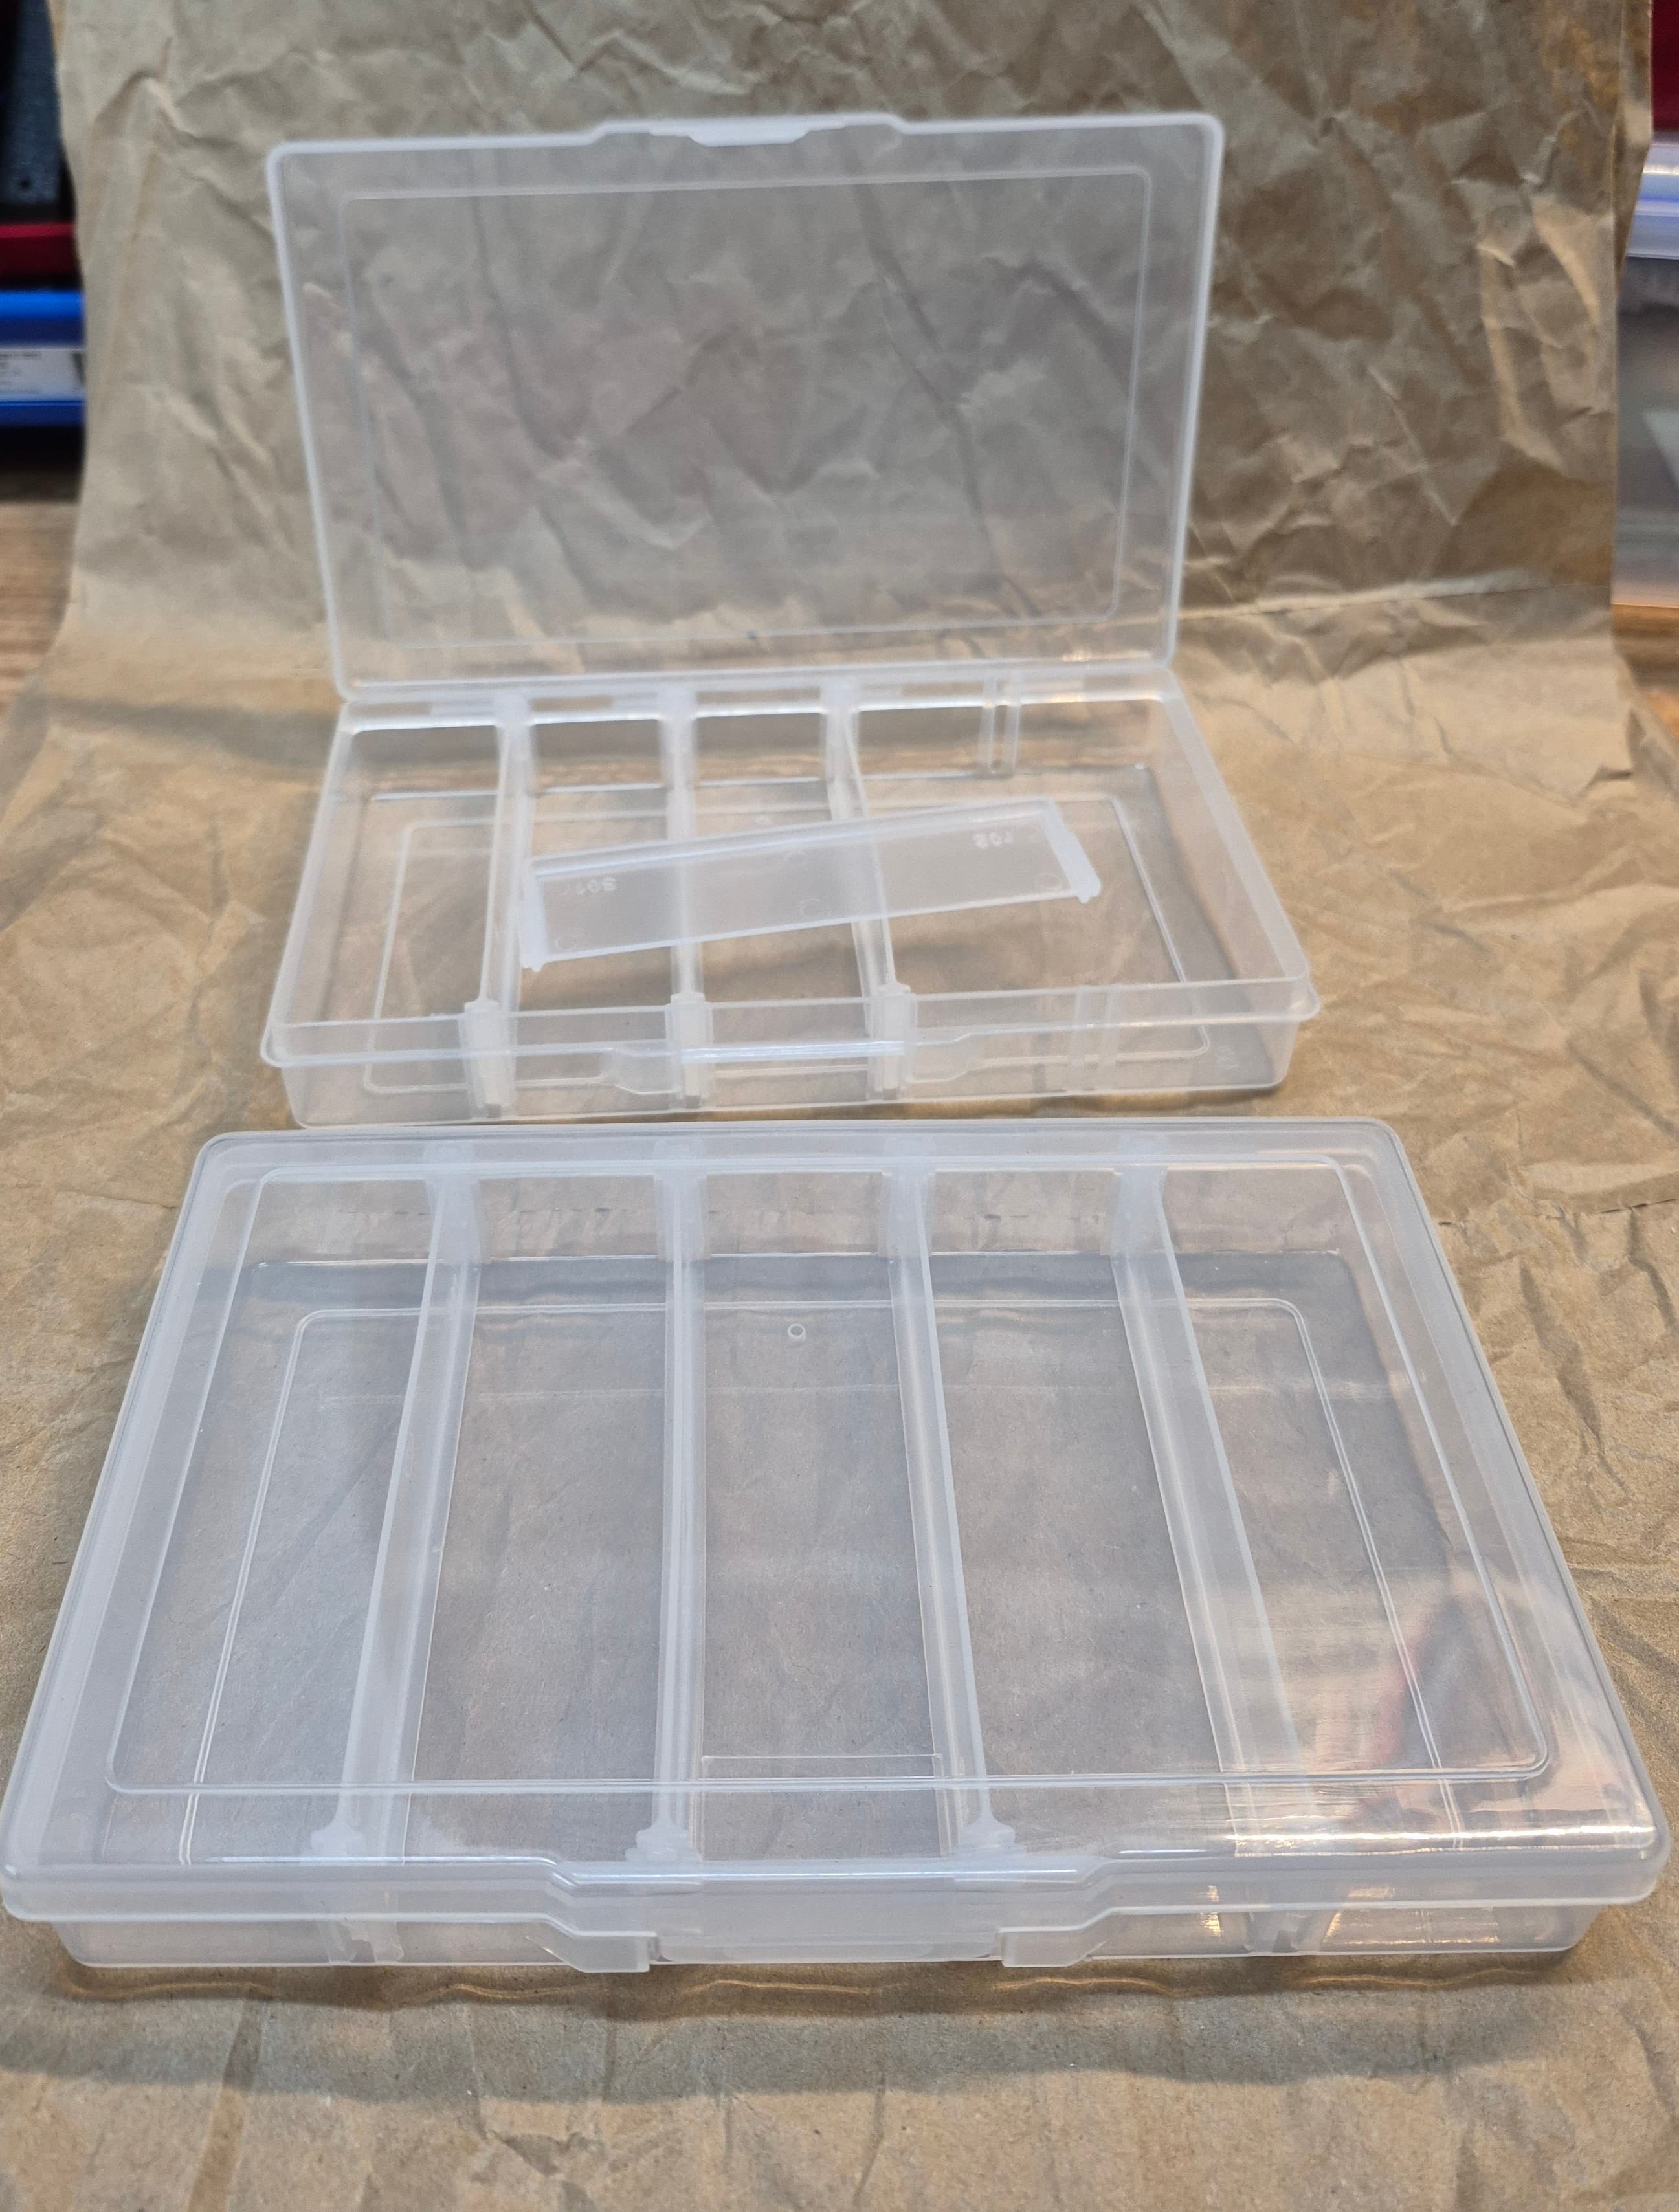
(transparent boxes that I use)
2 Likes
