I bought an electric powder trickler… Review here: Eloc powder trickler review - Gear & Shop Reviews - Oz Gun Lobby. Which is great, no issues there, 10/10. Buuuuuut, the thing is, I run most of the gear on my bench of 12V sockets (21mm 12V DC socket if anyone is interested). I use mains for stuff that needs it, but press lights, bullet feeder, my custom stuff in general are all powered by 12DC. Some sockets have a speed controller when I need a little boost, but in general, 12V.
So what do we do about it…
Peeked inside the trickler and thought, hrmmmmmm. How do I not destroy you, i.e. keep features as is just in case, but give you a little extra appendage to get you wired into the rest of my infrastructure. the goal being, I want to use it with 12V power or batteries. Both must be in there and neither must be destroyed to accommodate the other.
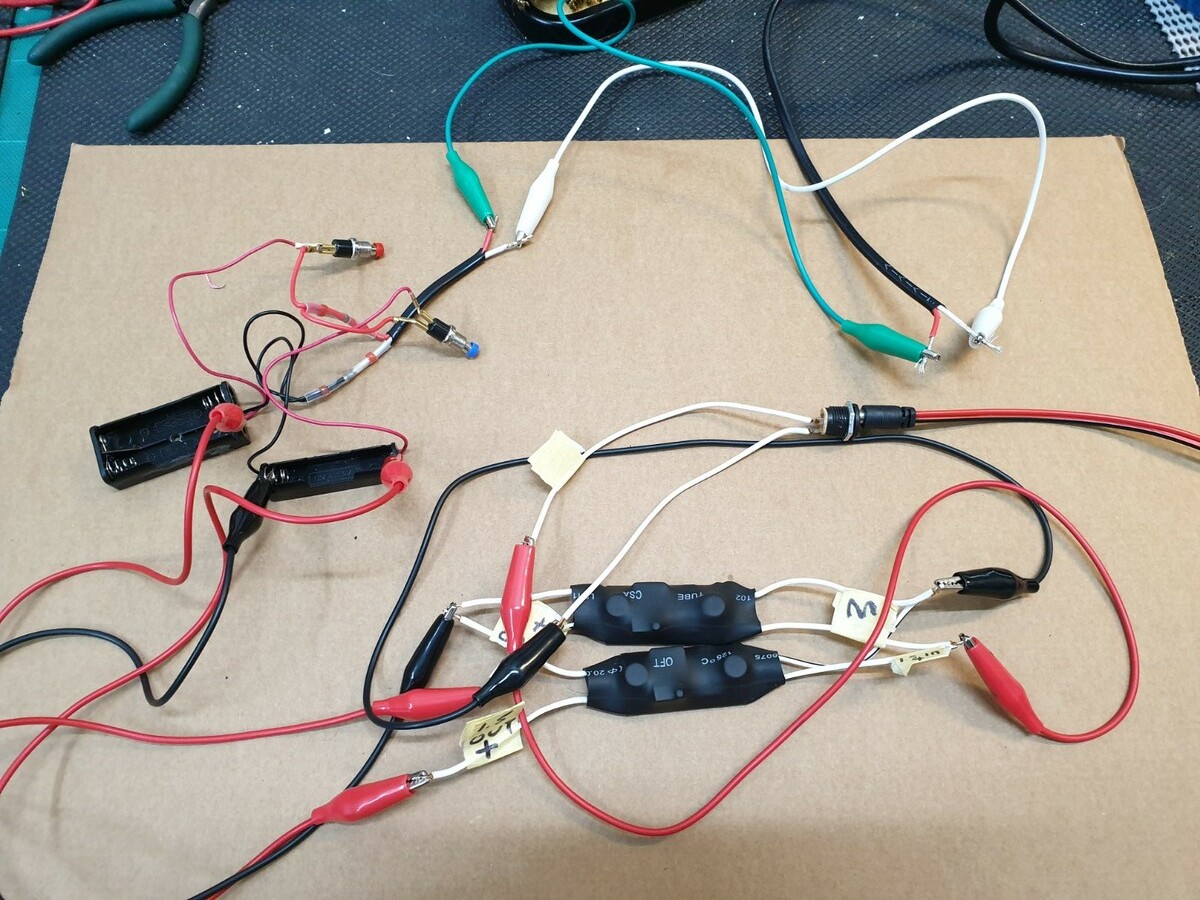
Dug through my box of tricks, where I was certain I had a speed controller, but I didn’t. However, I have a few buck converters left over from messing around with a 3D printer (AU price, $3. China price $3 for a sack full). That will have to do. In retrospect that was a much, much better choice.
It’s a 2 speed trickler, had a look inside and it achieves that from separate power supplied to the motor, dependent on which button you push. So 1.5 and 3V. Not an issue, adjusted converters to do that and test fitted everything.

Nothing made any unrequested sounds of smells. Sweet!
Got them labelled and prepared for installation. After heat shrink goes on it’s a lot easier to just have labels to know which end goes where, so that’s what I did and of course I still soldered shit backwards and forwards and upside down because I am a spazz like that.

Chop chop and start again.
I did try to test fit everything in the original jiffy box, which I could, but it was a bit tight and I thought I may as well pop it all into next size up, to avoid compressing things that shouldn’t be compressed.

A little bit of template work and thankfully I had drill bits just the right diameter for buttons, etc. Socket hole had to be opened up with a step drill bit, I don’t like using them when I know the dimensions, but that’s what I had and measured socket diameter lined up with one of the steps, good.

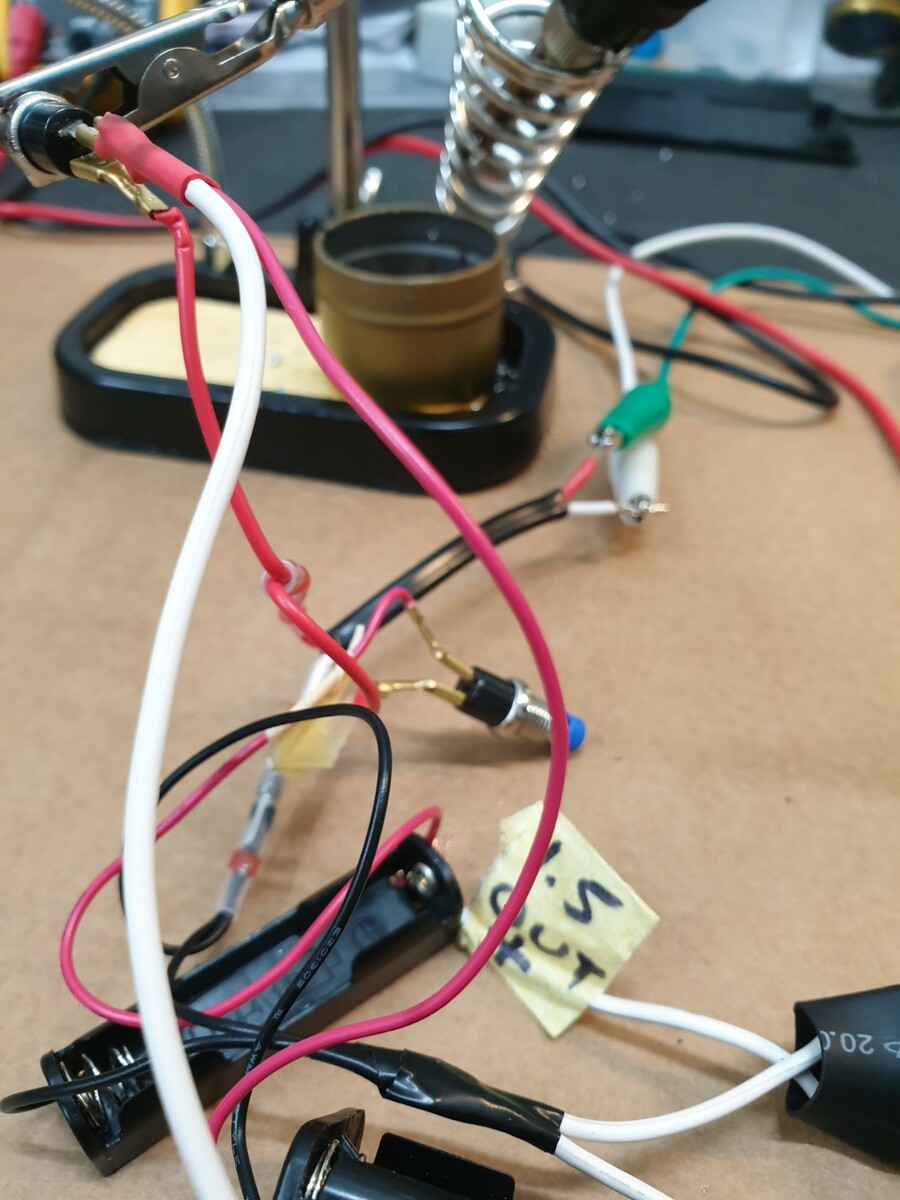
Getting spliced into the buttons was a bit delicate, but got there in the end… My soldering skills are certainly level up now.
Yeah… That’s about it. I was worried about the ergonomics, but it’s still good, so I am happy there and now can run it of my usual power source.


I think next project will be picking @sungazer’s brain a lot more and building an induction annealer (I heard annealers are all the rage these days) 