A while ago in my mad dash of printing everything I spotted a Dillon primer tube filler on Thingiverse and thought, yes!
Anyway, this was one of my first large prints, I printed the printable components and it sat there for a while, until I accumulated enough parts to hook it all up. Mine, lets say, not exactly how the designer intended it to be lol
For reference, this what it’s supposed to look like (ignore colours, that’s irrelevant).

Of course, this is all build around available components and yours truly did not have said components… So…
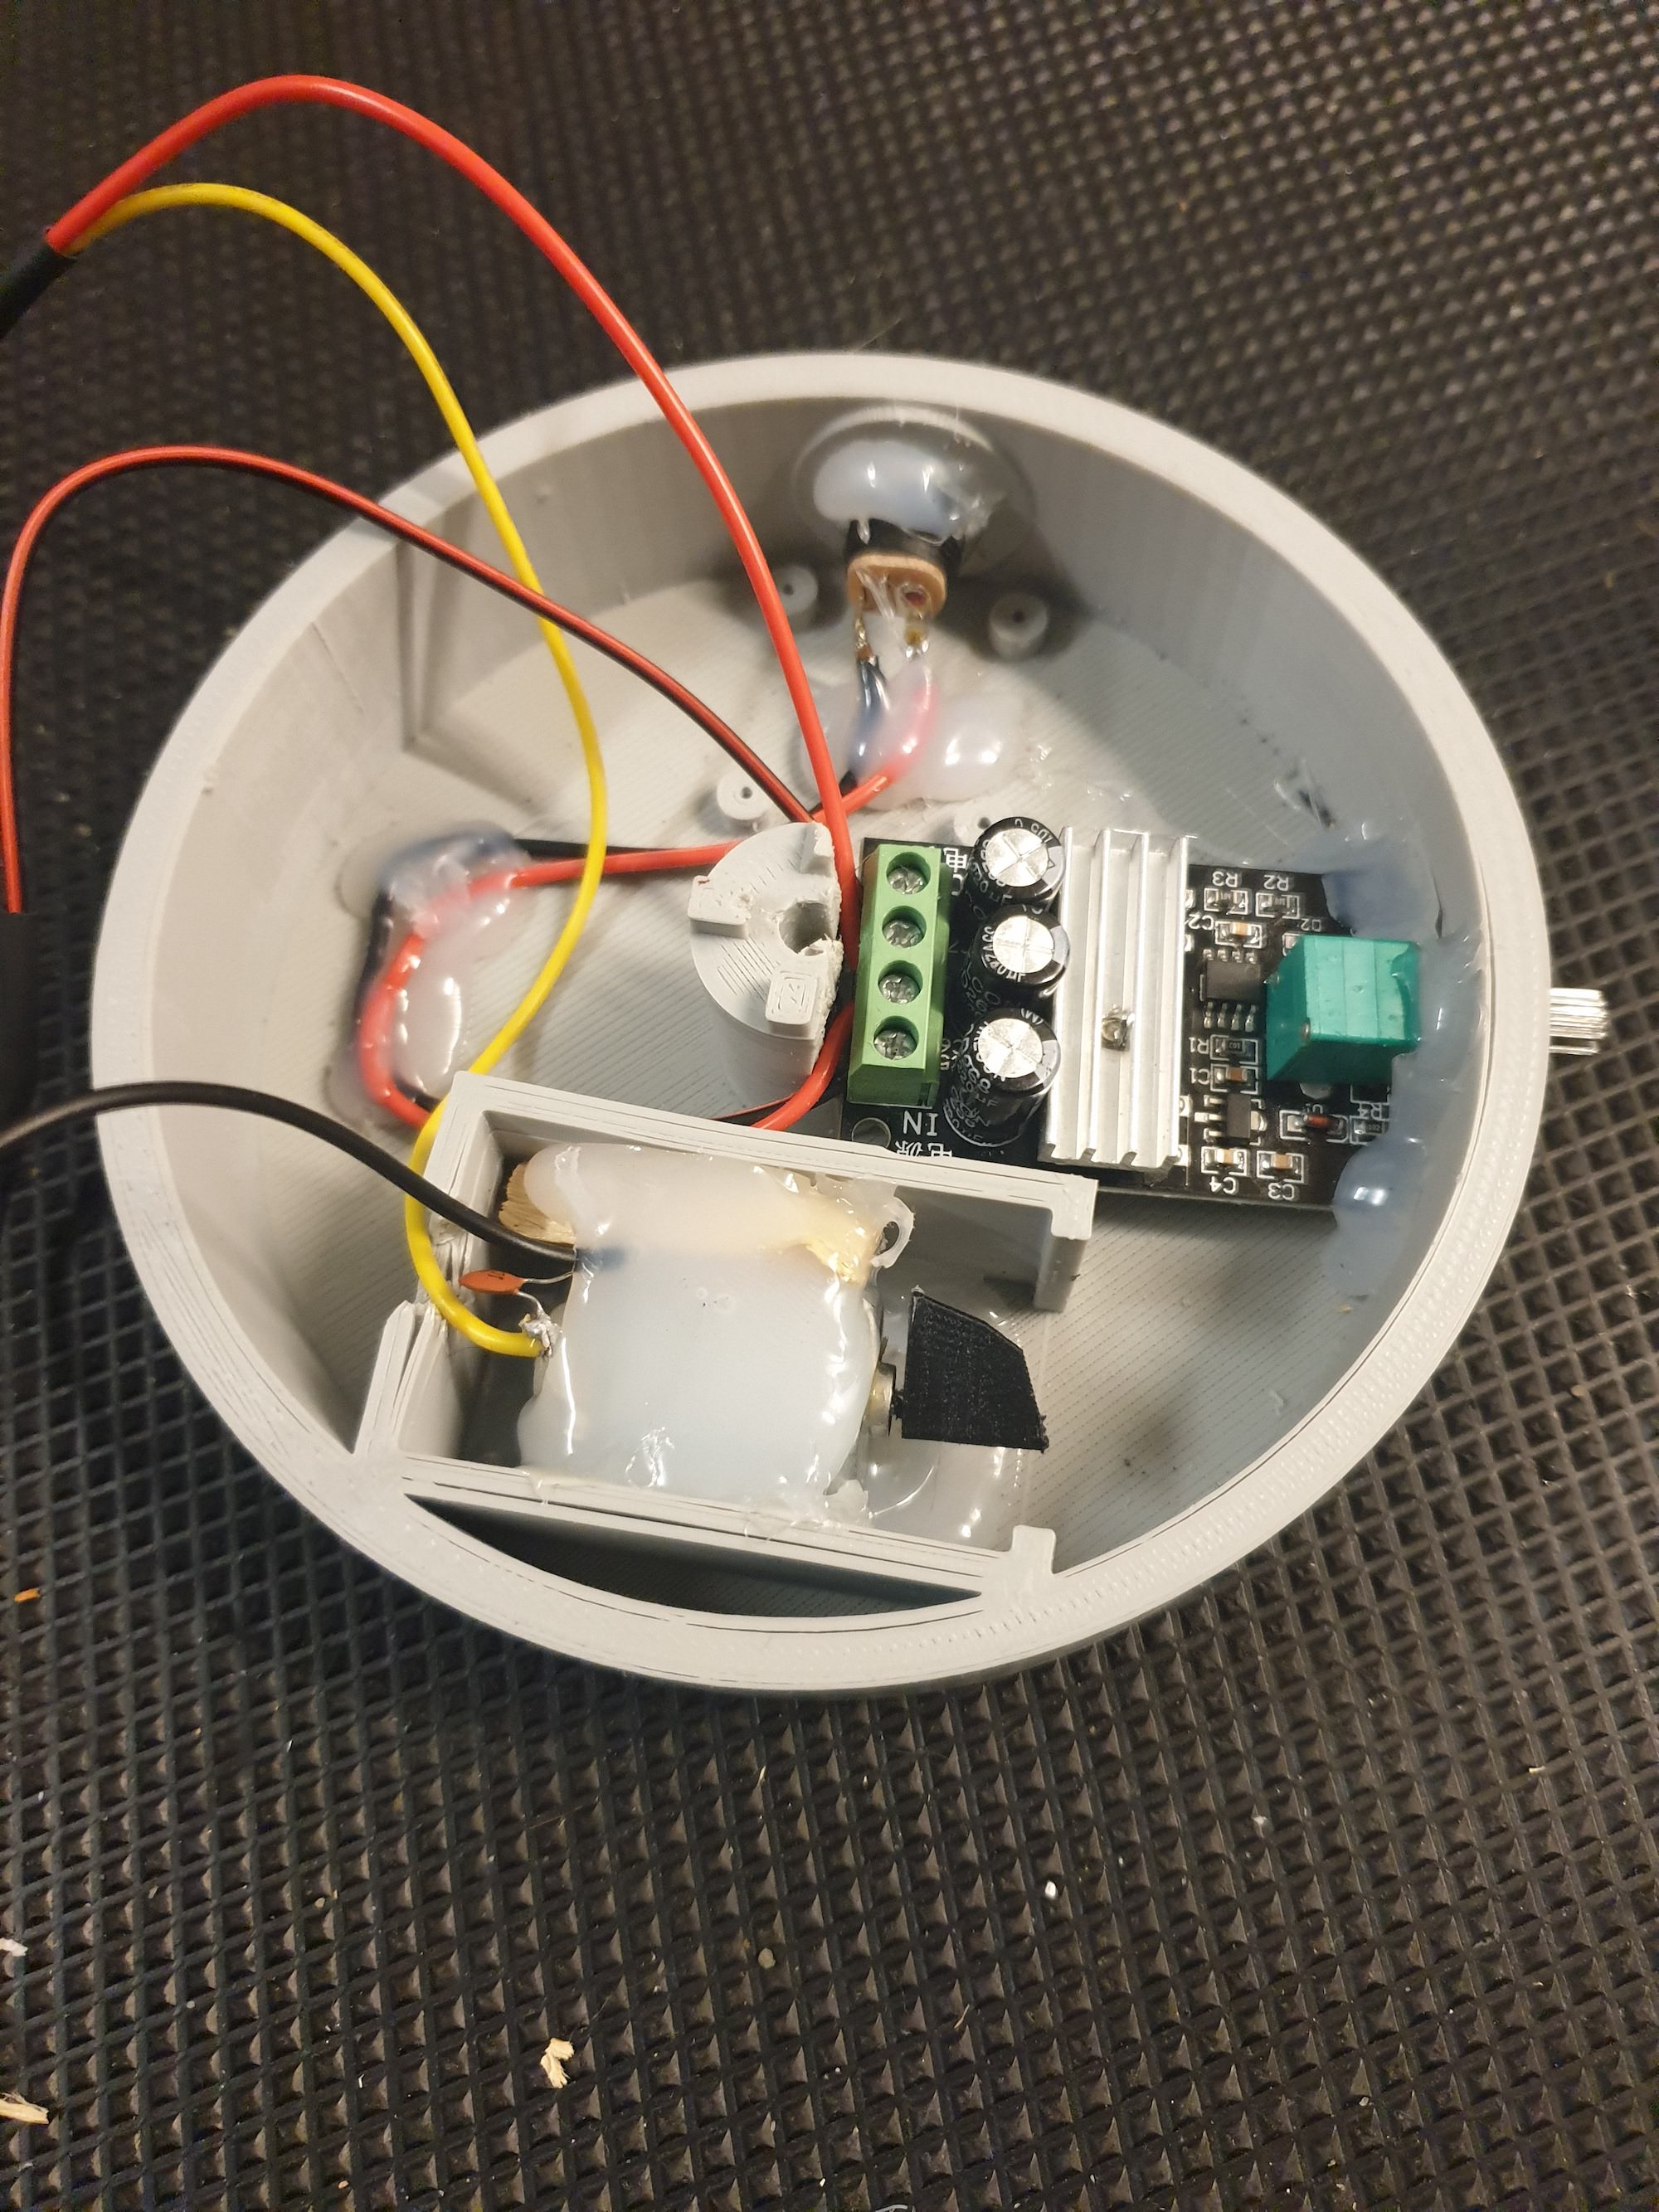
The speed controller I had was about 5mm too big, so out comes the Dremel… Alright, the speed controller sort of fits, nothing hot glue can’t fix. I also had to drill an extra hole for the speed controller, but more on that later (there was method to my madness). Anyhow, that’s in.

Not pretty, but I will keep it. Layer pilled off when I was learning about printing with different materials and temperatures.
Next vibratory motor. That’s the blob of glue where the battery should sit. And some wooden shims LOL Redneck engineering at it’s best! Anyway, I need a motor, I look around and let’s say my wife is pleased with one less toy on the floor. The unbalanced weight - that’s the black bit sticking out from under the blob of glue - that I printed and drilled out to fit motor shaft.
Phew… Next.
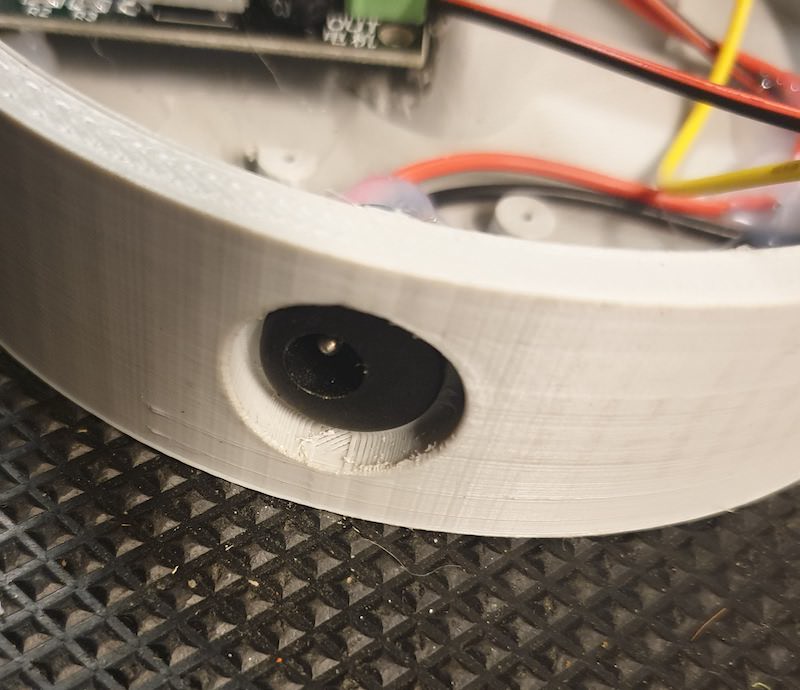
9V battery is okay, I guess, but we don’t do okay here! Eventually (in the very near future) I am planning to have few other Dillon mods and all of them will be running of 12DC. I will add some 12DC output to workbench… So I thought, may as well have this thing running of that too. Drilled out the original speed controller hole and added a power power socket.
Test fit, works. Soldered everything together and off we go.

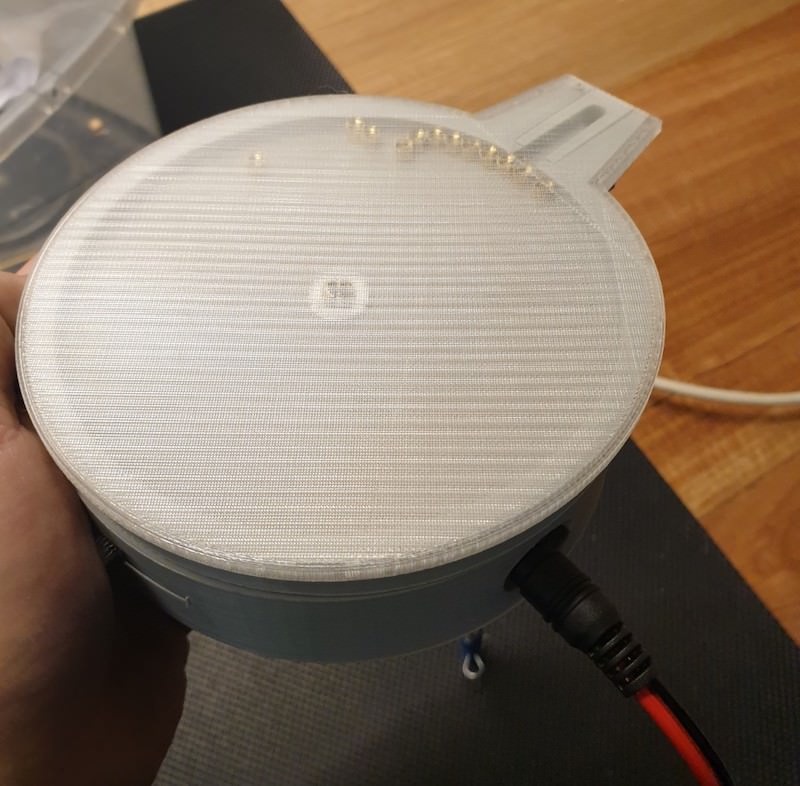
I had to open small primer hole just a little bit with a small file, working with pretty tight tolerances here, but we got there in the end.
Apologies, not my video in operation, I couldn’t balance phone and a vibrator throwing little bang buttons around at the same time. I will make one at some stage, but the results are pretty good.
N.B.
Yes, I am quite capable of designing one around my components, but this one works very well, so I will keep this one 

